> ## Documentation Index
> Fetch the complete documentation index at: https://koreai.mintlify.site/llms.txt
> Use this file to discover all available pages before exploring further.
# Azure Connector
[Back to Search AI connectors list](/ai-for-service/searchai/content-sources#supported-connectors)
The Azure Storage connector lets Search AI ingest content from your Azure Blob Storage containers. Setup involves two stages: generating a SAS key in Azure, then configuring the connector in Search AI.
## Specifications
| Specification | Details |
| ------------------------- | ------------------------------------------ |
| Repository type | Cloud |
| Extractive answer support | .pdf |
| Generative answer support | .txt, .pdf, .rtf, .doc, .docx, .ppt, .pptx |
## Step 1: Create a Storage Account and Generate a SAS Key
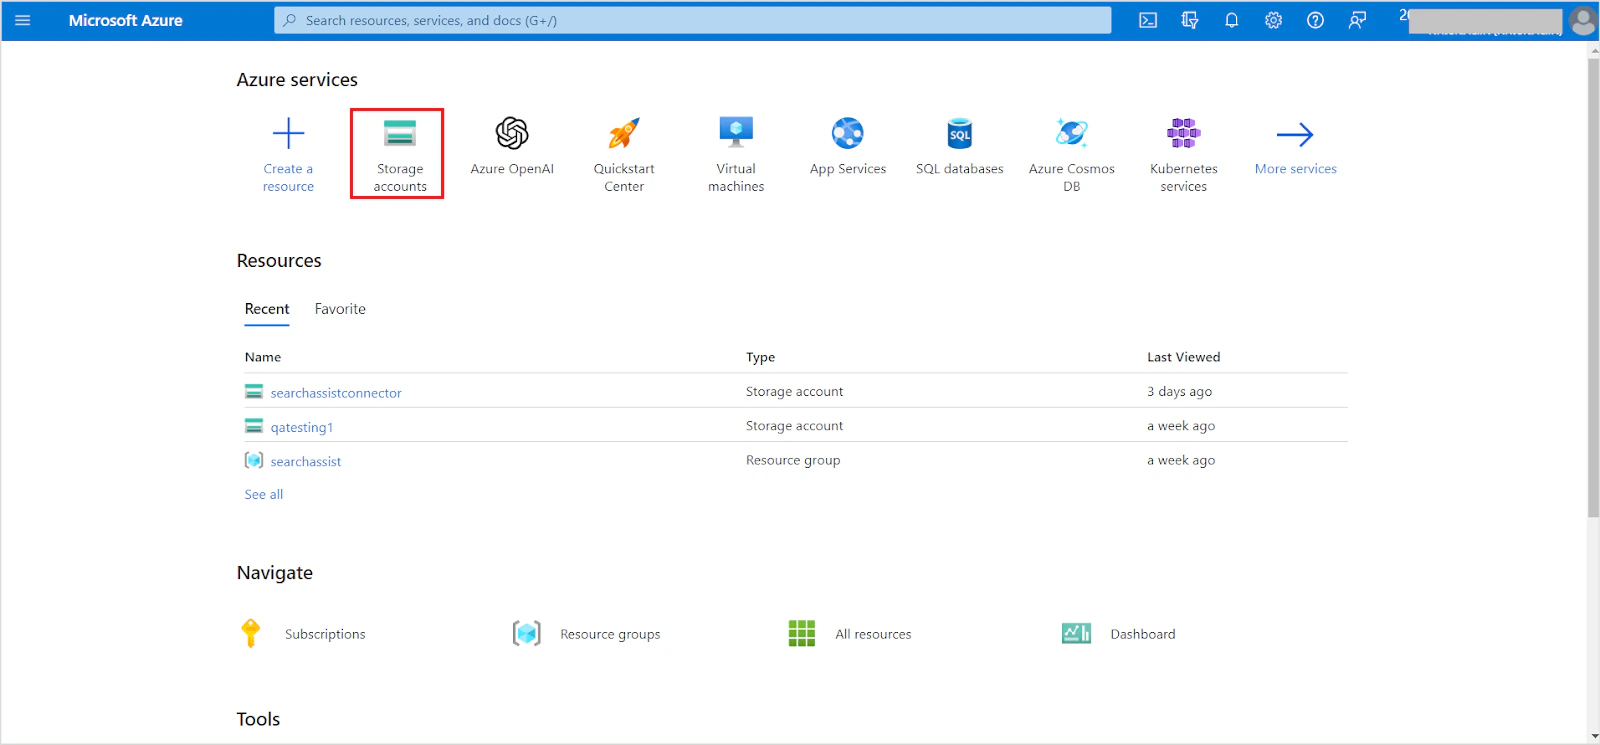
1. Log in to the [Azure portal](https://portal.azure.com/#home) and go to **Storage Accounts**.
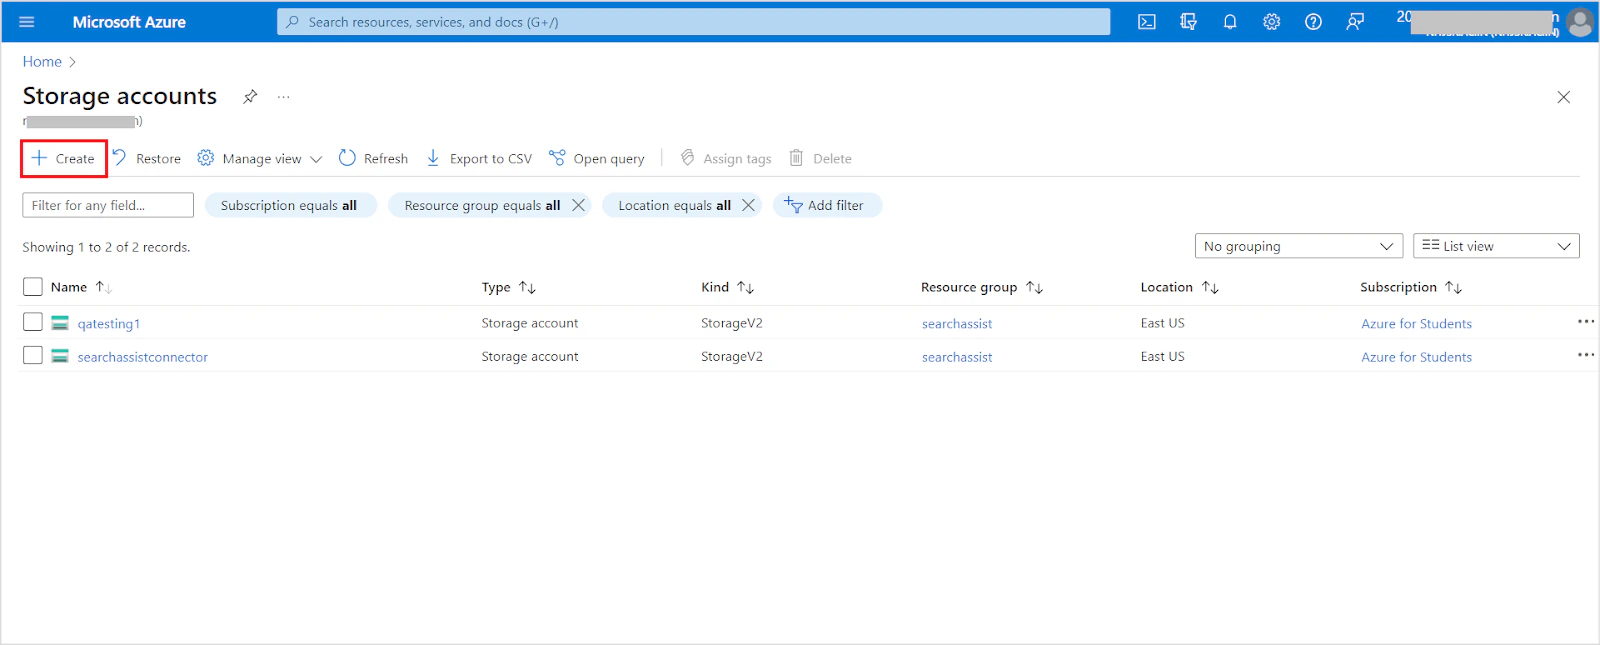
 2. Click **Create** to create a new storage account.
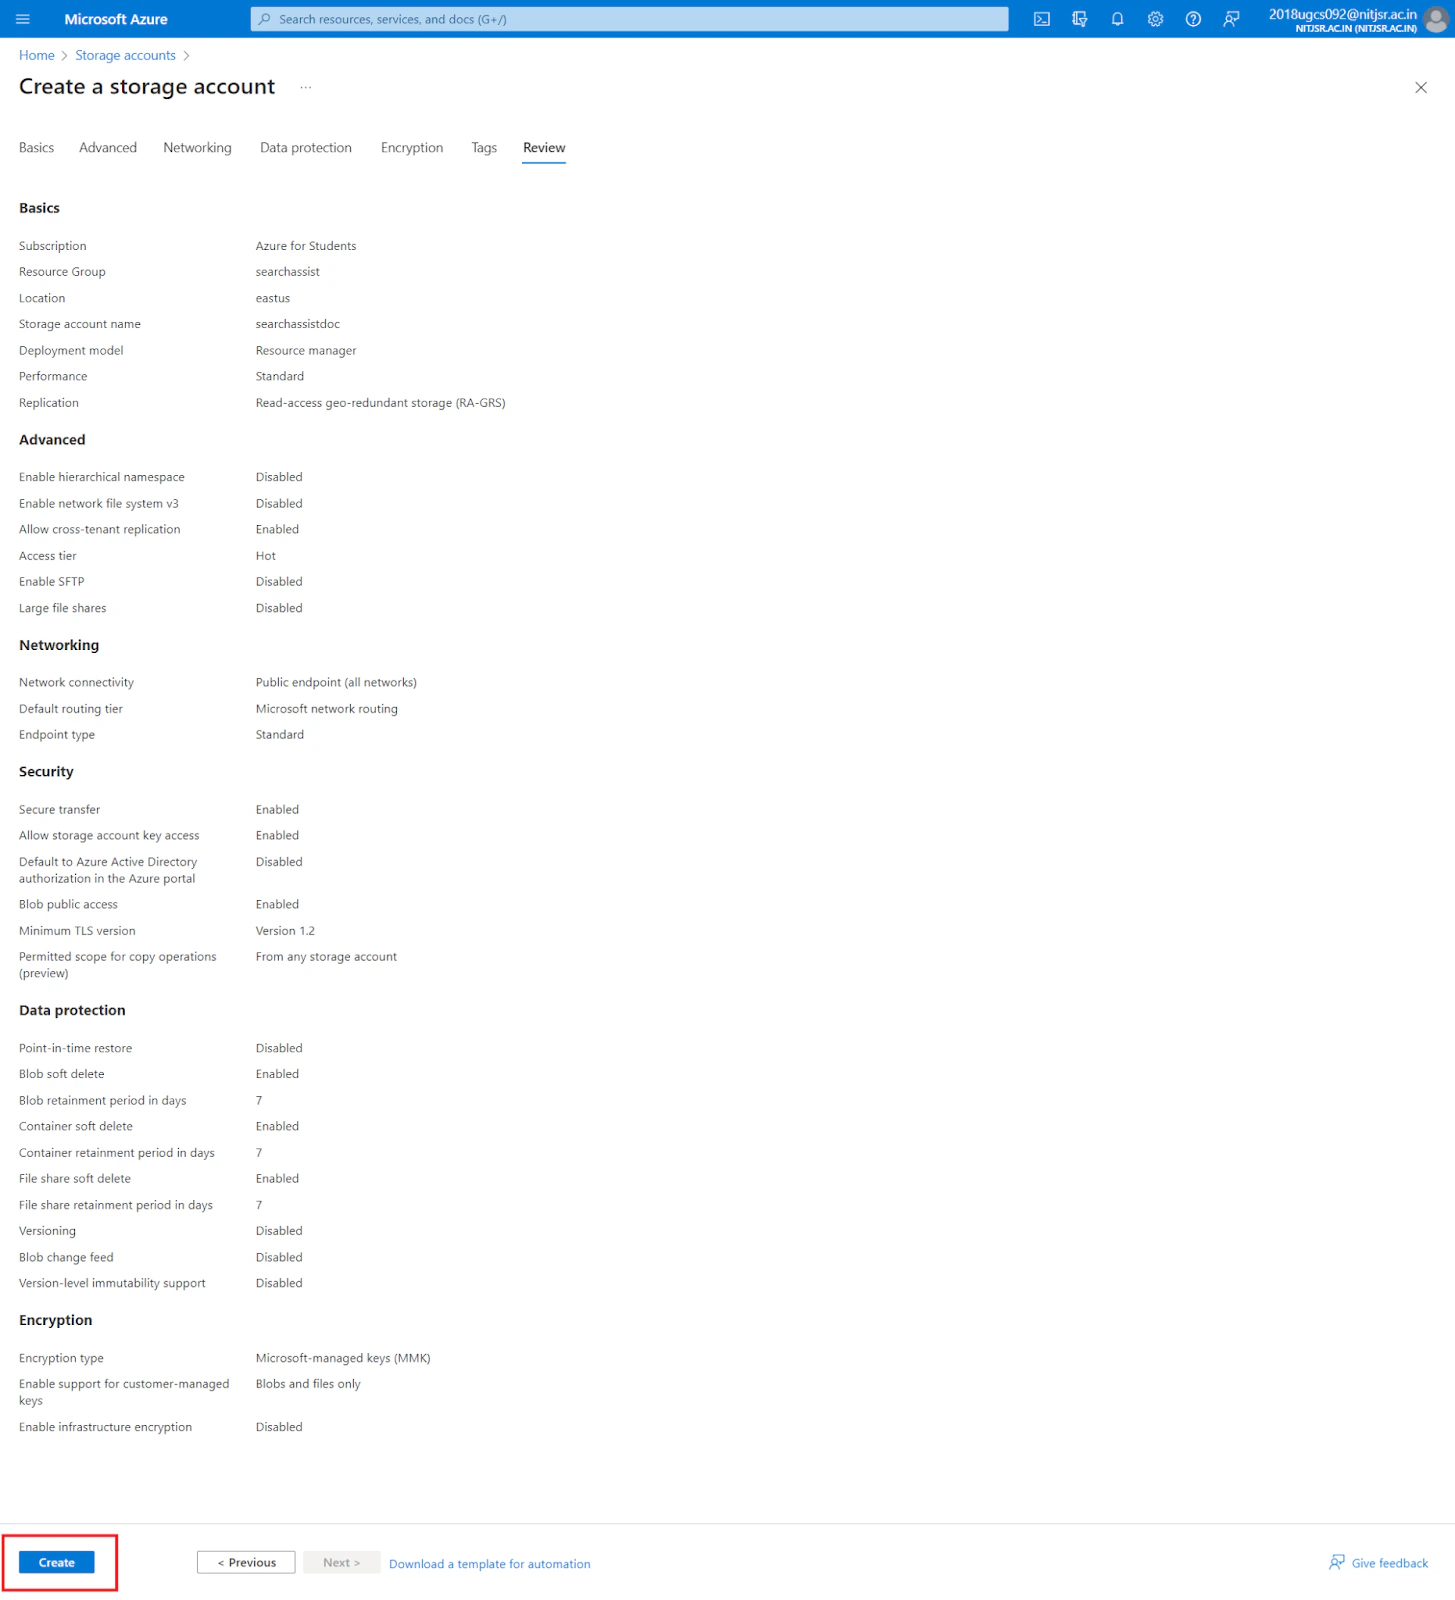
 3. Fill in the required project details (security, access protocols, networking, encryption, etc.). For field descriptions, see the [Azure storage account creation guide](https://learn.microsoft.com/en-us/azure/storage/common/storage-account-create?toc=%2Fazure%2Fstorage%2Fblobs%2Ftoc.json\&tabs=azure-portal). Click **Create**.
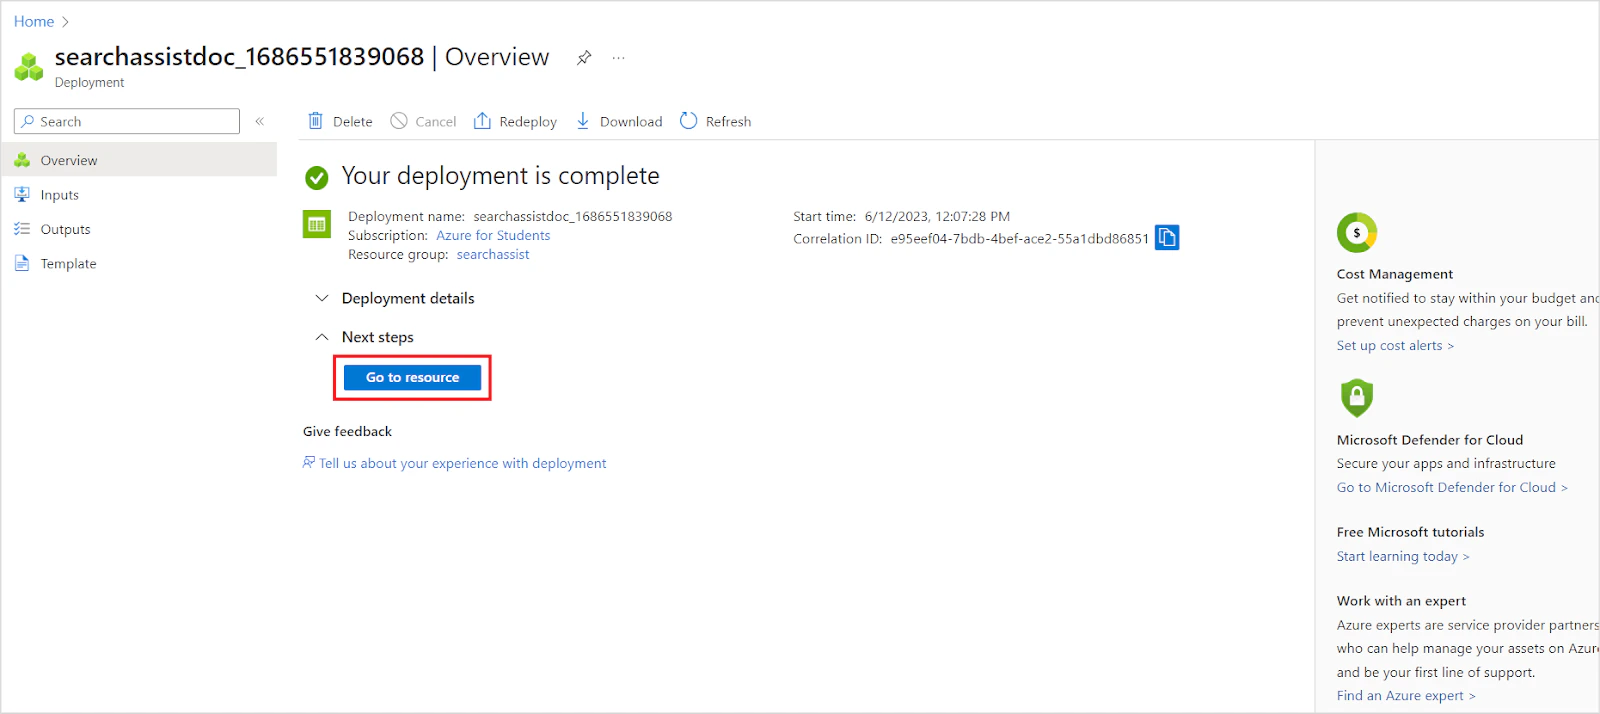
 4. After deployment completes, click **Go to resource**.
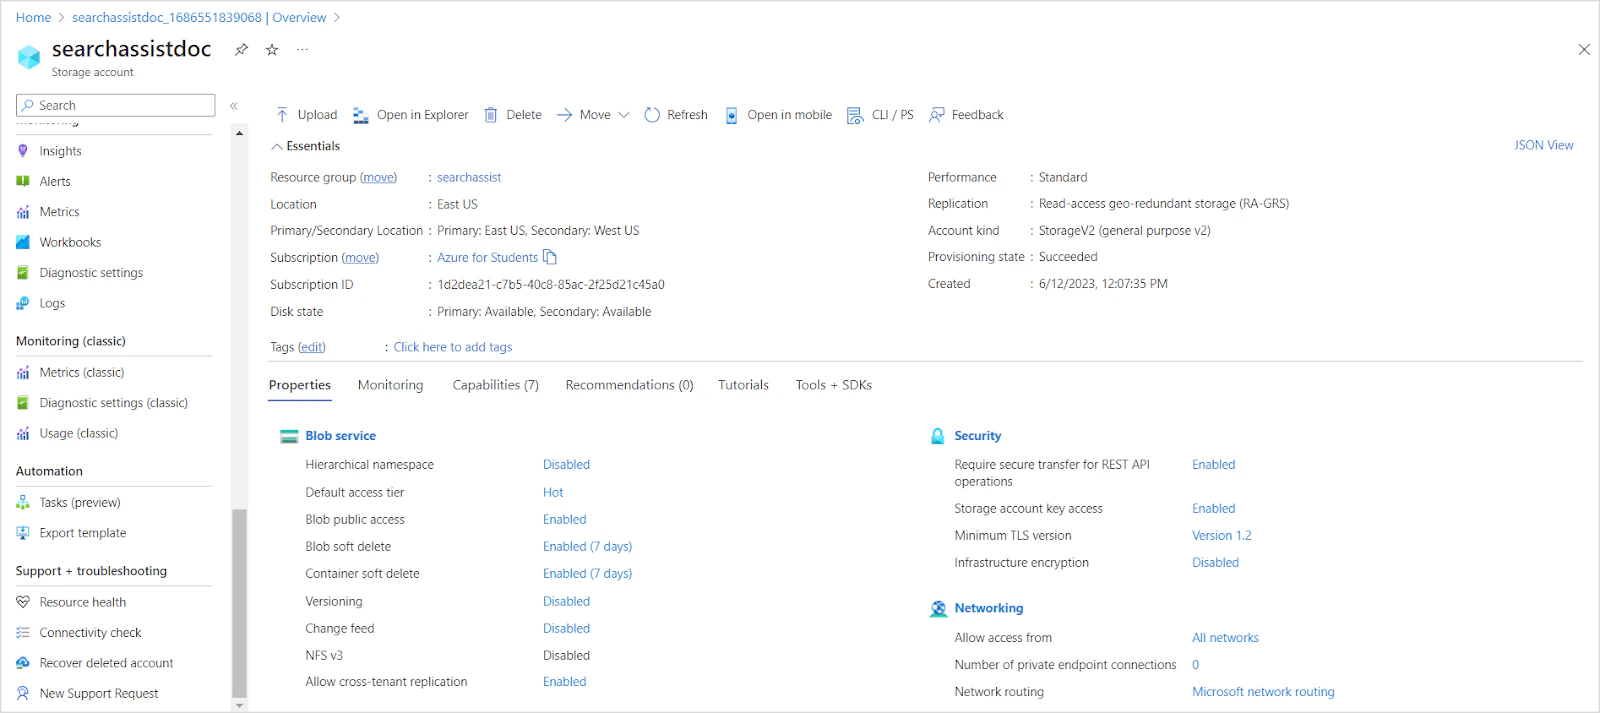
 5. Review the storage account overview.
 6. In the left navigation menu, go to **Shared access signature**. Configure the following minimum permissions, then click **Generate SAS and connection string**.
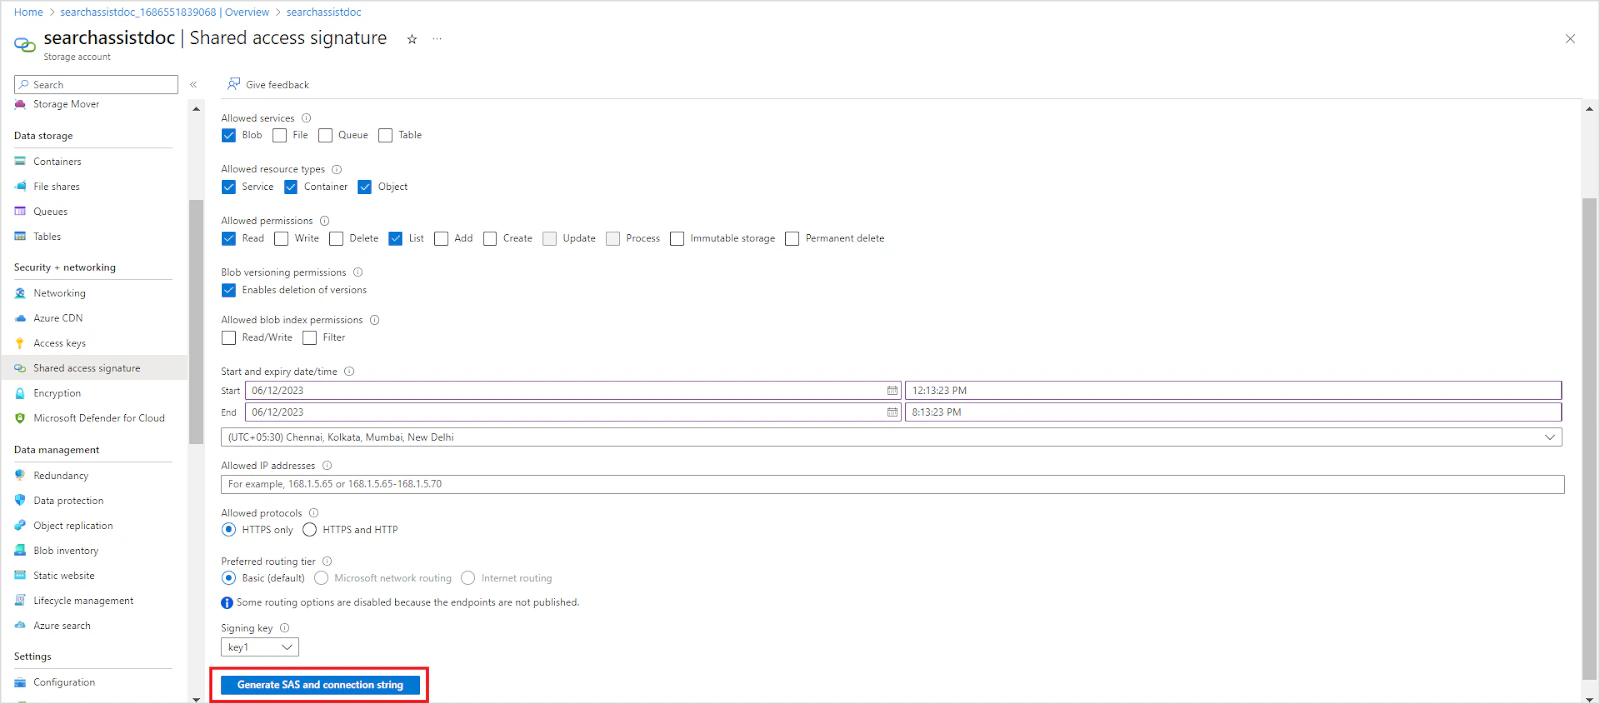 * **Allowed resource types**: Service, Container, Object
* **Allowed permissions**: Read, List
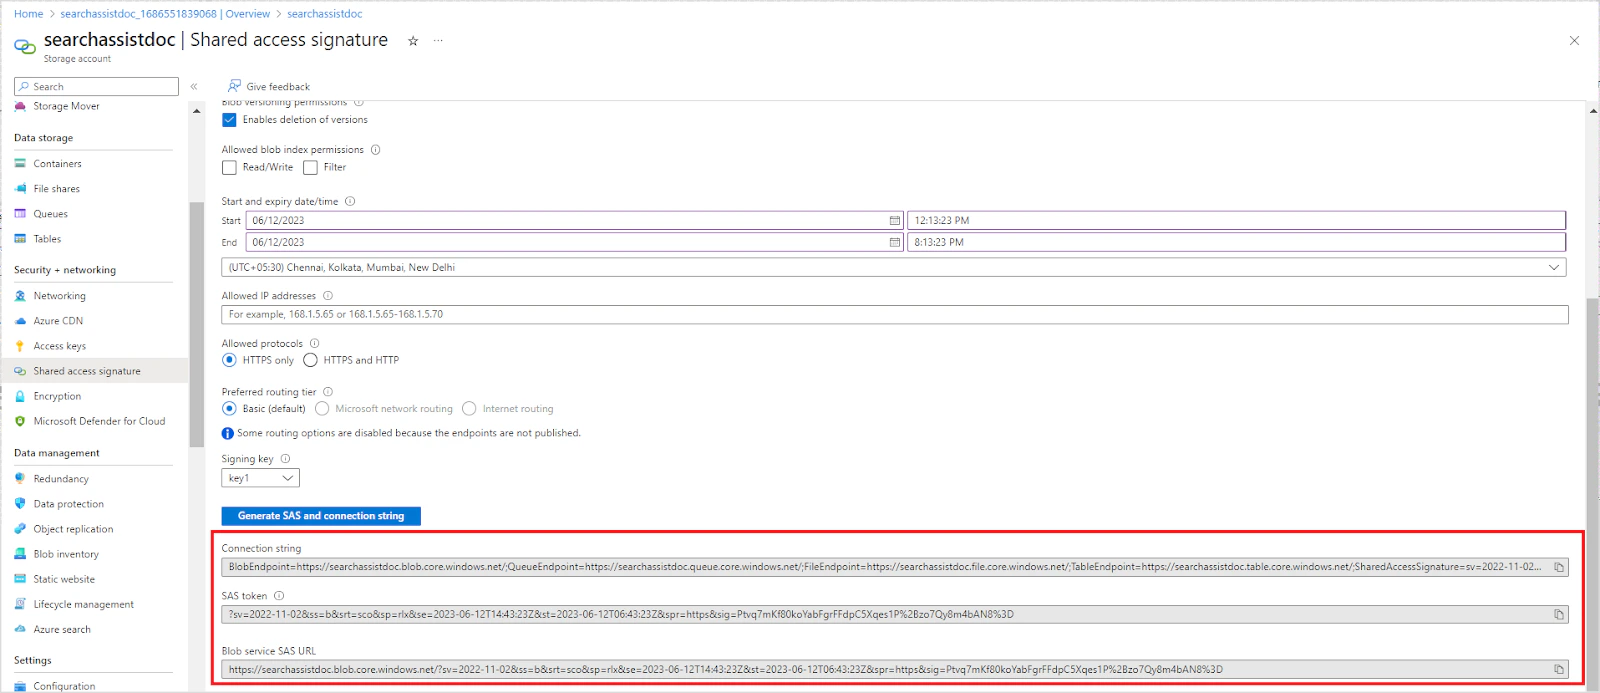
7. Save the generated **connection string**, **SAS token**, and **blob service SAS URL** — you will need these in Step 2.
* **Allowed resource types**: Service, Container, Object
* **Allowed permissions**: Read, List
7. Save the generated **connection string**, **SAS token**, and **blob service SAS URL** — you will need these in Step 2.
 ## Step 2: Configure the Azure Connector in Search AI
### Set Up the Connection
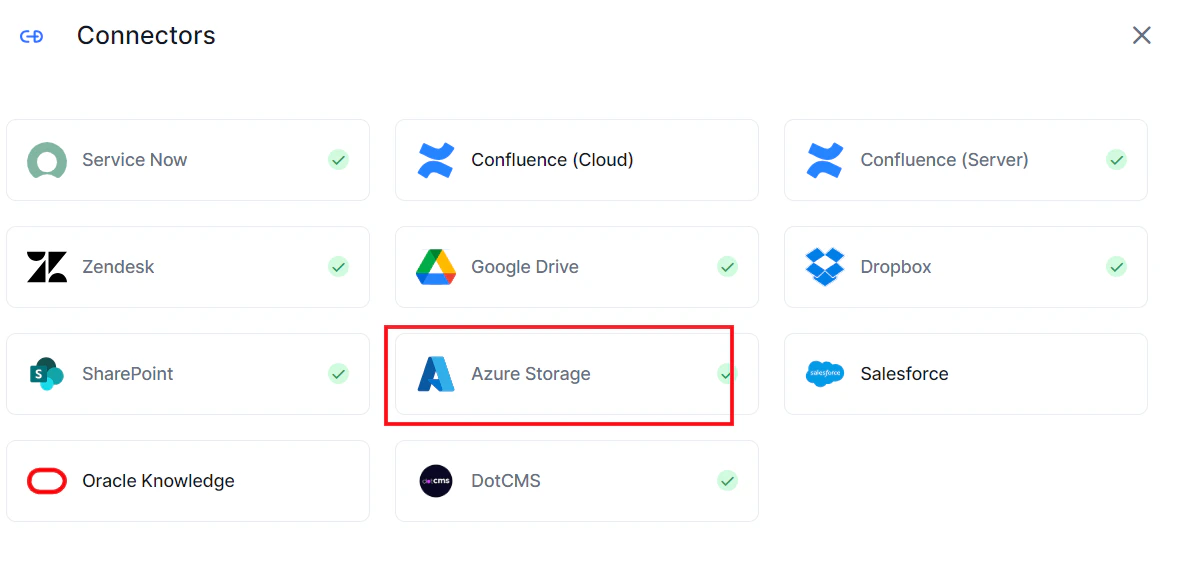
1. Go to **Content > Connectors**, click **Add New Connector**, and select **Azure Storage**.
## Step 2: Configure the Azure Connector in Search AI
### Set Up the Connection
1. Go to **Content > Connectors**, click **Add New Connector**, and select **Azure Storage**.
 2. On the **Authorization** tab, enter the following fields and click **Connect**.
| Field | Description |
| ------------- | -------------------------------------------------------------- |
| **Name** | A name for this connector |
| **Host URL** | The base URL from the blob service SAS URL generated in Step 1 |
| **SAS Token** | The SAS token generated in Step 1 |
On successful authentication, the connector status changes to **Connected**.
Connecting does not trigger content syncing automatically.
### Content Synchronization
Go to the **Configurations** tab to set up synchronization.
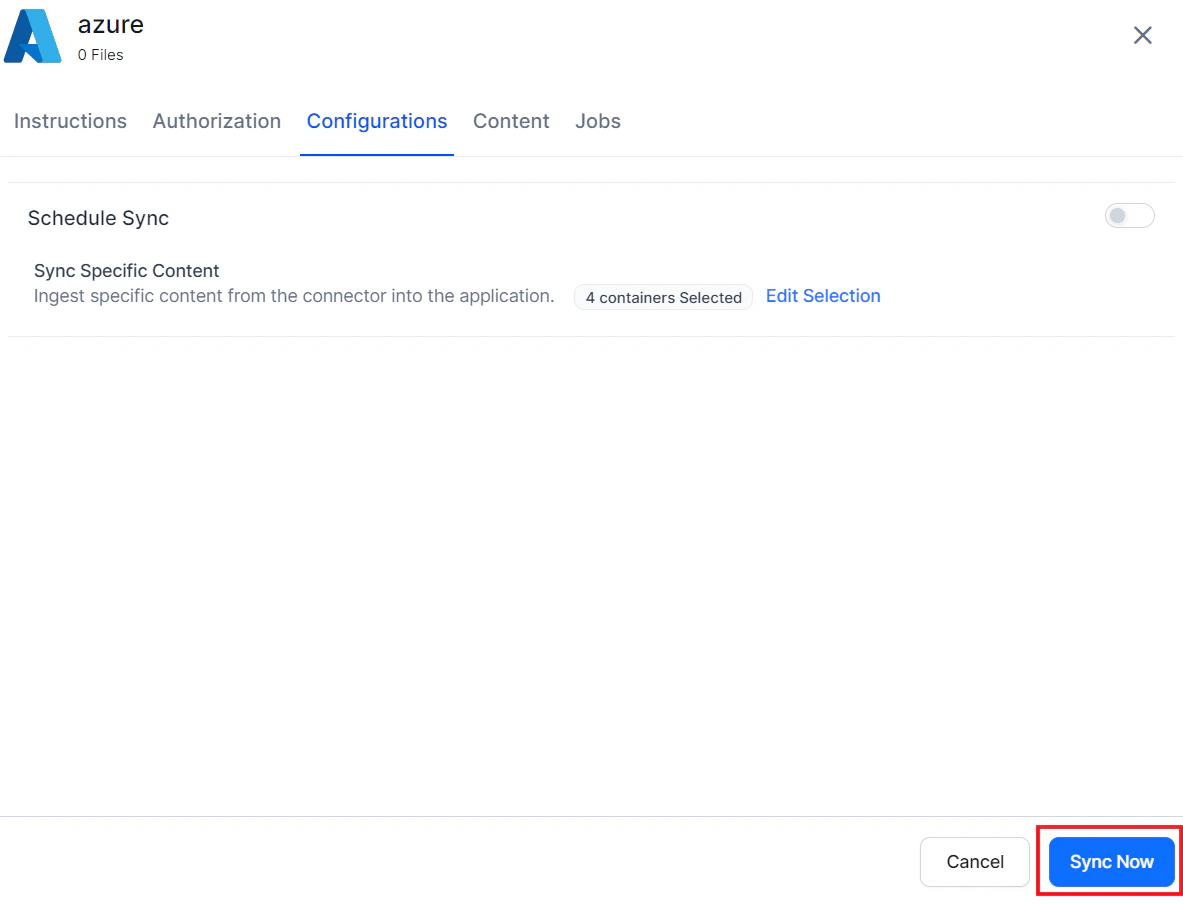
* **Manual sync**: Click **Sync Now** at the bottom of the page.
2. On the **Authorization** tab, enter the following fields and click **Connect**.
| Field | Description |
| ------------- | -------------------------------------------------------------- |
| **Name** | A name for this connector |
| **Host URL** | The base URL from the blob service SAS URL generated in Step 1 |
| **SAS Token** | The SAS token generated in Step 1 |
On successful authentication, the connector status changes to **Connected**.
Connecting does not trigger content syncing automatically.
### Content Synchronization
Go to the **Configurations** tab to set up synchronization.
* **Manual sync**: Click **Sync Now** at the bottom of the page.
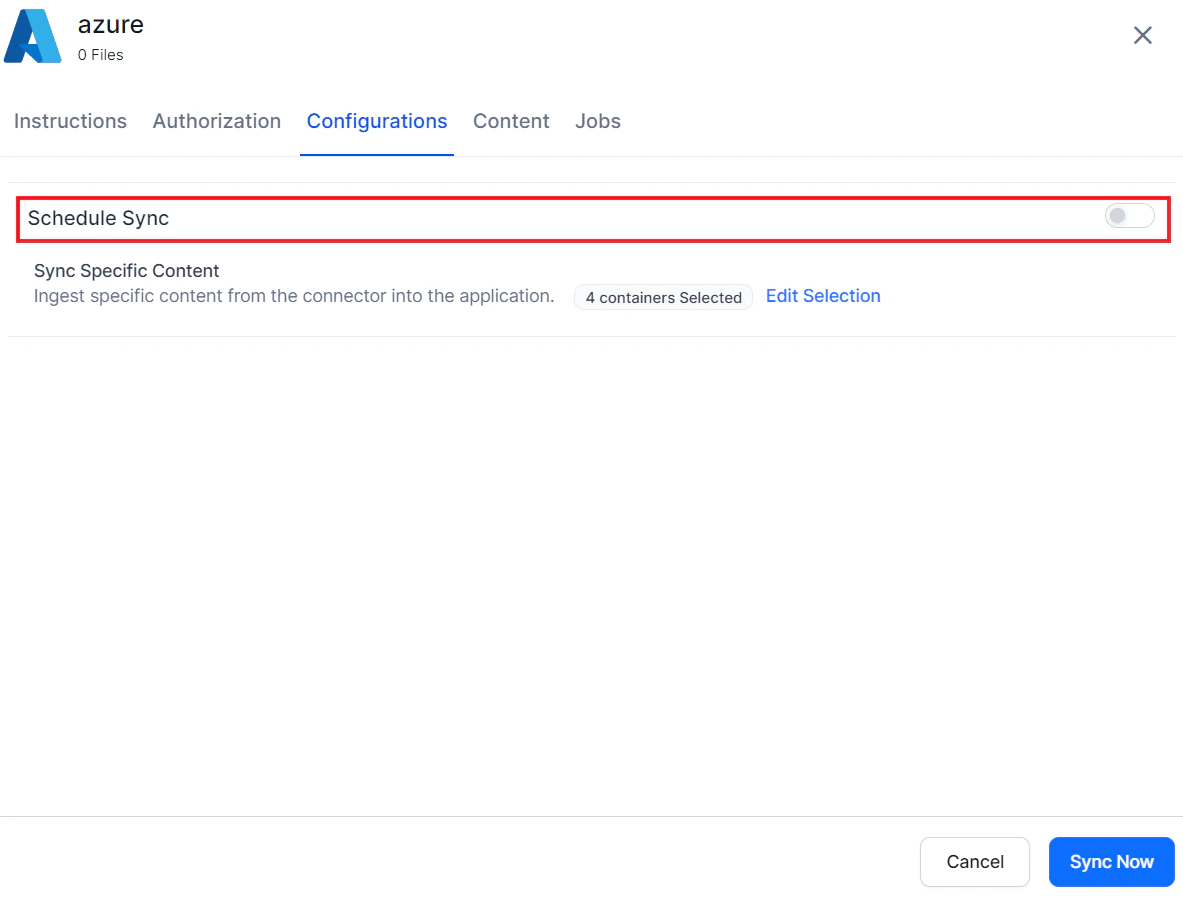
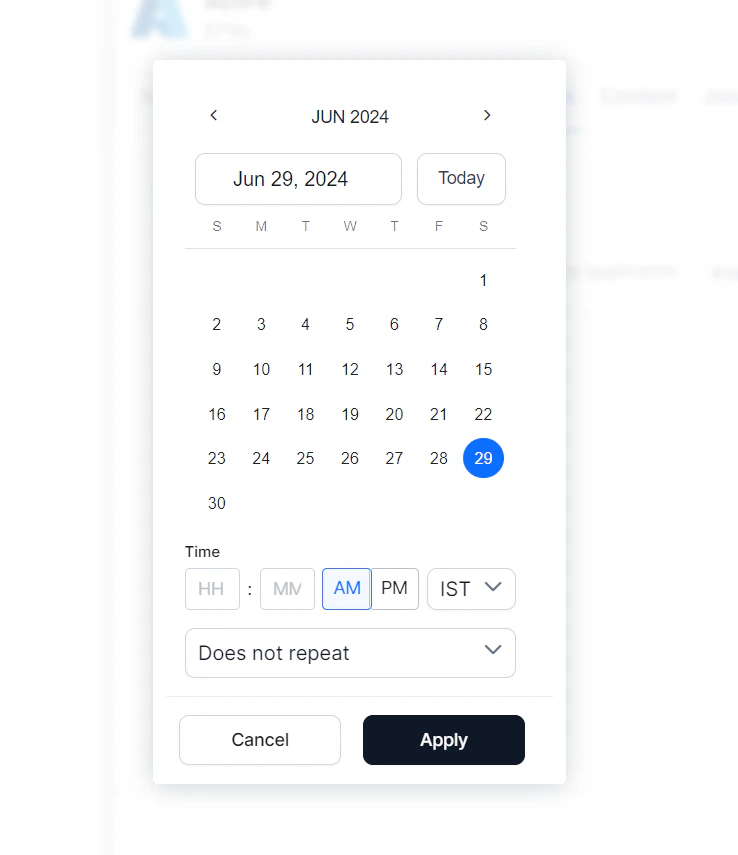
 * **Scheduled sync**: Enable the **Schedule Sync** option and set the date, time, and frequency.
 **Selecting containers**: By default, all containers are synced. To sync specific containers, click **Select Content**, choose the containers, and click **Save**.
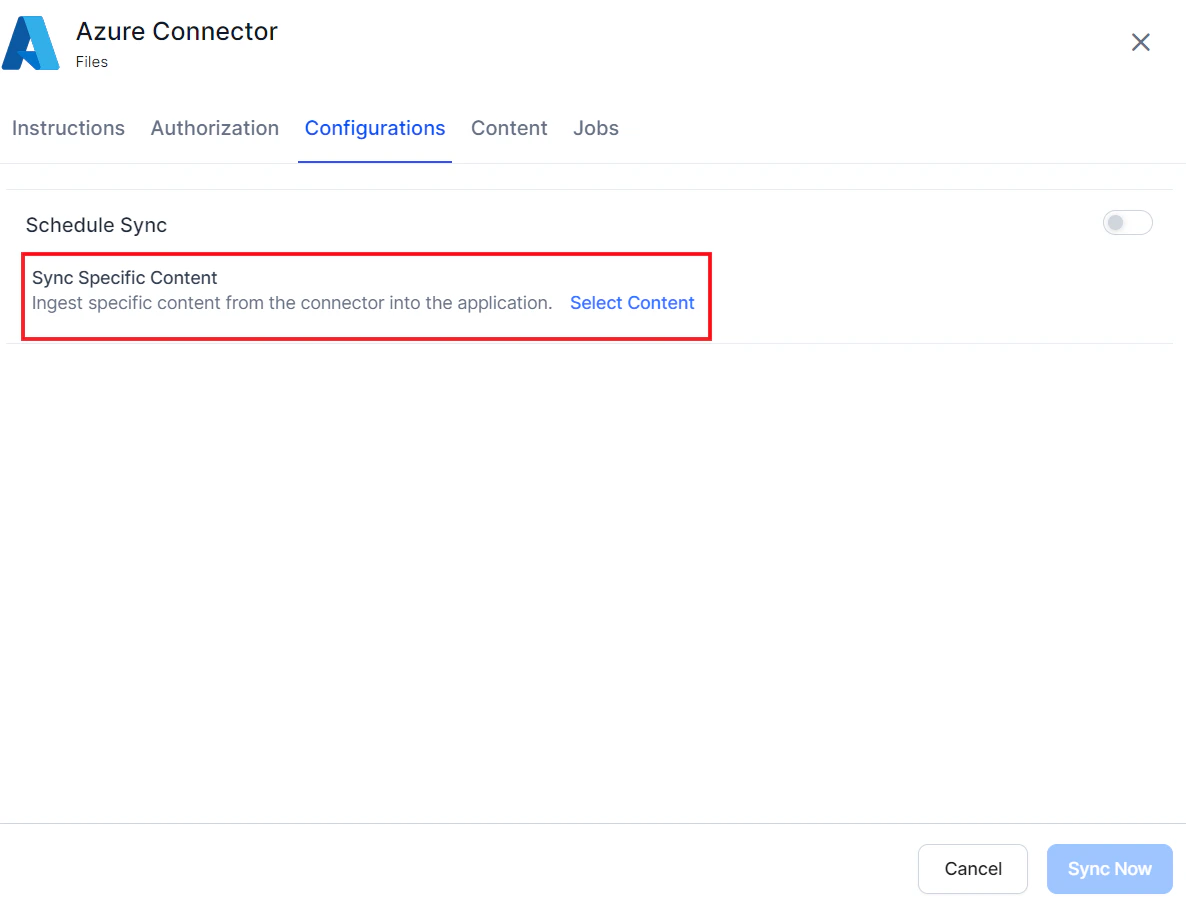 To update the container selection later, click **Edit Selection**.
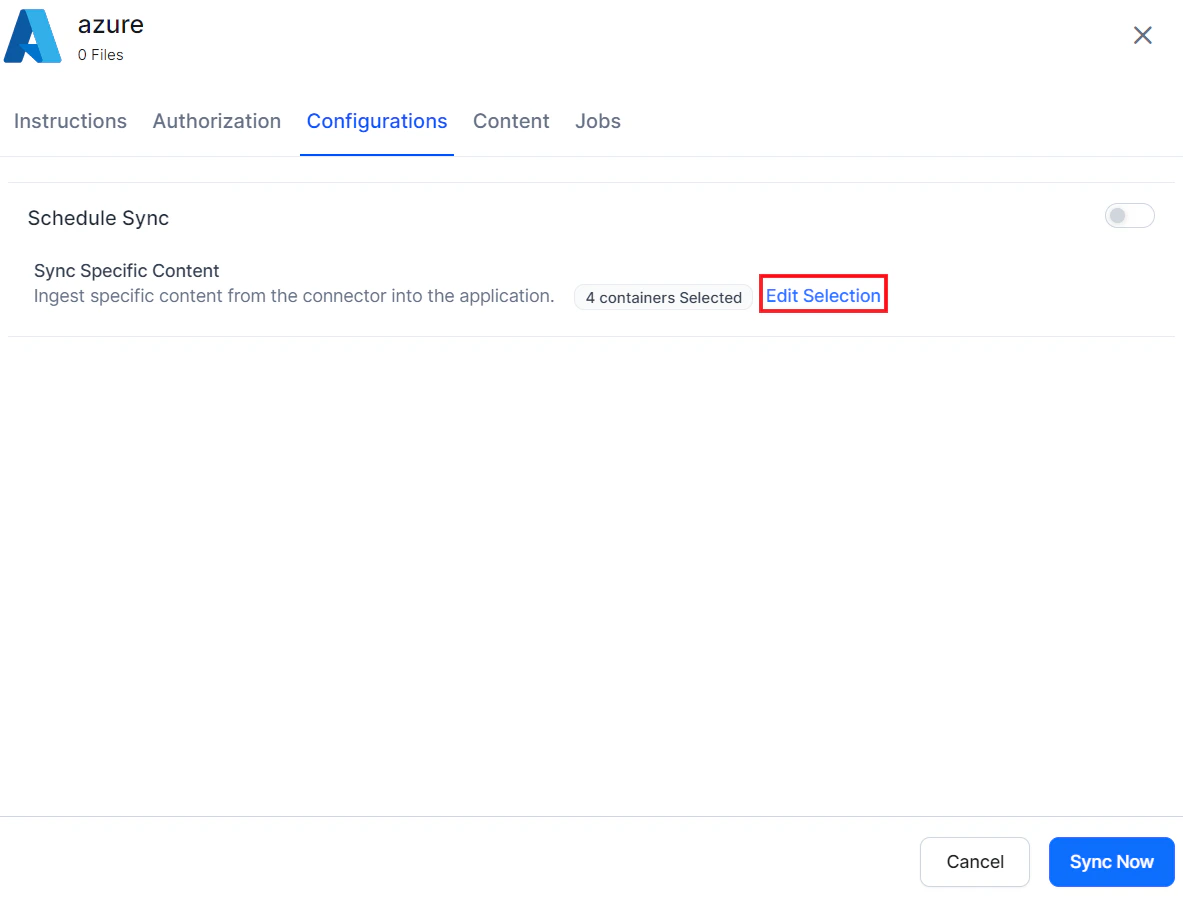 View synchronized content under the **Content** tab. The **Jobs** tab lists all sync operations.