

Key Capabilities
Deployed scripts can be invoked from:
- The API node endpoint when building a workflow.
- The Function node in the workflow.
Import and Deploy a Custom Script
- Go to Settings → Manage Custom Scripts, then select + Import new.
- Configure the fields in each section: General Details, Runtime Settings, and Resource Allocation.
- Review your configuration across all sections. Select any section to return and modify values.
- Accept the Terms and Conditions and select Deploy, or select Save as Draft to save the configuration and deploy later.
General Details
Select Validate to check the file for errors before proceeding. Validation checks include:
- File matches the sample project structure and allowed format.
- Main file is not empty.
-
Project file is within the 1 GB limit.
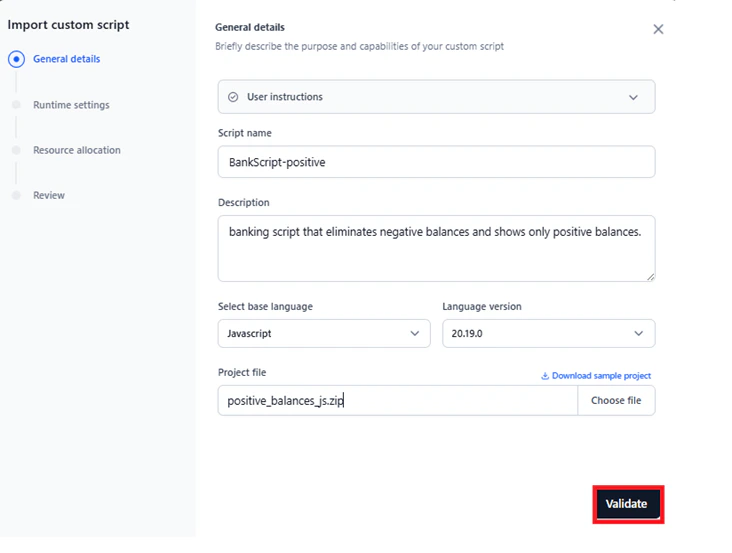
.zip folder with sample script definitions as reference.
Custom Script Requirements and Guidelines
Runtime Settings
The following default environment variables are available:
- UPLOADS_DIR: Read-only access to all files uploaded via the Public APIs. Use this to access data submitted to your account.
- WORKSPACE_DIR: Read-write directory for your function’s file operations. Data that your function stores or modifies is saved here.

Resource Allocation
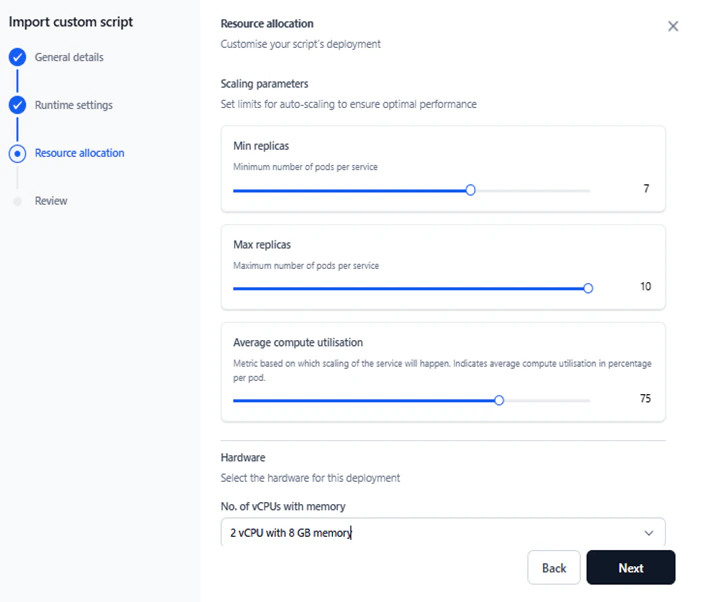
Define scaling parameters and hardware requirements to ensure the script performs optimally under varying loads.
Available hardware profiles:
Manage Deployed Scripts
Once a script is deployed or saved as a draft, the Manage Custom Scripts page lists all scripts and their statuses.Script Deployment Statuses
Export a Script
Downloads the.zip folder of the script project to your local system.
- On the Manage Custom Scripts page, select the Ellipses icon under Actions and select Export.
-
Alternatively, select the script entry and select Export on the Overview page.
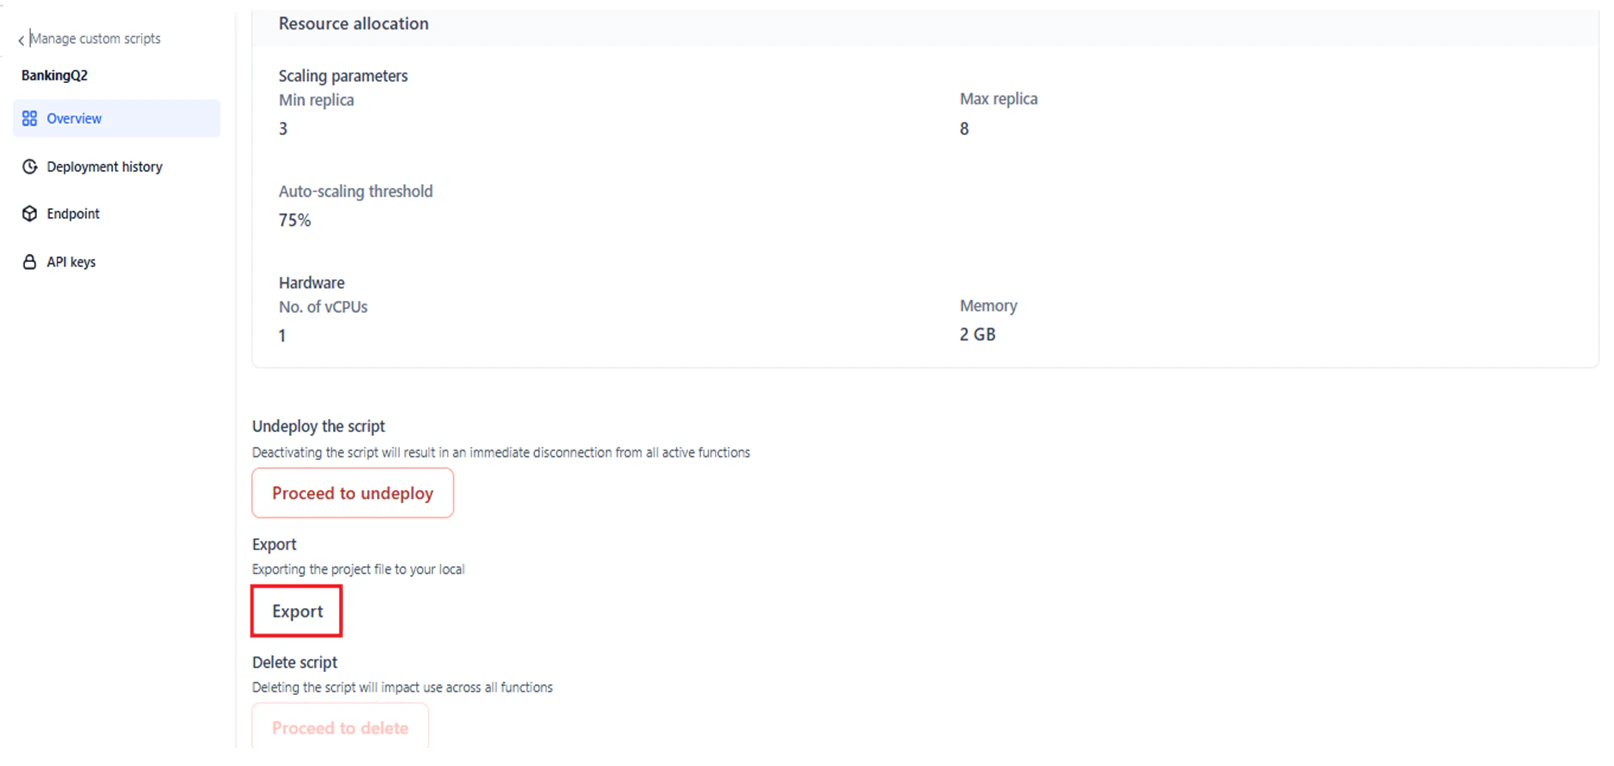
You can view the export status while it is in progress, on completion, or if it fails. You can cancel an export in progress.
Undeploy a Script
Undeploys the script from all its deployed locations on the platform.- An undeployed script can be redeployed. See Redeploy a Script.
- After redeployment, the script’s data and configurations are restored. You can edit the name and other parameters in the deployment flow.
- If no scripts are deployed, the Function node displays “No custom scripts deployed yet.” Undeployed scripts do not appear in the Script dropdown for the Function node.
- On the Manage Custom Scripts page, select the Ellipses icon under Actions and select Undeploy.
- Alternatively, select the script entry and select Proceed to Undeploy on the Overview page.
- Select Undeploy in the confirmation window.
Delete a Script
Permanently deletes a script, including its configurations and definitions, from the system. To delete a script:-
On the Manage Custom Scripts page, click the Ellipses icon under Actions, then click Delete.
Alternatively, click the script entry and select Proceed to Delete on the Overview page.

- Click Delete in the confirmation window.
Redeploy a Script
Redeployment lets you update a script’s description, project file, runtime settings, and resource allocation. You cannot change the script name, base language, or version number during redeployment. Redeploy is only available for scripts with the Deployed status. To redeploy a script:- Click the script with the Deployed status on the Manage Custom Scripts page.
-
Click Re-deploy on the Overview page.
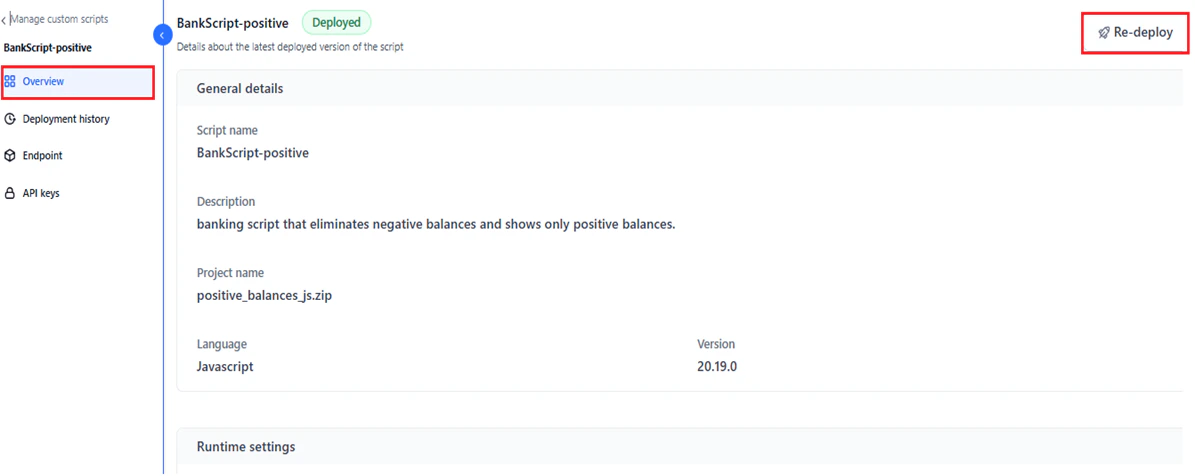
- The import wizard opens with the existing configuration. Update the required fields.
View Script Details
Select any script entry on the Manage Custom Scripts page to open its detail view. The following tabs are available for all script statuses.Script Overview
The Overview page shows the configuration details of the latest deployed version of a script. To open it, click any script entry on the Manage Custom Scripts page. The page is available for all script statuses and displays:- Script name and assigned status.
- General Details configuration.
- Runtime Settings configuration.
- Resource Allocation configuration.
Deployment History
The Deployment History page shows previous and current deployment and undeployment actions for a script. Use it to track version history, deployment statuses, and actions performed.- Deployment history is available for the following statuses: Deployed, Deployment Failed, Deploying, and Ready to Deploy.
- For scripts in Draft status, the page shows a prompt to deploy the script. Click Deploy custom script and follow the steps in Import and Deploy a Custom Script.
- Undeployment information is shown only when the status is Ready to Deploy.
Endpoint
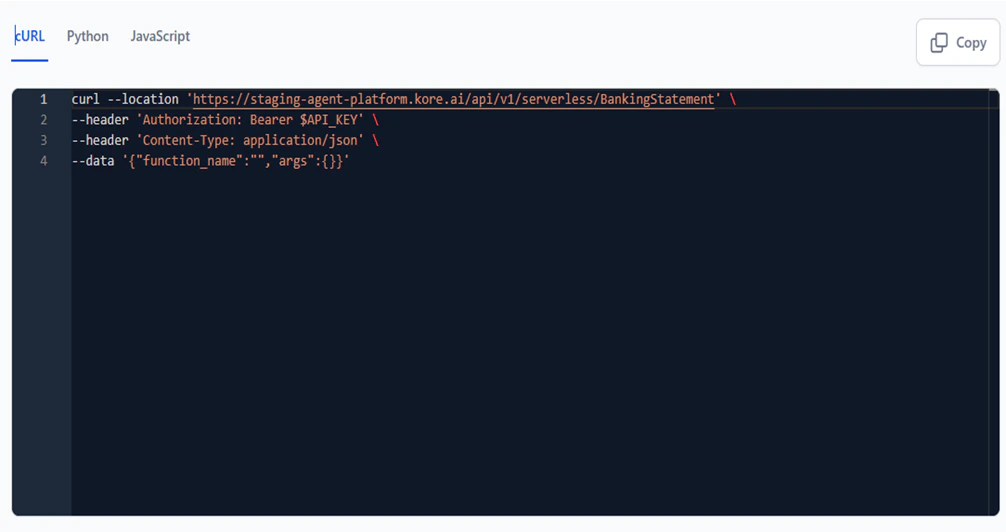
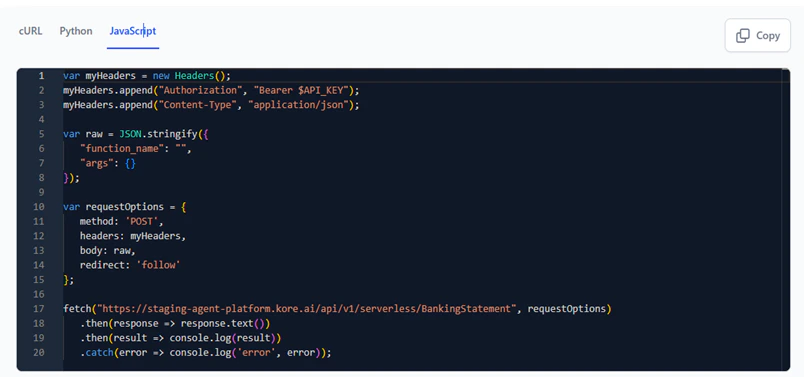
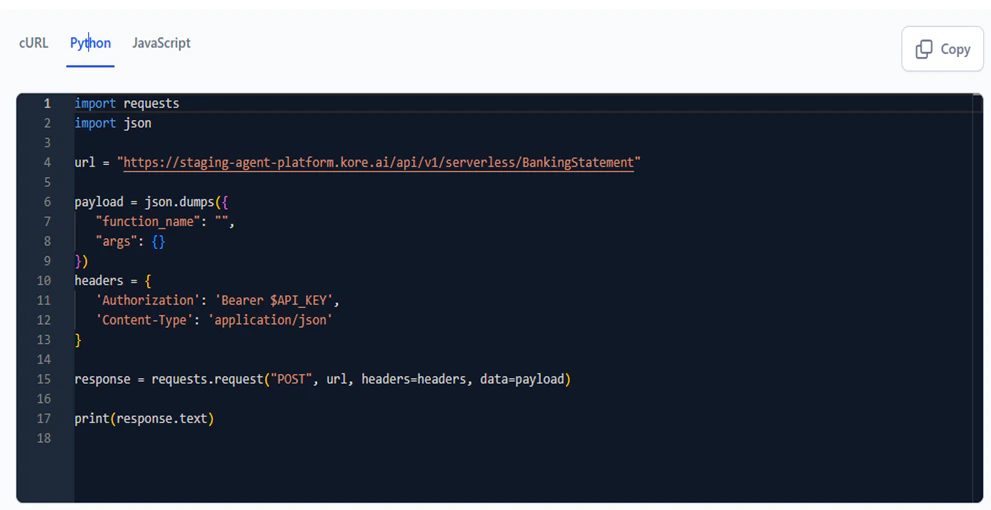
The Endpoint page shows the activated endpoint code for a deployed script in multiple formats. Copy the code in your preferred format to integrate it into your applications.The endpoint code is view-only and cannot be edited.
-
cURL: API endpoint information for the script.
-
JavaScript: Payload JSON code in JavaScript format.
-
Python: Payload JSON code in Python format.
API Keys
API keys control access to a deployed script’s endpoint. Create at least one API key before calling a script via an endpoint. You can create API keys for a script regardless of its deployment status. Keys can only be used after the script is successfully deployed. To create an API Key:- Navigate to the API Keys page.
- Click Create a New API Key or Create New Key.
- Enter a unique name for the key. The default name is “Secret Key.”
- Click Generate Key and then Copy and Close.
Using Custom Scripts in the API Node
To call a deployed custom script from the API node in a workflow:- In the API node configuration, click Request Definition.
-
In the Edit Request dialog, configure the following:
- Select the request type.
-
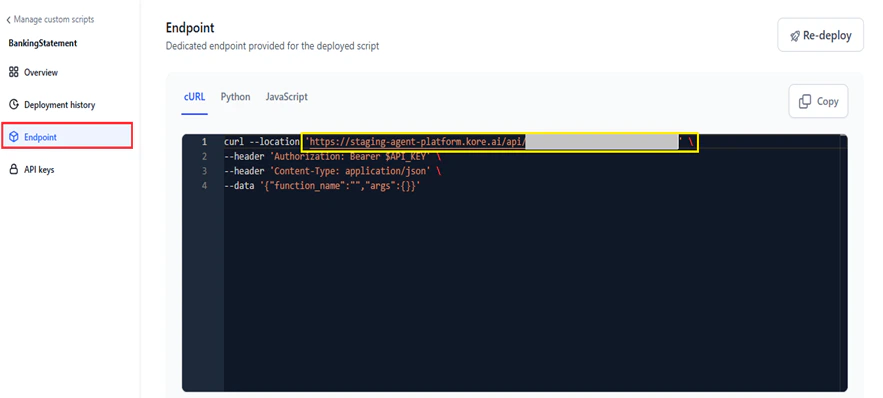
Copy the cURL from the Endpoint page of the custom script.
-
Paste it in the text field.
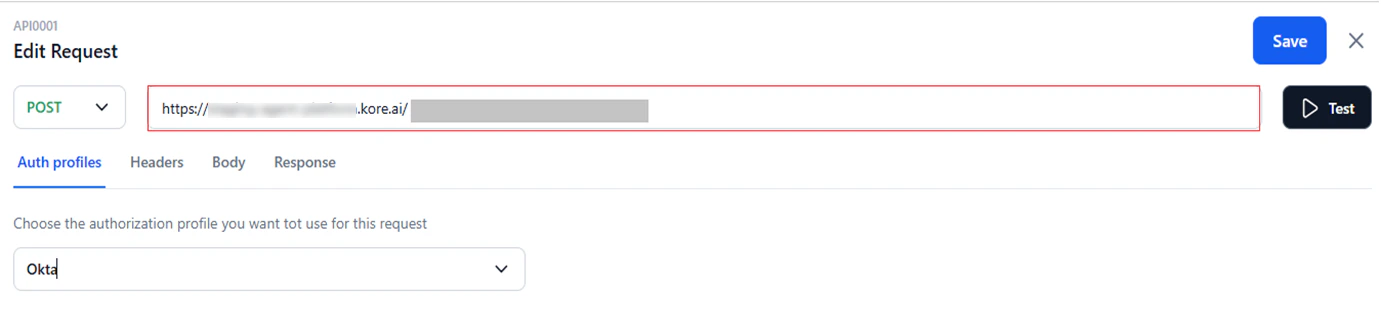
- In Auth Profiles, select an authentication profile or None (default) if authentication is not required. Learn more about Auth Profiles.
-
In the Headers tab, add key-value pairs. For example, Key:
Content-Type, Value:application/json. -
In the Body tab (not available for GET requests), select the content type:
- application/x-www-form-urlencoded: File uploads via HTTP POST. Key/value pairs are encoded by the platform.
- application/json: JSON data exchange between servers and web applications.
- application/xml: XML payload for SOAP services using POST, with the option to include node values.
- Custom: Non-standard payload formats, such as for blogs or custom variables.
- Click Test to send a test request. The API response appears in the Response tab.
- Click Save.