

Configure the Node
General Settings
In General Settings, configure the following: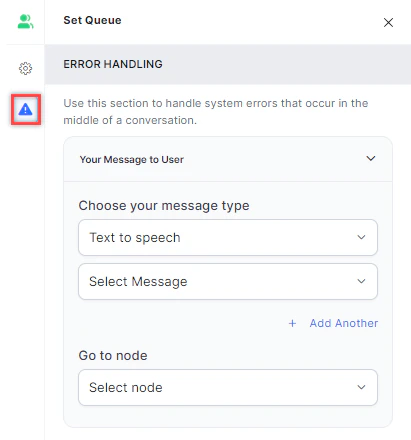
- Custom Name: Enter a name to identify the node.
-
Integration Type: Select Static List or Script:
-
Static List:
- Queue: Select the queue to apply to this node.
- Priority: Set the conversation priority (1-10, where 1 is highest and 10 is lowest). Default is 5 - Standard. !!! Note When priority is set, conversations shift position in the queue dynamically. This affects queue position and wait time estimates shown to customers. Consider this when configuring waiting experience messages.
-
Script: Define the queue or priority programmatically.
 Set the conversation priority (valid values: 0-10, inclusive):Examples:If an invalid priority is provided, it’s ignored and the default priority (5) is applied.
-
Static List:
- Inside working hours: Select the Go to node to trigger after the queue is set during working hours. For example, route to Check Agent Availability to check for available agents.
- Outside working hours: Select the Go to node to trigger after the queue is set outside working hours. For example, route to Check Business Hours to notify customers they called outside business hours. Learn more.
Error Handling
Use this section to handle system errors during customer interactions.-
Your Message to User: Select a message type under Choose your message type:
-
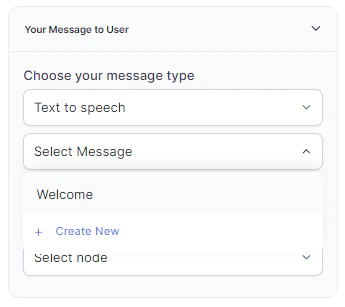
Text to Speech: Type or select a message to convert to speech. Click + Create New to add a new prompt, or + Add Another to define multiple messages (one is randomly selected at runtime).
-
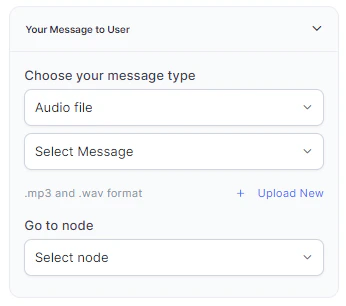
Audio File: Type a message or click + Upload New to upload an .mp3 or .wav file.
-
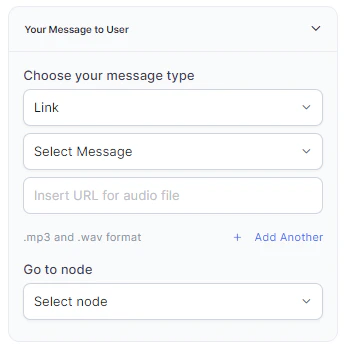
Link: Click + Create New to add message text and an audio file URL (.mp3 or .wav). Click + Add Another for additional URLs.
-
Text to Speech: Type or select a message to convert to speech. Click + Create New to add a new prompt, or + Add Another to define multiple messages (one is randomly selected at runtime).
- Go to node: Select the node to direct the error handling flow. You can create a new node or select an existing one.