Configuration
Step 1: Generate Access Details
- Log in to https://login.incontact.com/ with your NiceInContact credentials.
-
Generate an AccessKeyId and AccessKeySecret from your User Profile. See NiceInContact Generate Access Key Documentation.
These access details can be generated in the CXone interface on the Employees Page for the User Hub.
- Save the Access Key and Access Secret for later.
Step 2: Register an App and Retrieve Client ID and Secret
- Log in to https://login.incontact.com/ with your NiceInContact credentials.
- Follow the Application Registration Documentation to register your app.
- On the Application Registration page, provide:
- Tenancy: Single Tenant
- Authentication method:
client_secret_basic - CXone ACD API scopes:
PatronApi - Application type: Back-end
- After registration, you receive a
client_idandclient_secret. Save both.
Step 3: Create a Point of Contact
- Follow the Set Up Chat Documentation to create a point of contact.
- Set Media Type to Chat.
- Enter Name, select Skills and Script, then click Create Point of Contact.
- Copy the Point of Contact key and save it.
Step 4: Enable the NiceInContact Agent
- Log in to the Platform.
- Select the AI Agent to configure.
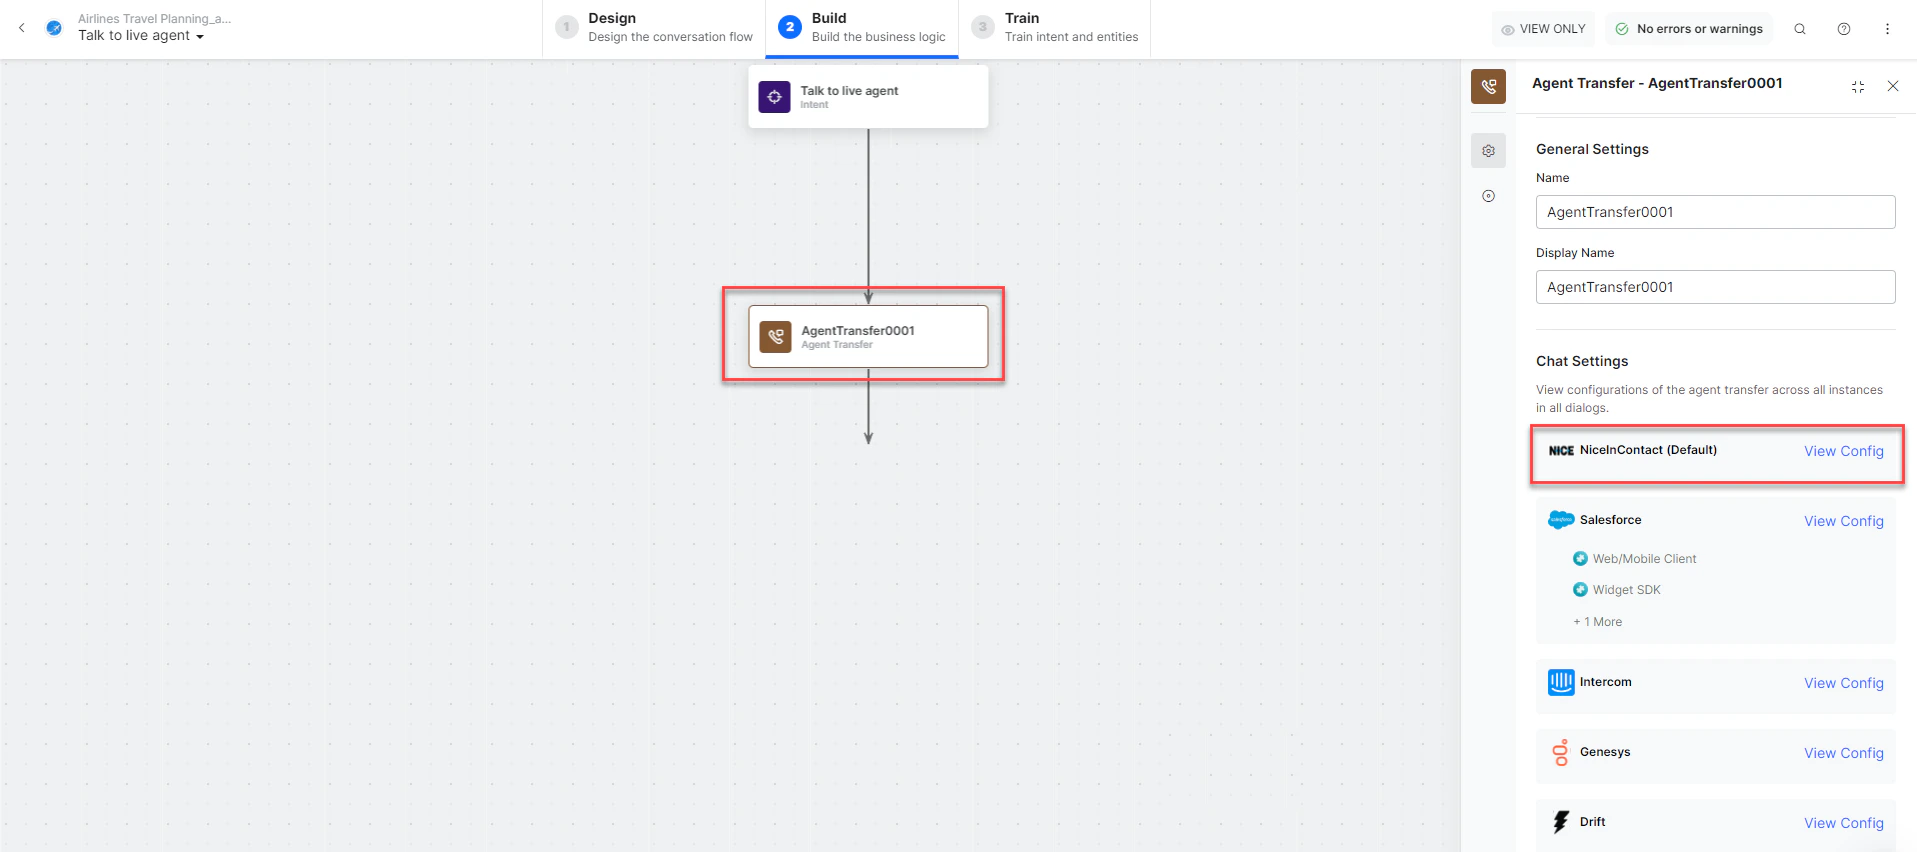
- Navigate to App Settings > Integrations > Agent Transfer and click Nice In Contact (UserHub).
-
On the Configurations tab, enter:

-
To make NiceInContact the default agent, enable Default Agent System for all app channels.
 This option is only available when multiple agents are configured.
 -
Click Manage to map channels to the NiceInContact User Hub agent.
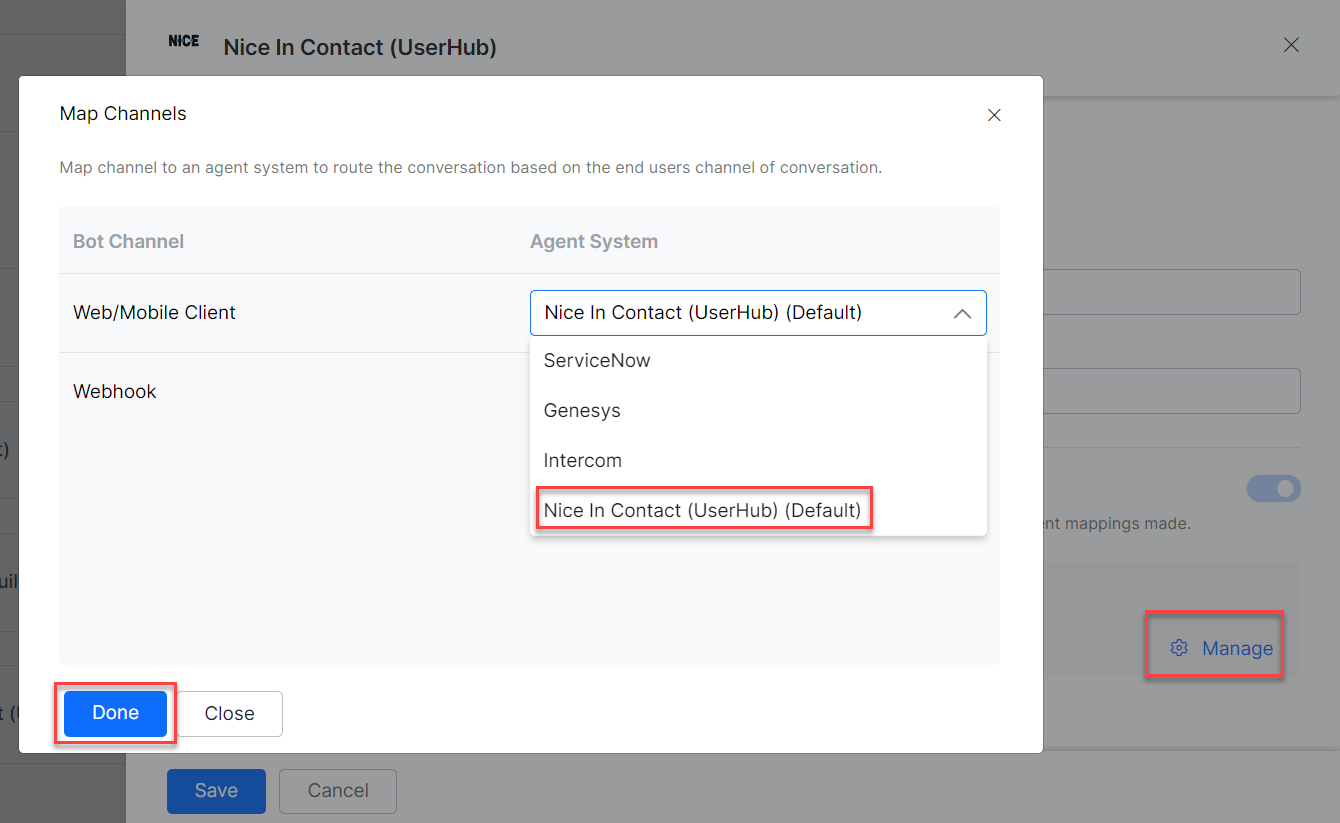
- Click Save to enable the agent.
- Publish the app. See Publishing your App.
Verify the Integration
- Log in to https://login.incontact.com/ with the credentials from Step 1.
-
Navigate to Applications > Max to launch the Chat console.
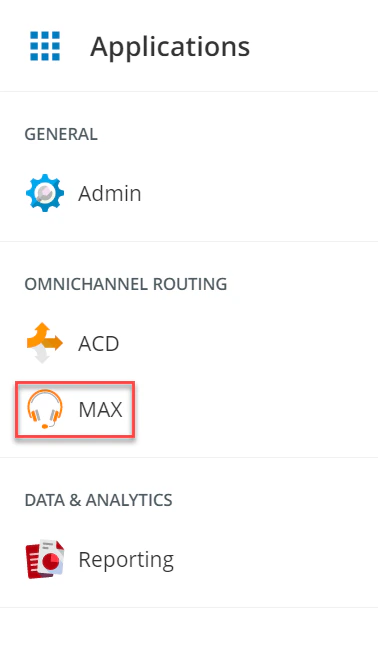
-
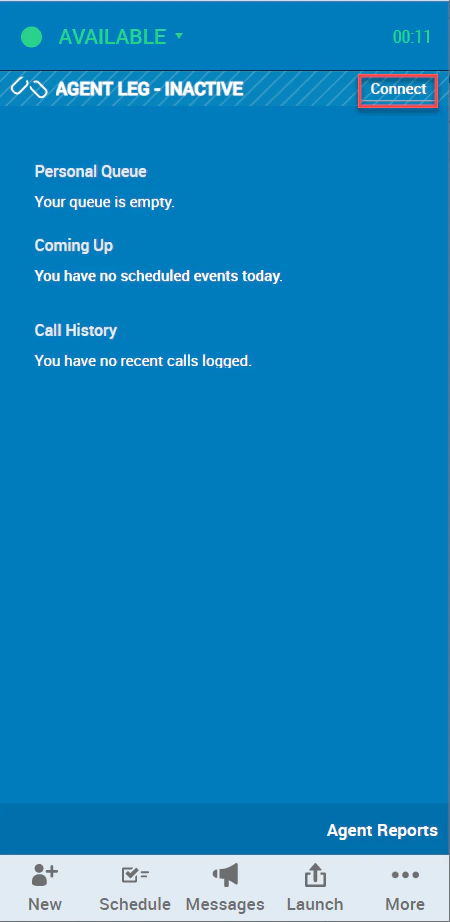
Change status from Unavailable to Available.
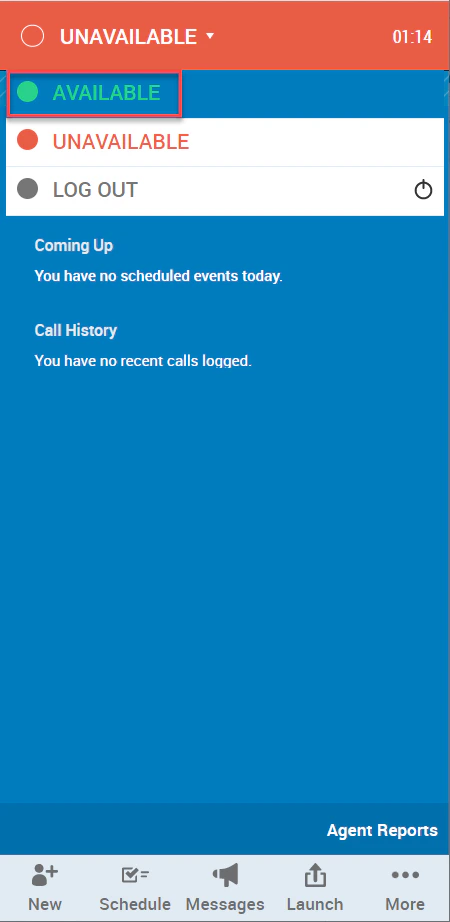
-
Click Connect to start exchanging conversations.
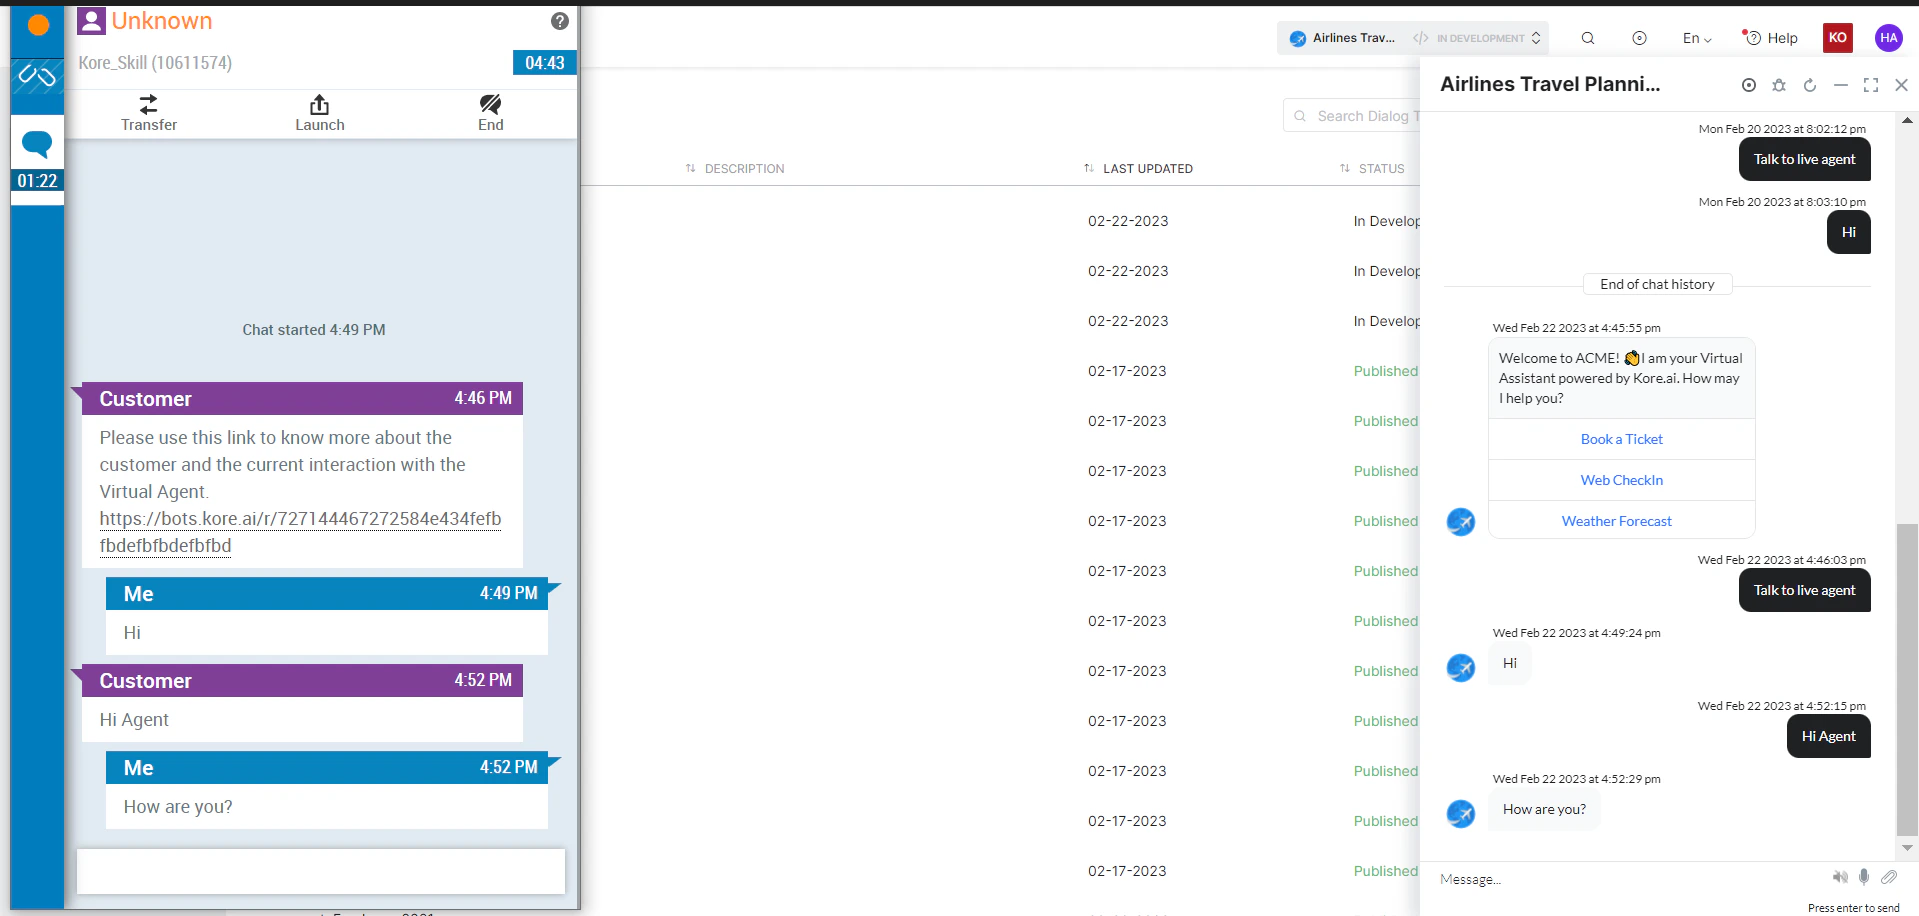
- Open the AI Agent with NiceInContact User Hub enabled.
-
Create an Agent Transfer Node task (for example, a Talk to Live Agent task with a LiveChats node configured to use Nice agent). See Agent Transfer Node.
- Click Talk to Bot and enter Help.
- When the agent transfer dialog is invoked, NiceInContact Chat receives a notification.
-
The conversation transfers to the NiceInContact User Hub agent and the connection is established.