Upload a Dataset
-
In the AI for Process top menu, click Data.
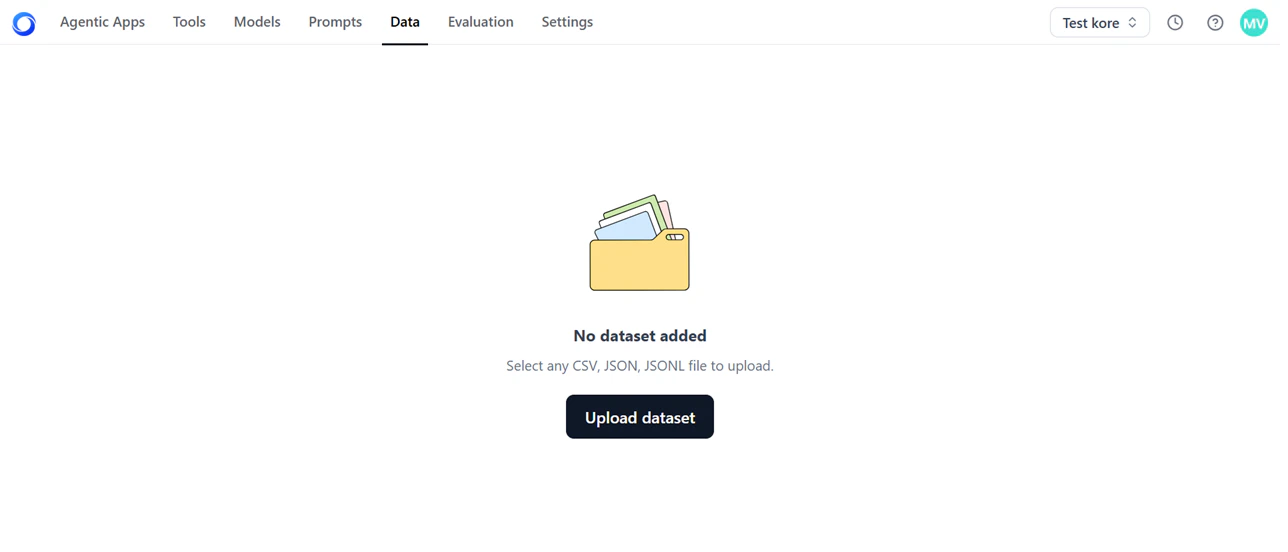
- Click Upload dataset and select your file. The uploaded file appears on the Data page.
Files uploaded in Prompt Studio or the Models fine-tuning wizard are automatically saved to the Data tab for future use.
Download or Delete a Dataset
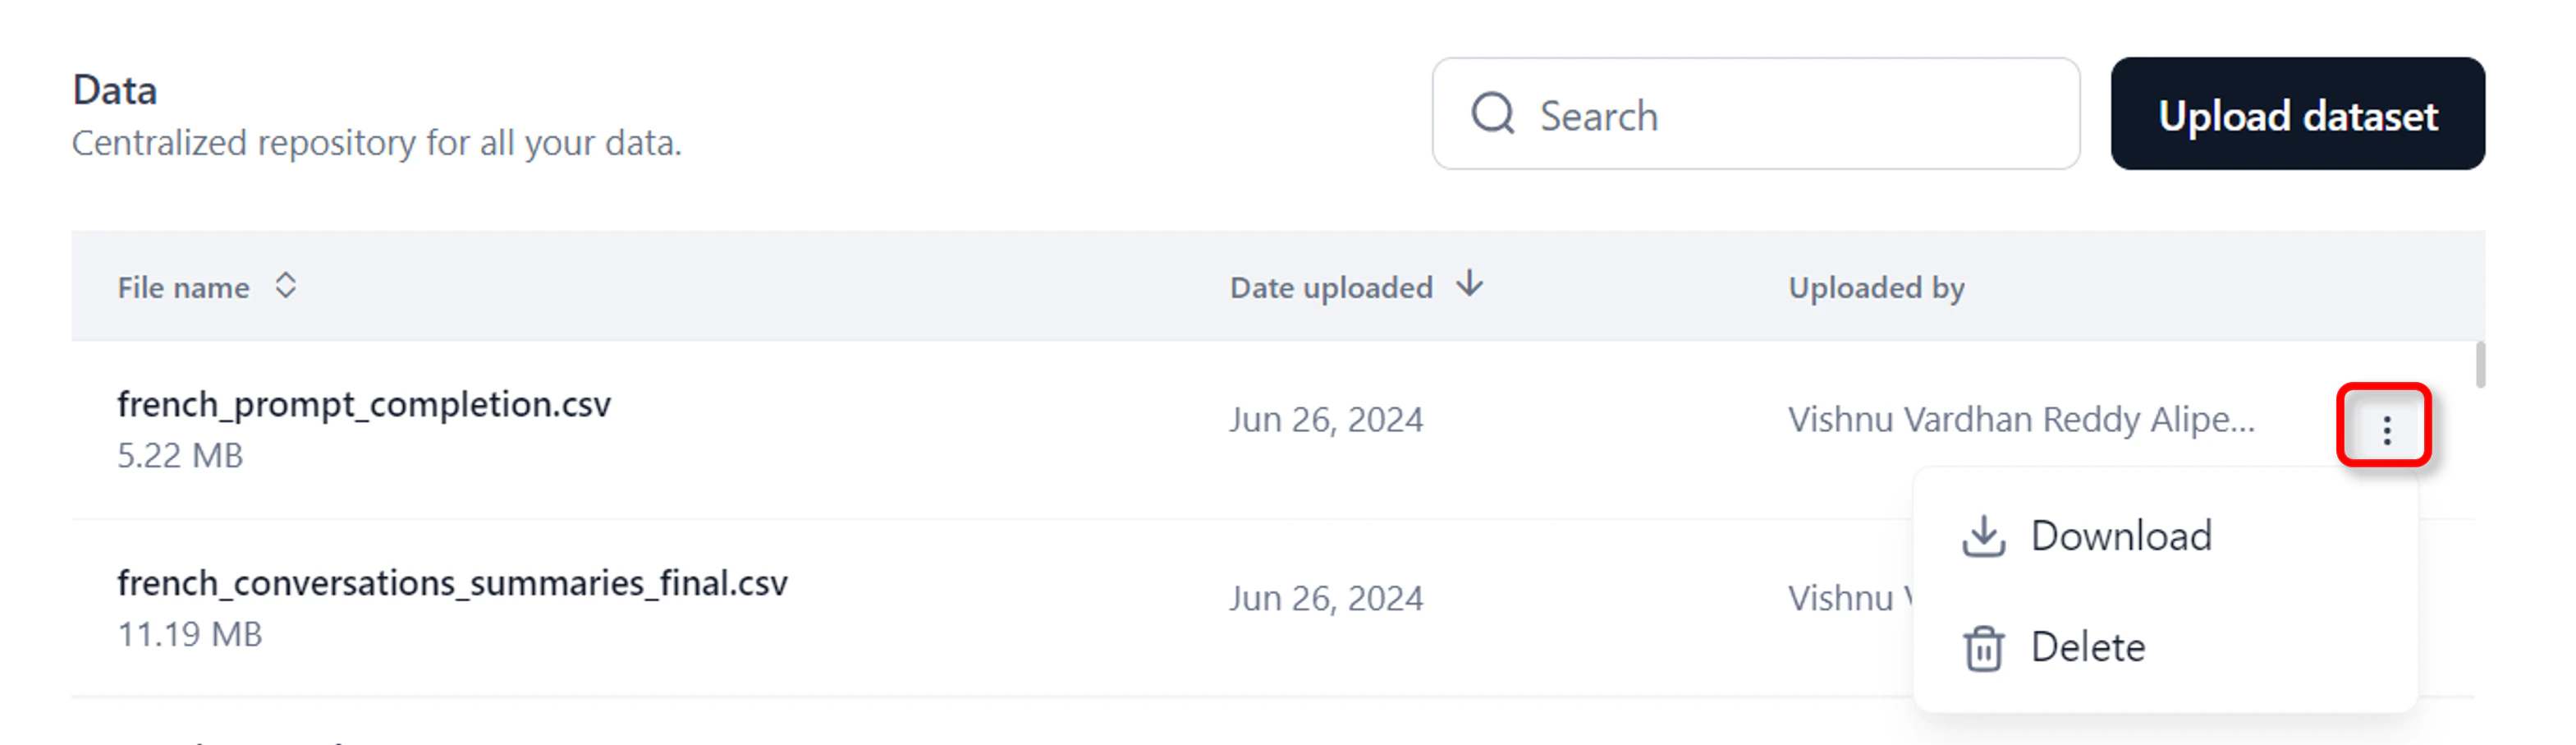
- In the AI for Process top menu, click Data.
- Click the three-dots icon in the last column and choose Download or Delete.
Test Data in Prompt Studio
Prompt Studio provides two ways to work with test data:- Import test data: Upload a CSV file to populate prompt variables automatically.
- Generate test data: Create synthetic datasets based on your prompt and variables.
Import Test Data
The system reads up to 10 rows from the CSV and maps column names to prompt variables. Column names are case-sensitive and must match variable names exactly — for example,{{Name}} requires a column named Name. Data must start from the first row and column of the file.
You can import a maximum of 10 rows at a time.
- On the prompt canvas, click Test data > Import test data.
-
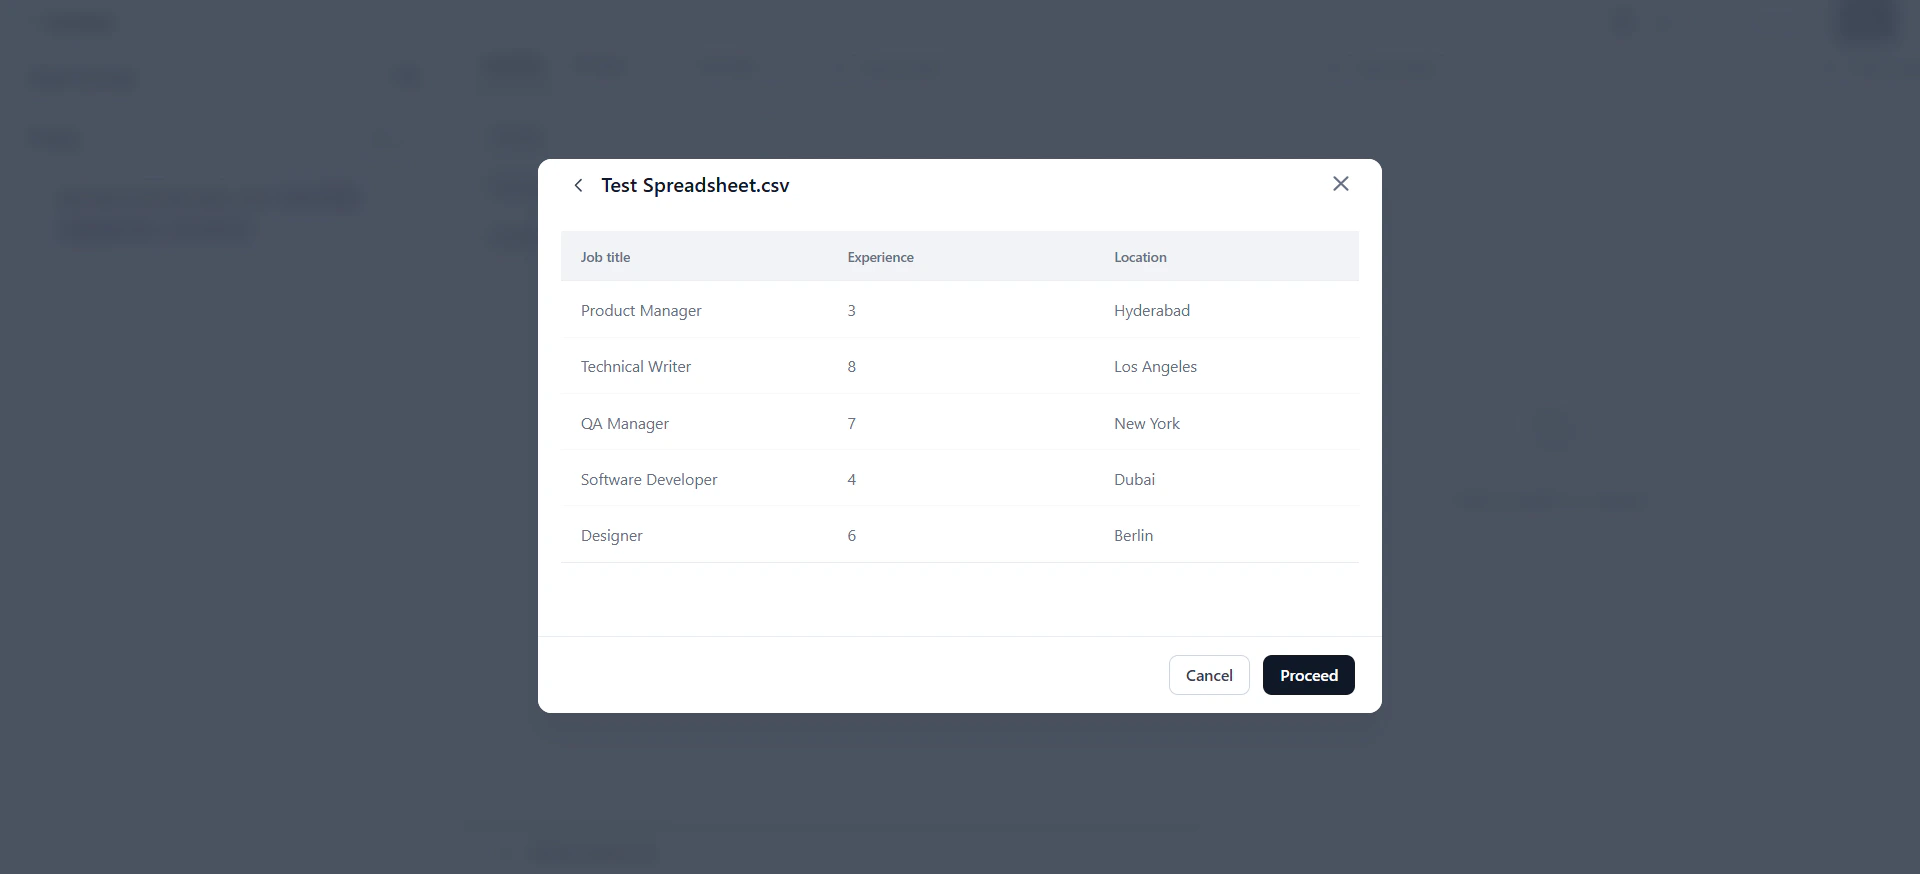
In the Import test data dialog, upload a CSV from your computer or select an existing dataset.

-
Review the data preview and click Proceed.
Generate Test Data
Generate synthetic test datasets without creating data manually. The system analyzes your prompt and variables to produce contextually relevant values.- You can generate a maximum of 5 rows at a time.
- Only OpenAI and Anthropic models are supported for test data generation.
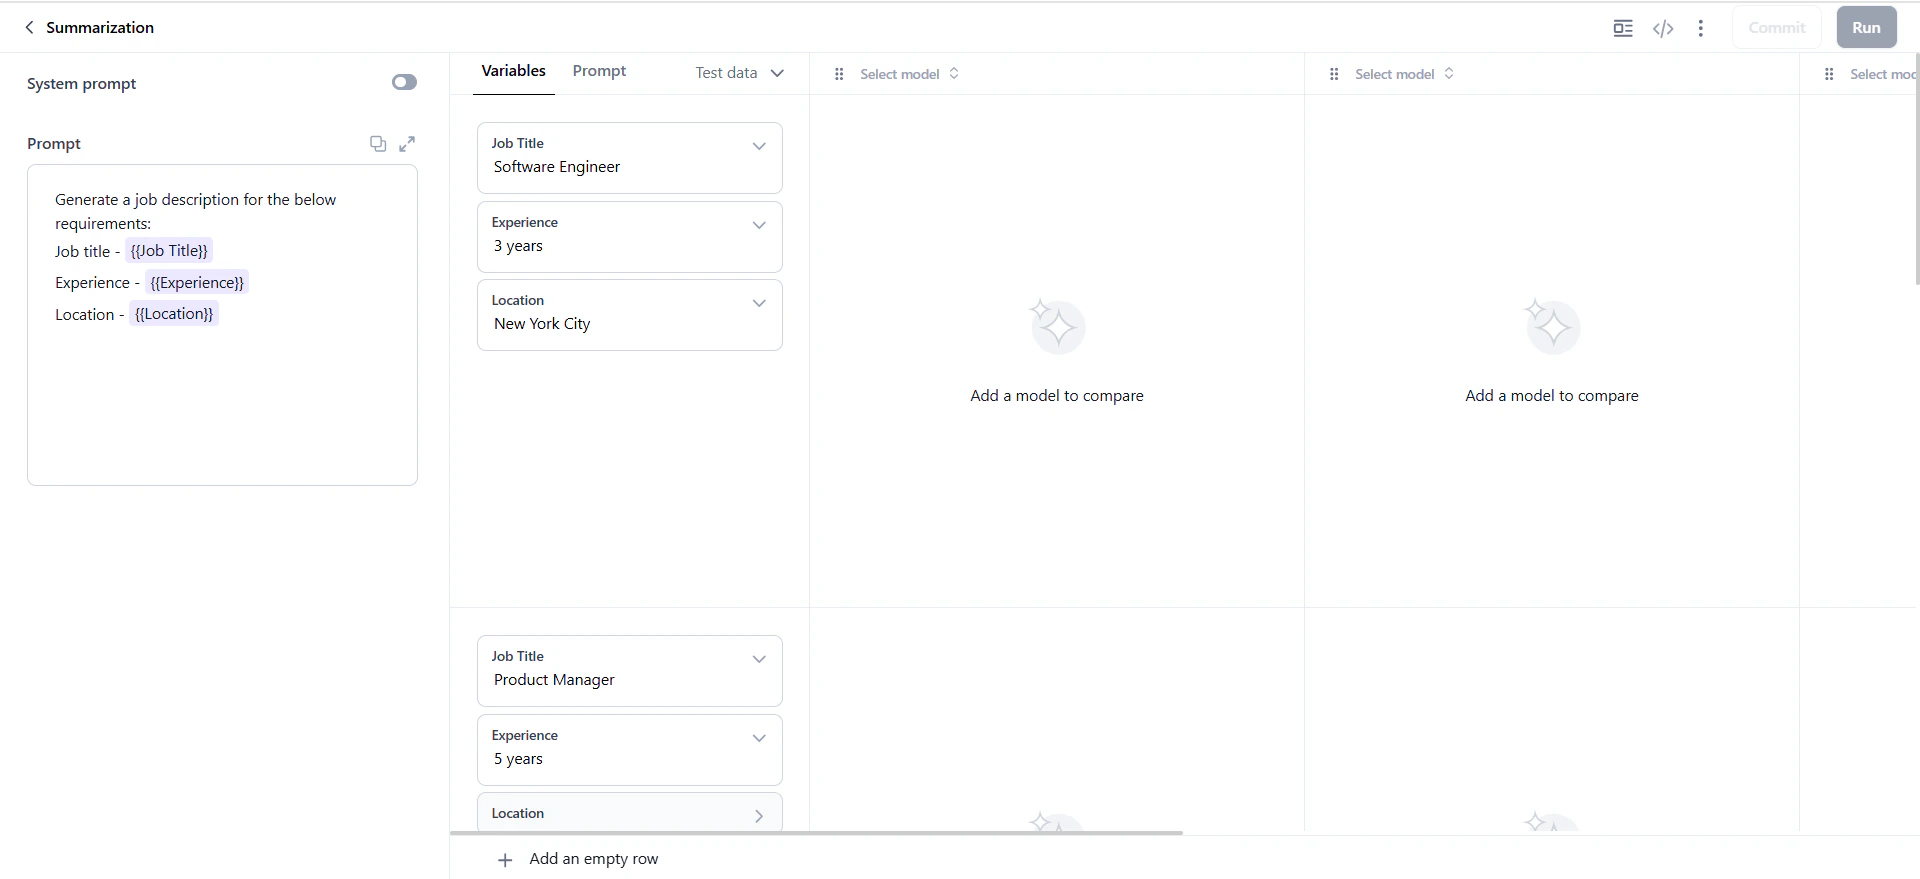
- On the prompt canvas, enter your prompt. For example: “Generate a job description with job title, experience, and location.”
-
Add variables using double curly braces:
{{Job Title}},{{Experience}},{{Location}}. The Test data option appears. -
Click Test data > Generate test data. Select a model, specify the number of rows, and click Generate.
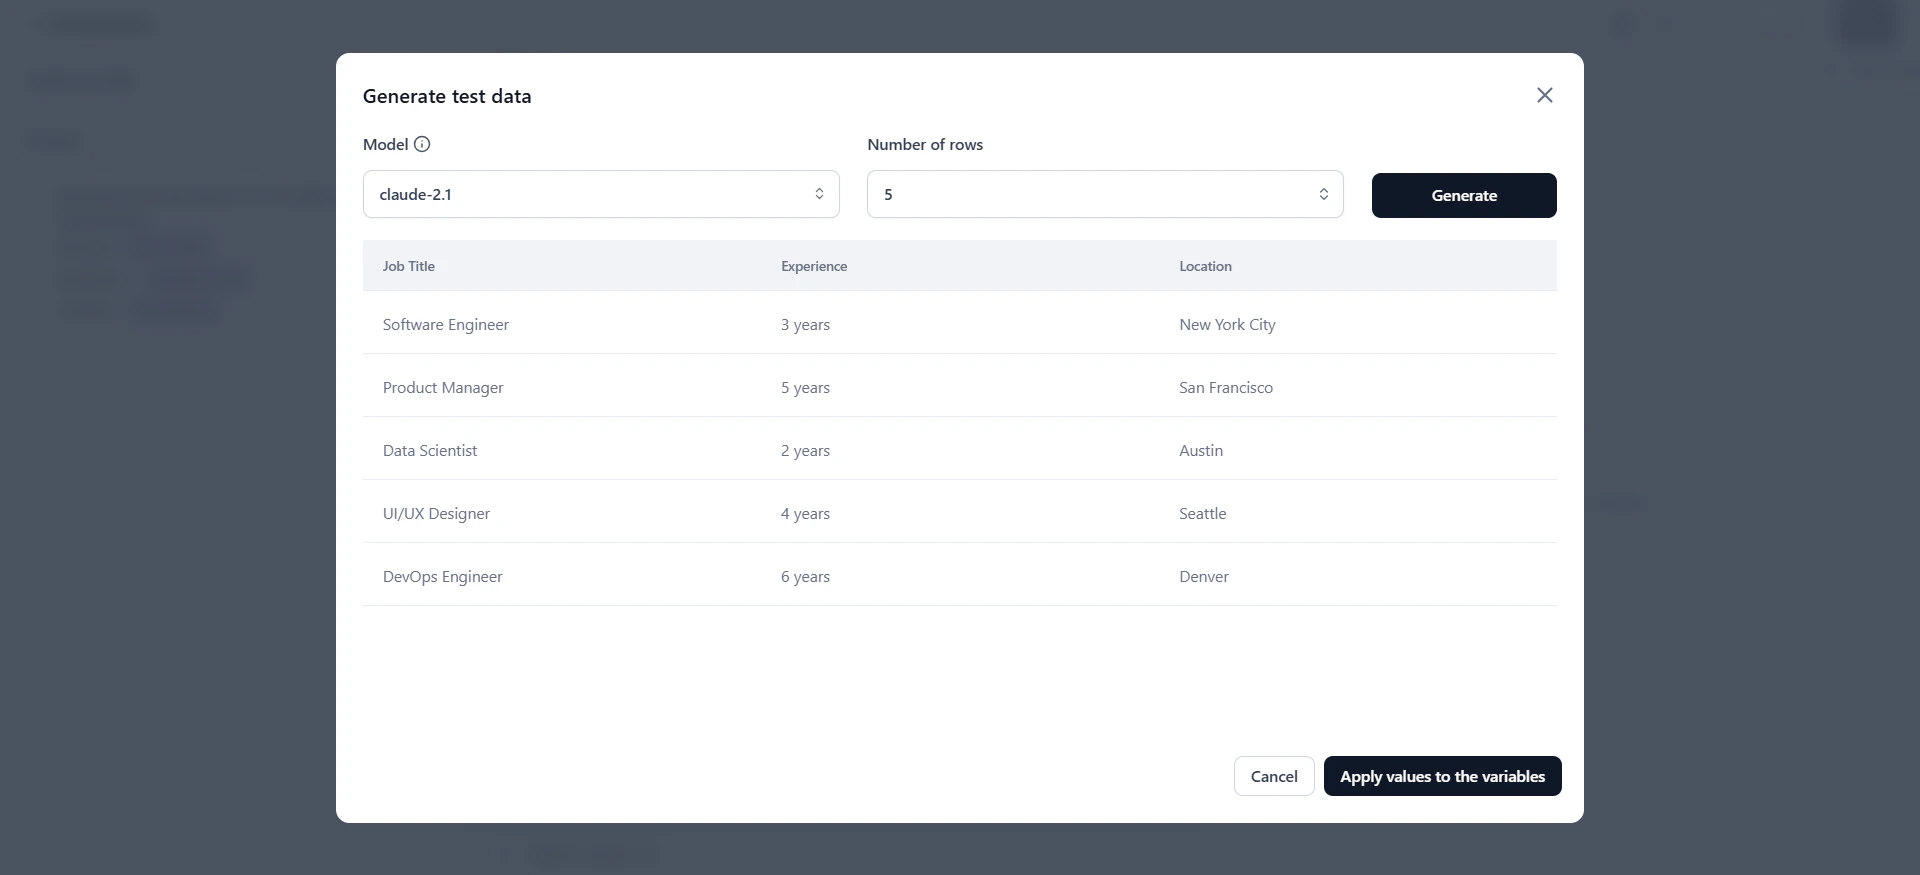
- Preview the generated dataset.
-
Click Apply value to the variables to populate the prompt canvas.