Use the import and export features to transfer workflow configurations between environments, create workflows from existing definitions, or version-control your workflow setups.Documentation Index
Fetch the complete documentation index at: https://koreai.mintlify.app/llms.txt
Use this file to discover all available pages before exploring further.
Import a Workflow
Import a workflow to create a new one in your account or add it as a version to an existing workflow. The import process preserves workflow configuration while handling environment variables, errors, and role permissions. On import, prompts, properties, linked workflows, and their configurations carry over, ensuring the workflow works in the new environment. External and open-source models are automatically linked. If child workflows are missing or there are conflicts, the system notifies you. To create a new workflow through import, upload a.zip package containing the flow definition, app definition, and environment variables JSON files from another environment. Assign the imported workflow a unique name to avoid conflicts. Learn more.
When importing a workflow version to a parent workflow, the imported flow definition becomes the new in-development version, overriding the existing flow, app definition, and environment variable files. The previous version is renamed and saved in the list. You can optionally back up the current version before importing.
After import, the workflow canvas reflects the latest configuration.
Users with only Viewer permissions can’t import a workflow.
Best Practices
- Export the workflow first: Always export the current workflow version before importing to ensure you have all necessary configurations.
- Check the environment and load dependencies: Before importing, ensure the new environment has all required dependencies—models, linked workflows, and configurations.
- Verify that the correct model is already available in the new environment.
- Ensure linked workflows are present in the new environment with the same name for auto-linking.
- Check environment variables and configuration files to prevent mismatches.
- Import the parent workflow and version: After verifying dependencies, import the parent workflow and any associated versions. Ensure there are no conflicts with existing workflows.
Steps to Import a Workflow
-
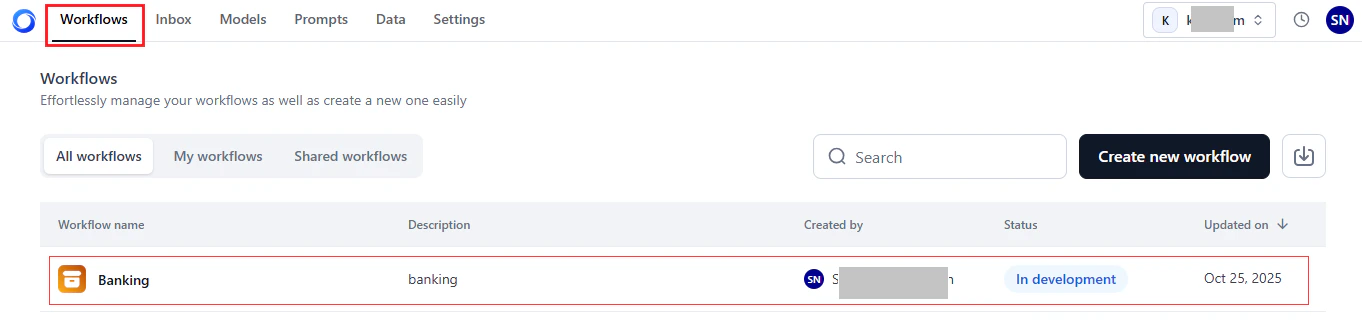
Log in → In AI for Process Modules top menu → Click Workflows.
-
Do one of the following based on your requirements:
-
If you don’t have any existing workflows and want to create one by importing from another environment, click Import a workflow.

-
If you already have workflows deployed, select the relevant tab on the Workflows dashboard and click Import a workflow.

-
If you don’t have any existing workflows and want to create one by importing from another environment, click Import a workflow.
-
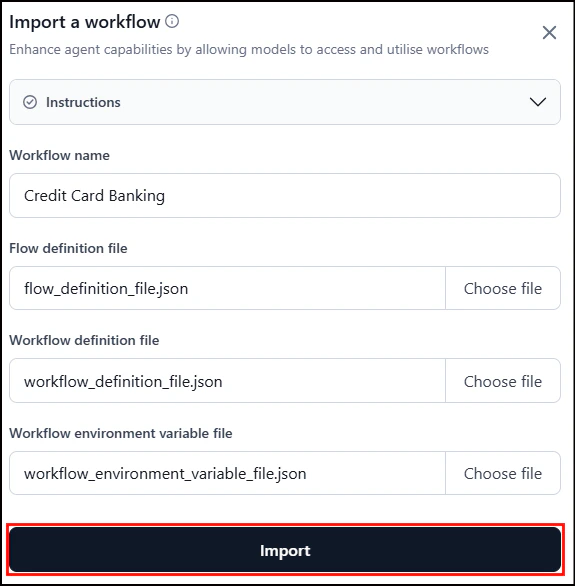
In the Import workflow window, the following information is mandatory:
- Workflow Name: Provide a unique workflow name.
- Flow definition file: Upload the flow_definition.json file from your local directory. The file includes the workflow canvas definitions (node definitions) and AI node configurations, including prompts, hyperparameters, and timeout information.
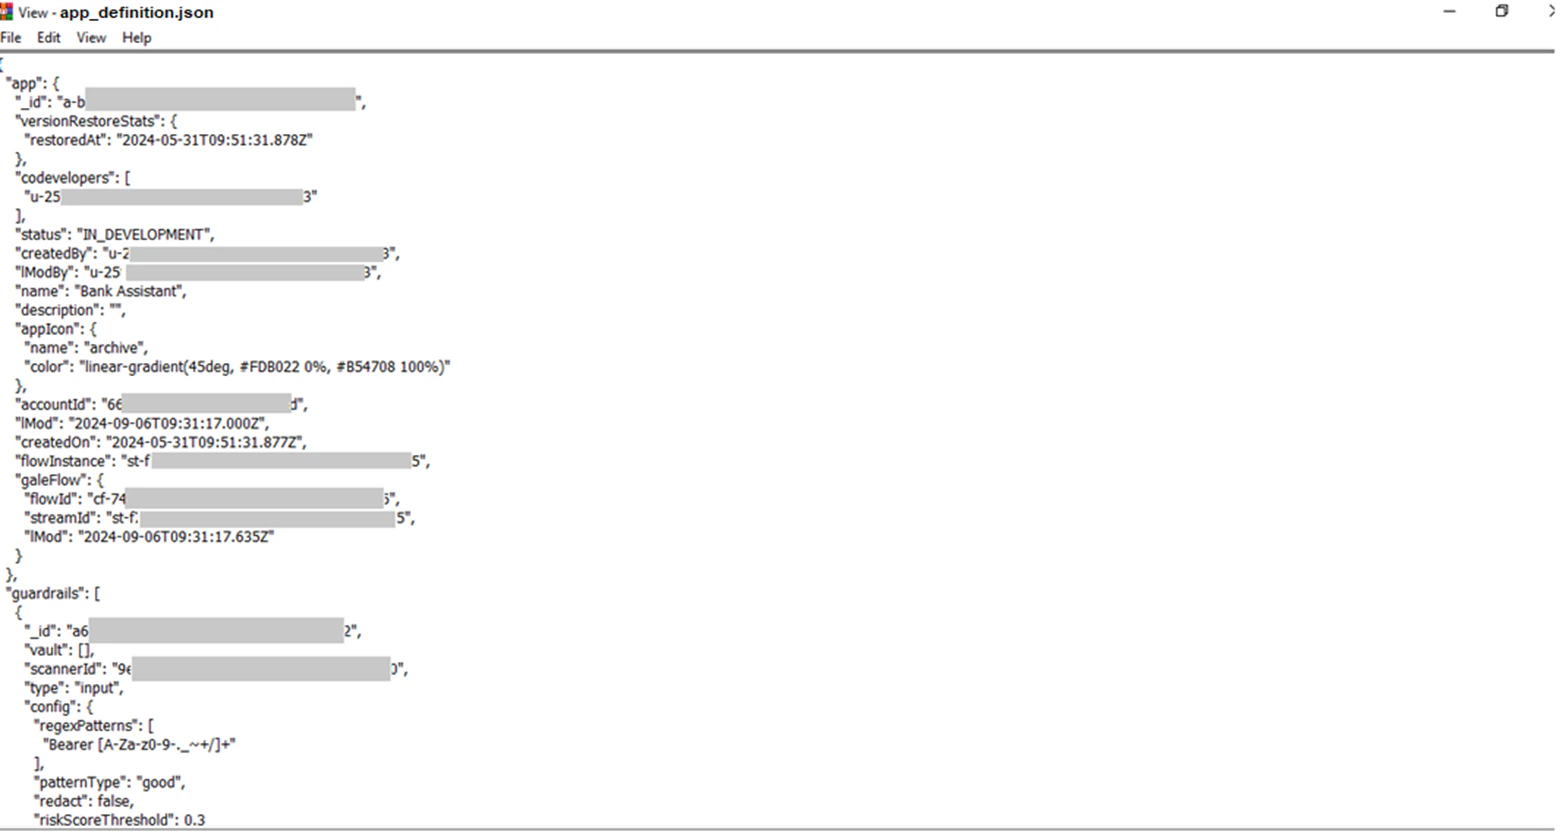
- App definition file: Upload the app_definition.json file, which includes general information about the workflow version and guardrails.
- Environment variable file: Upload the env_variables.json file, which includes the environment variables set for the workflow.
- The Import button is enabled when the required information is provided.
- AI node models and guardrail configurations may not be available in the current account. Reconfigure them before running the workflow.
- The model name from the original workflow is imported as a placeholder into the AI node’s Select Model field. You can assign a value from the available options later.
- The values for System Prompt, Prompt, Timeout, and Hyperparameters are imported for the AI node.
-
Click Import.

Import Workflow as a Version
Use Import under Workflows > Configurations to add a workflow as a version of a parent workflow, replacing the existing one. Back up the current in-development version first; the export file is saved asExported_<Workflow Name>.zip.
When you import a workflow as a version, you must upload all the following files:
- Flow definition file: Upload the flow_definition.json file from your local directory. The file includes the workflow canvas definitions (node definitions) and AI node configurations, including prompts, hyperparameters, and timeout information.
- App definition file: Upload the app_definition.json file, which includes general information about the workflow version and guardrails.
- Environment variable file: Upload the env_variables.json file, which includes the environment variables set for the workflow. Any conflicts between environment variables in the parent workflow and the imported version must be resolved. Learn more.
Steps to Import a Workflow as a Version
To import a workflow as a version, the parent workflows must be deployed in your account.
- Log in → In AI for Process Modules top menu → Click Workflows.
- Click the Workflows tab on the top navigation bar, and select the workflow you want to import.
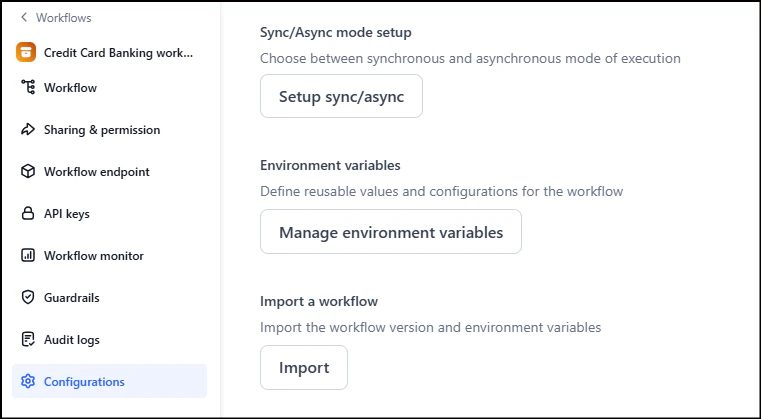
- Click Configurations on the left menu.
-
Scroll down to the Import a workflow section and click Import.
-
(Optional) In the following dialog, select the Back up your current workflow option to preserve the data of the version being replaced.
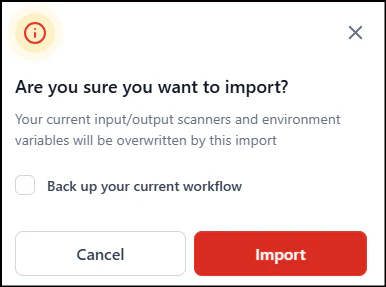
.zippackage of the workflow definition files to the designated location. Learn more. To skip the backup, unselect the option and proceed to the next step. - Click Import in the confirmation dialog.
- In the Import Workflow window, upload the required JSON files and click Import.
Workflow Name isn’t required since the current version’s name is assigned.
Conflicting Environment Variables
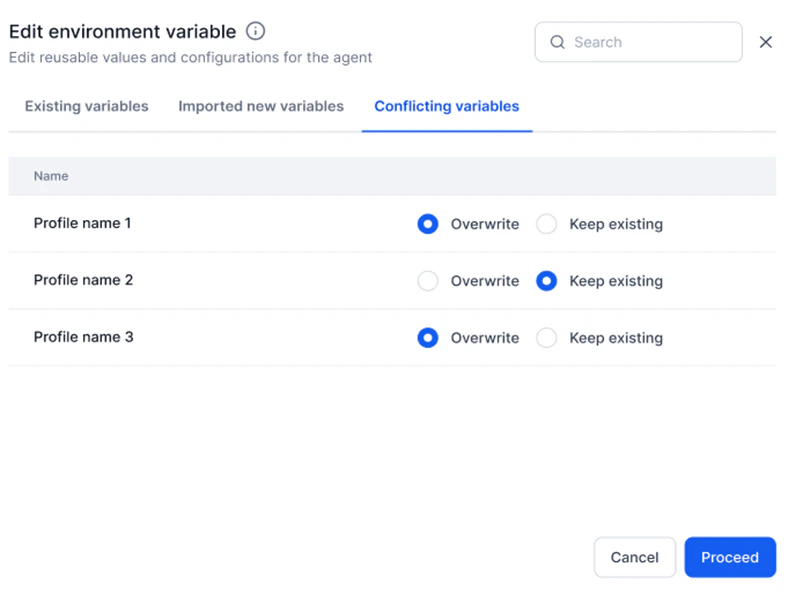
Conflicts may arise between environment variables of the parent workflow and the imported version. If neither has environment variables, no conflicts occur. Resolve conflicting variables by keeping the existing value or replacing it with the imported one. When conflicts are detected, the following window is displayed. To resolve them:- Select the Conflicting variables tab.
- Select Overwrite to replace the existing variable with the imported one, or select Keep existing.
- Click Proceed to continue importing.
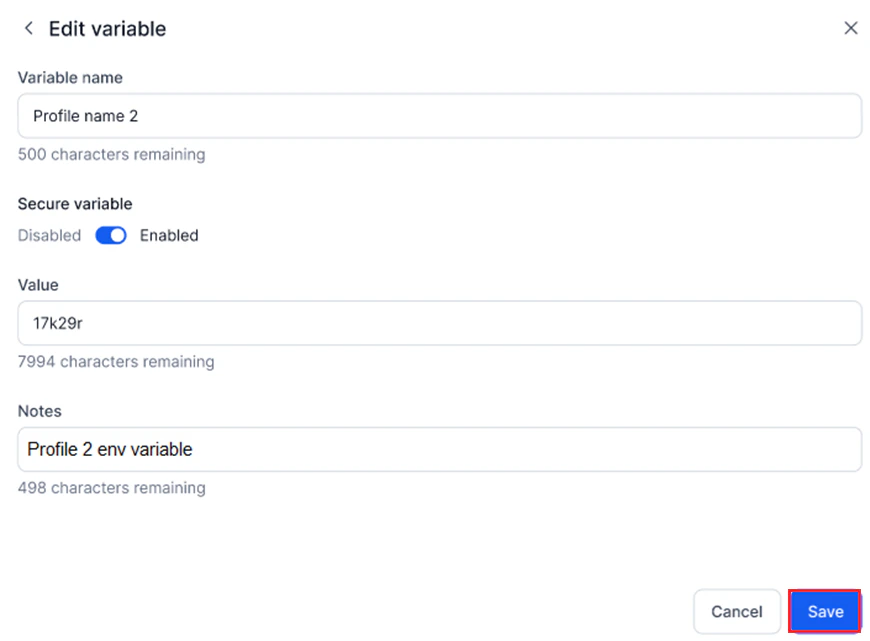
- Click the Three-dots (Ellipsis) icon of the required variable.
-
Select Edit.
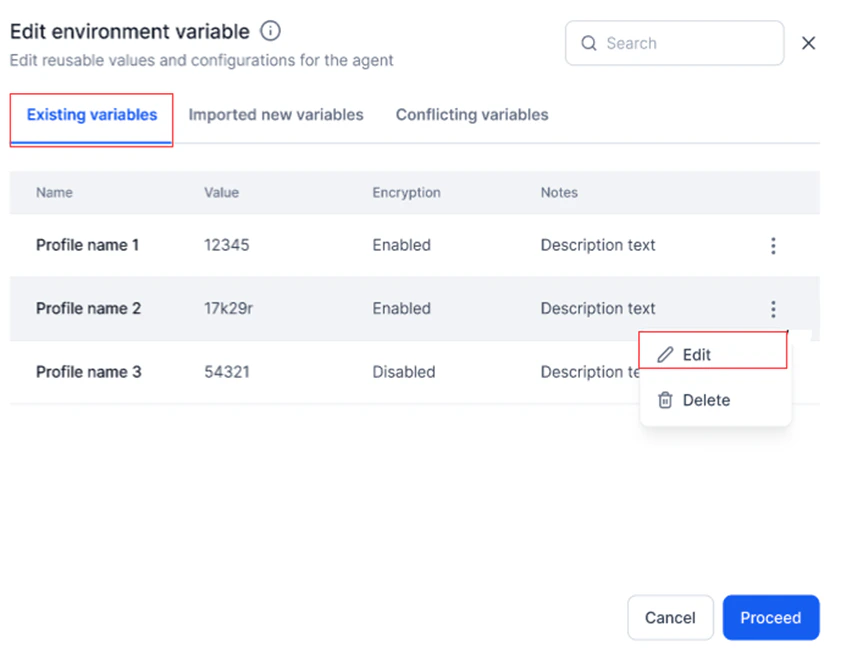
- Change the required values in the Edit Variable window.
-
Click Save.
Export a Workflow
AI for Process lets you export workflow versions as self-contained packages for sharing and data preservation, without compromising the integrity or security of your workflow setup. AI for Process creates a.zip file named after the workflow—for example, Banking Assistant.zip for a workflow named Banking Assistant. Save this file to any local location.
The package can be reimported to create a new workflow or add it as a version to an existing one.
The exported package preserves the following workflow configurations within JSON files:
- Name and description
- API, Condition, AI, and Script node configurations
- Input/output variables and scanners
- Environment variables
- Sync/Async setup
Users with only Viewer permissions can’t export a workflow.
Steps to Export a Workflow
- Log in to your AI for Process account.
- Select the workflow to export.
- Click Configurations on the left navigation menu.
-
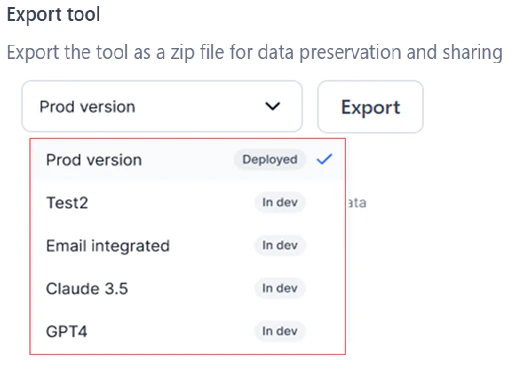
Scroll down to the Export workflow section. By default, the currently deployed version is selected in the dropdown.
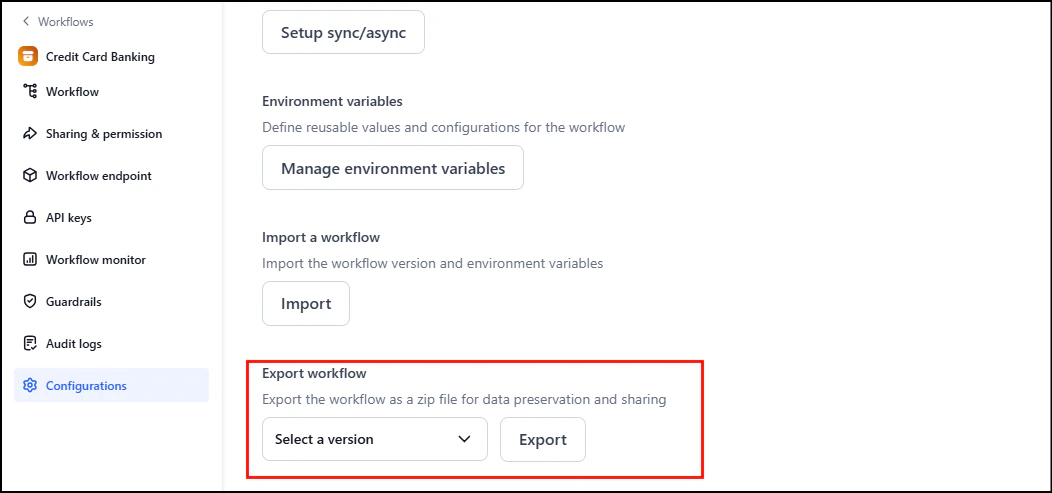
-
To change, click and choose another version from the list.
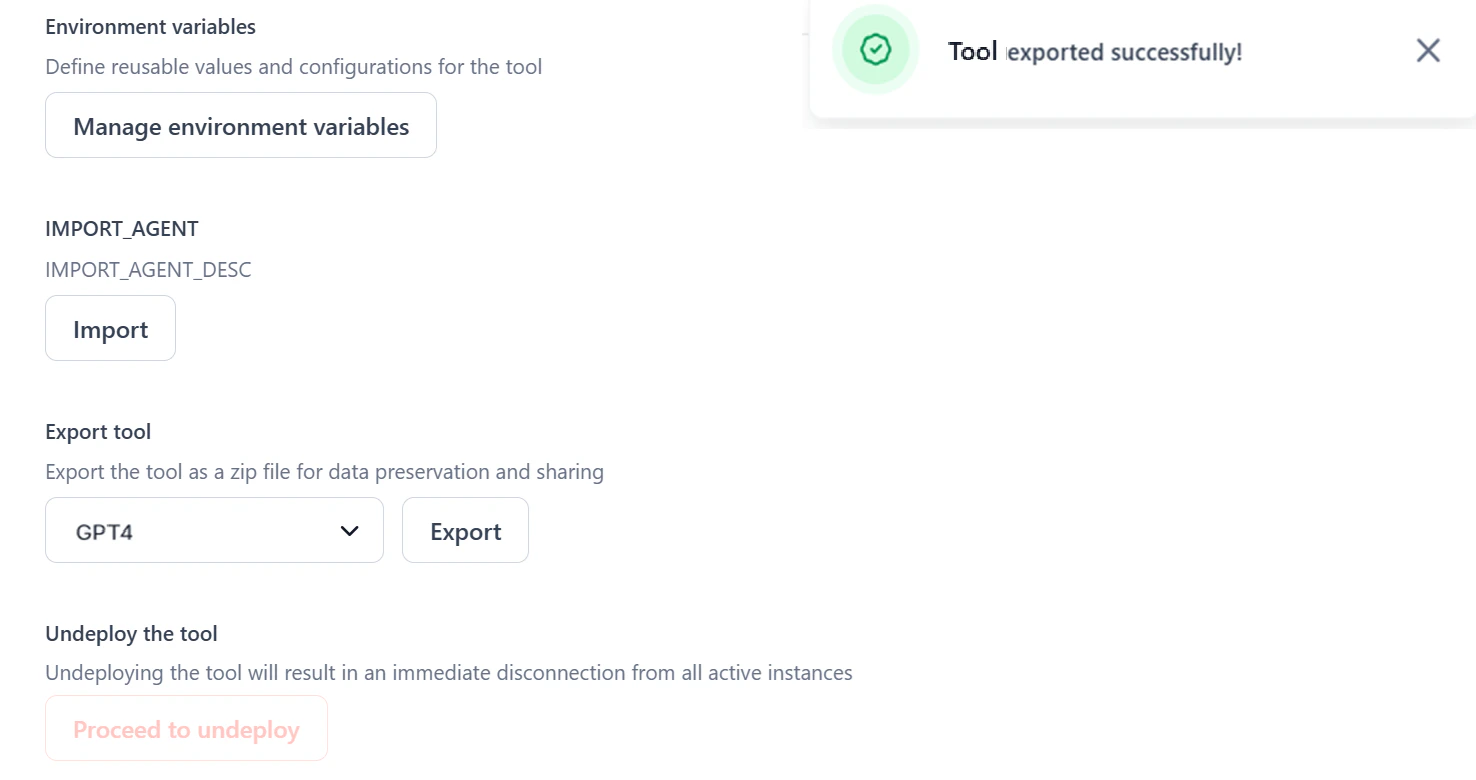
- Click the Export button.
Once export begins, the selected version can’t be changed.
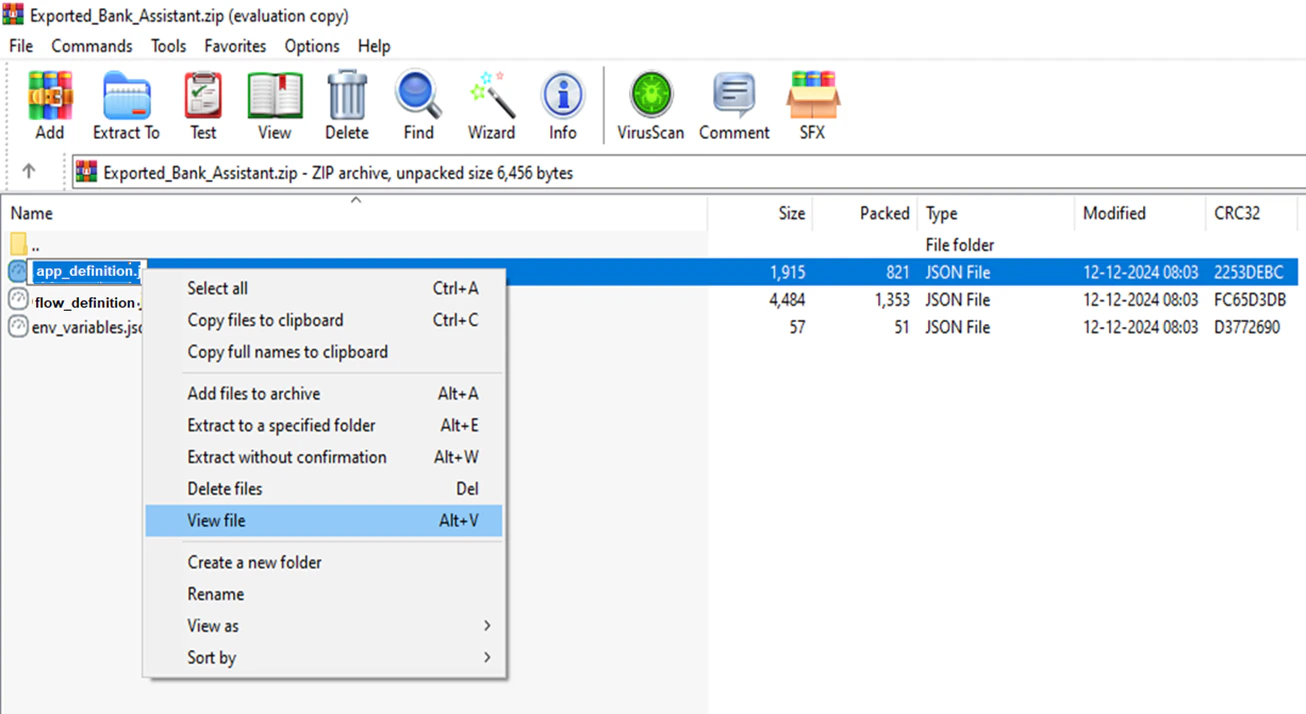
Exported Information
The exported package contains the following JSON files:flow_definition.json: Includes the workflow canvas definitions (node definitions) and AI node configurations, including prompts, hyperparameters, and timeout information.app_definition.json: Includes general information about the workflow version and guardrails.env_variables.json: Includes the environment variables set for the workflow. Learn more.