

How Triggers Work
- A trigger listens for real-time events from an integrated third-party app.
- When the event occurs, the workflow starts immediately.
- Event data — including metadata and attachments — is passed into the workflow for downstream processing.
Prerequisites
Before adding a trigger to a workflow:- Add the integration app to your workspace.
- Set up the required connection and authentication profile.
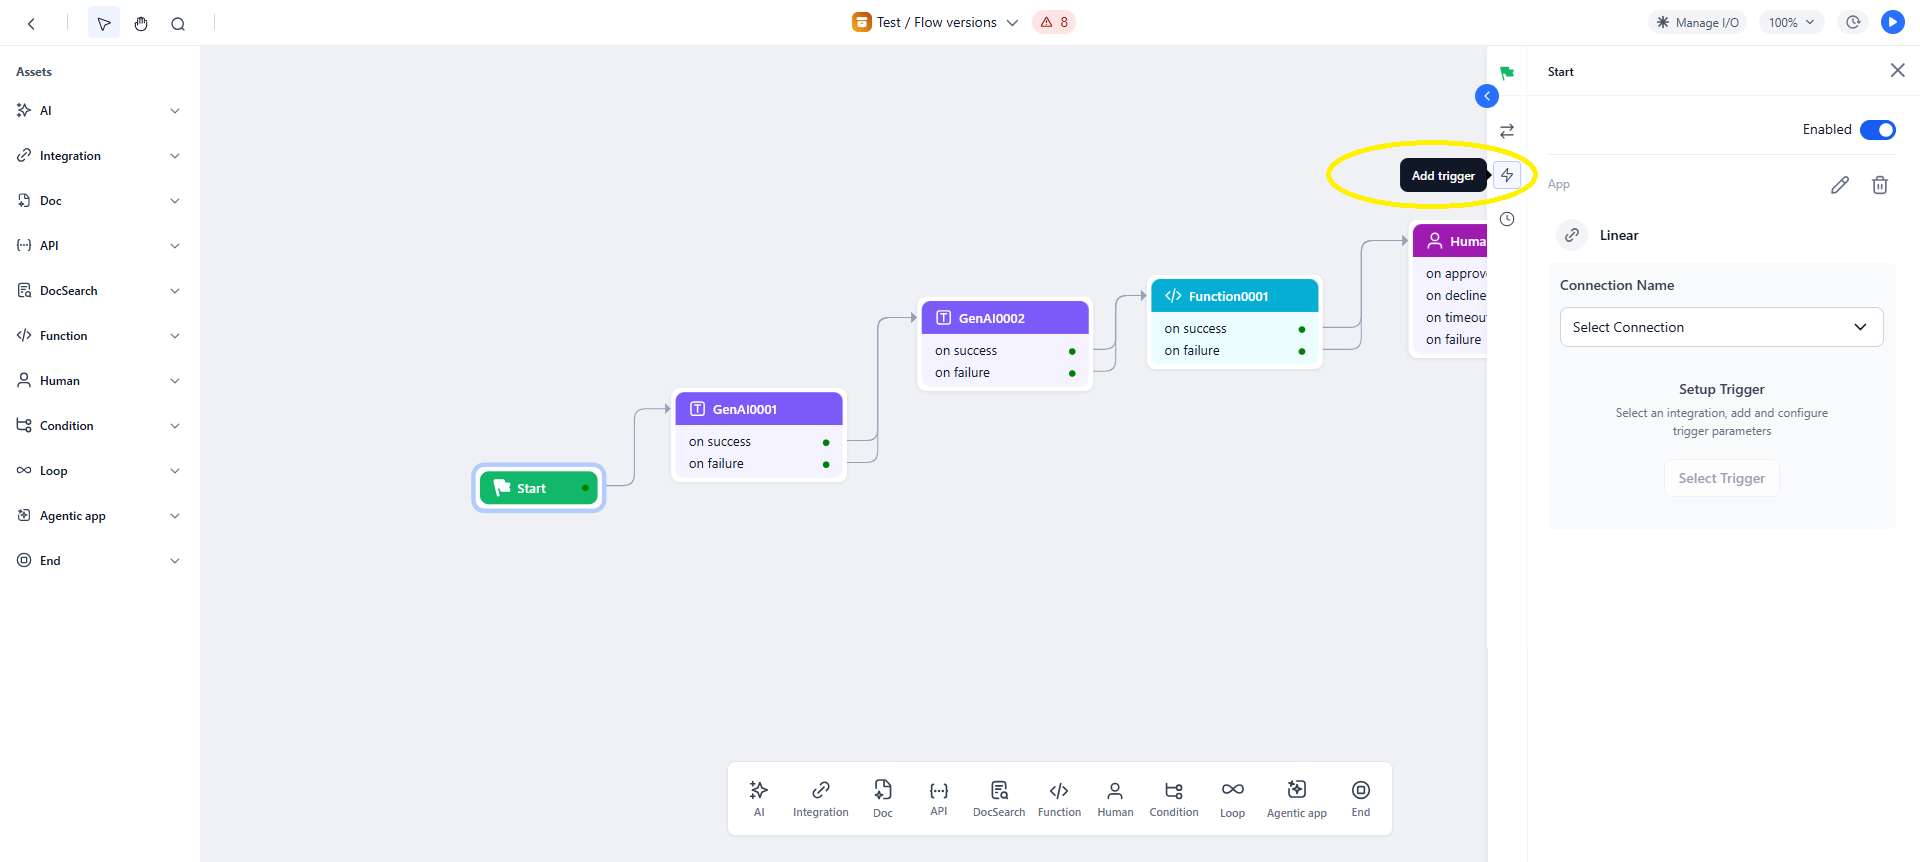
- Open the workflow in Flow Builder and access the Start node, where all triggers are configured.
Trigger Payload and Attachments
Best Practices
- Use clearly defined events to avoid unnecessary workflow runs.
- Validate integration connections regularly to keep triggers active.
- Confirm payload fields before referencing them in conditions or expressions.
- Monitor trigger activity to quickly identify and fix inactive or failing triggers.