Custom data is additional information-such as agent name, ID, or other metadata-passed from third-party applications into the Agent AI widget. Use it to personalize interactions, streamline workflows, and provide more context-specific responses. Custom data uses the format:Documentation Index
Fetch the complete documentation index at: https://koreai.mintlify.app/llms.txt
Use this file to discover all available pages before exploring further.
{{context.session.UserContext.customData.<key>}}
It’s stored in the UserContext variable and is accessible wherever UserContext is available, including Welcome Events and Dialog Tasks.
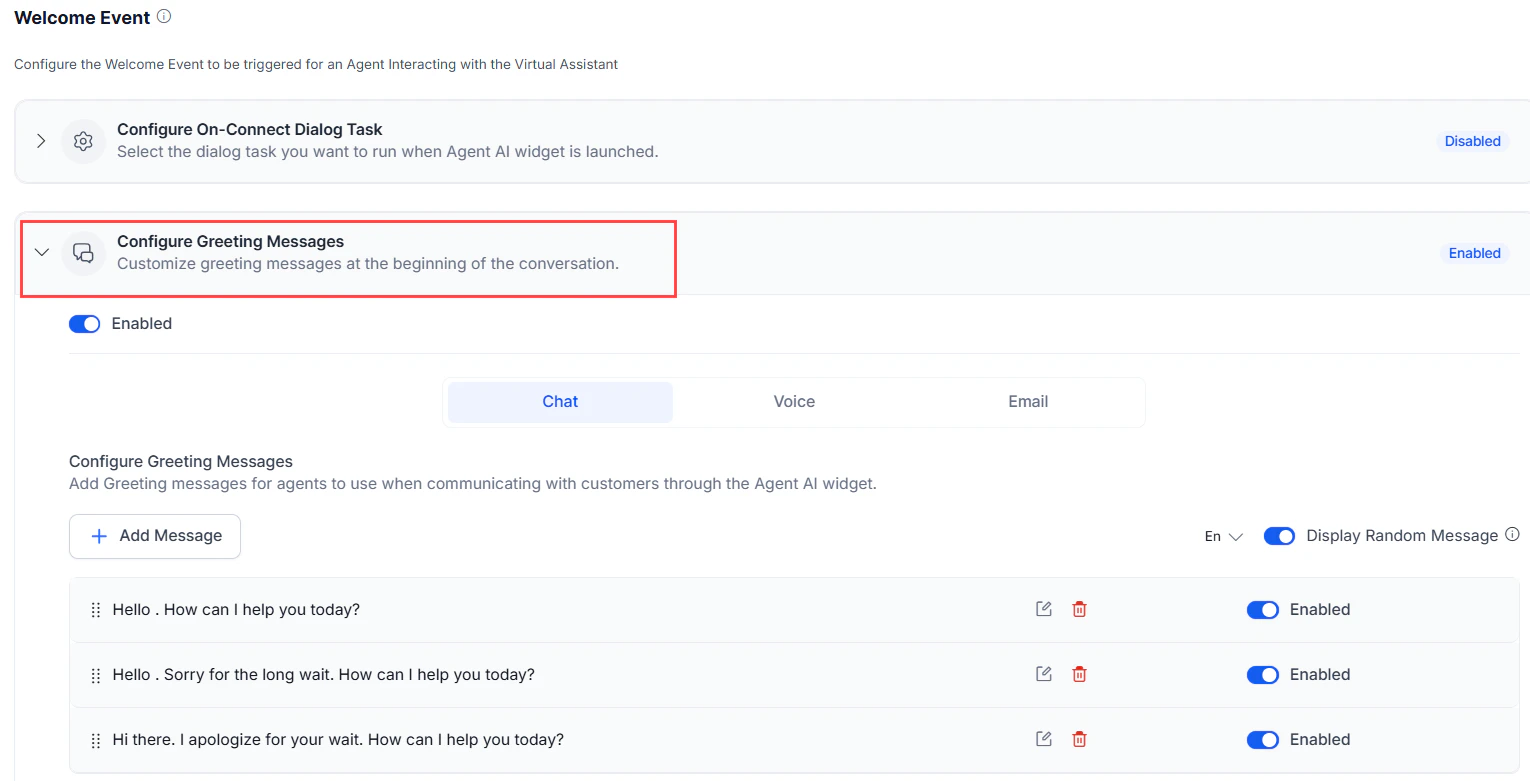
Access Custom Data in Welcome Events
- Sign in to XO11.
- Select an app from the App list.
- Select Agent AI > Configurations > Welcome Events.
-
Expand the Configure Greeting Messages section.
-
Select Edit on a greeting message where you want to use custom data.
If no greeting messages exist, create one first. See the Welcome Event documentation.
-
In the Message field, reference your custom data using the
{{context.session.UserContext.customData.<key>}}format.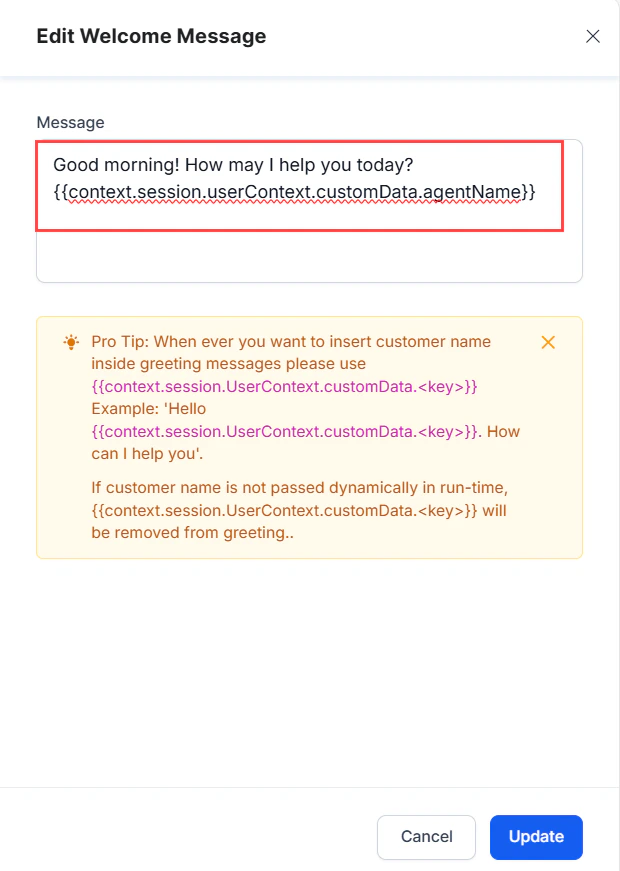
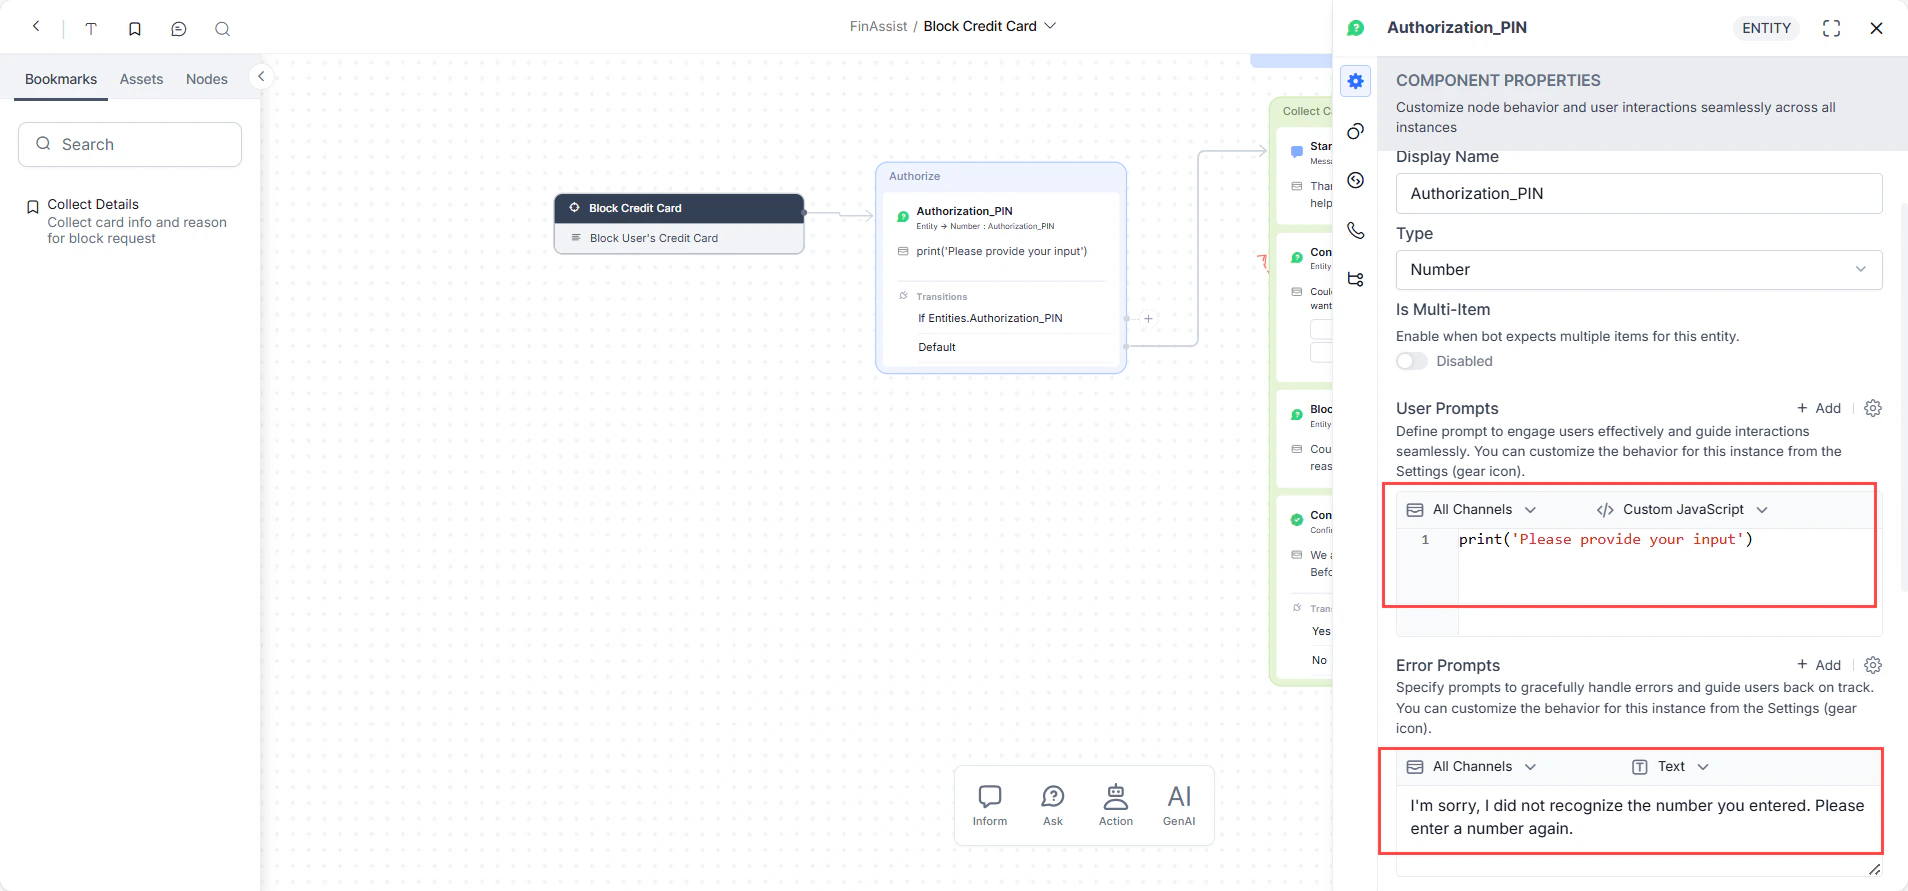
Access Custom Data in Dialog Tasks
- Sign in to XO11.
- Select an app from the App list.
- Select Automation AI > AI Agent.
-
Open an existing Dialog Task from the Dialogs page.
If no Dialog Tasks exist, create one first. See the Dialog Builder documentation.
- Open a Message node.
- On the Component Properties page, go to the User Prompts or Error Prompts field.
-
Select Text or Custom JavaScript to enter your custom data reference.