

QueueIdentifier and custom data — within an embedded Agent AI app. This enables dynamic iframe URL generation for third-party CCaaS/CRM platforms, eliminating the need for separate configuration on the third-party desktop.
Configure a Third Party Integration
- Sign in to Agent AI.
- Go to Configuration > System Setup > Third Party Configuration.
-
Select + New Record.

-
Enter the record details:
The Queue Identifier value must be unique at the account level and is a string.
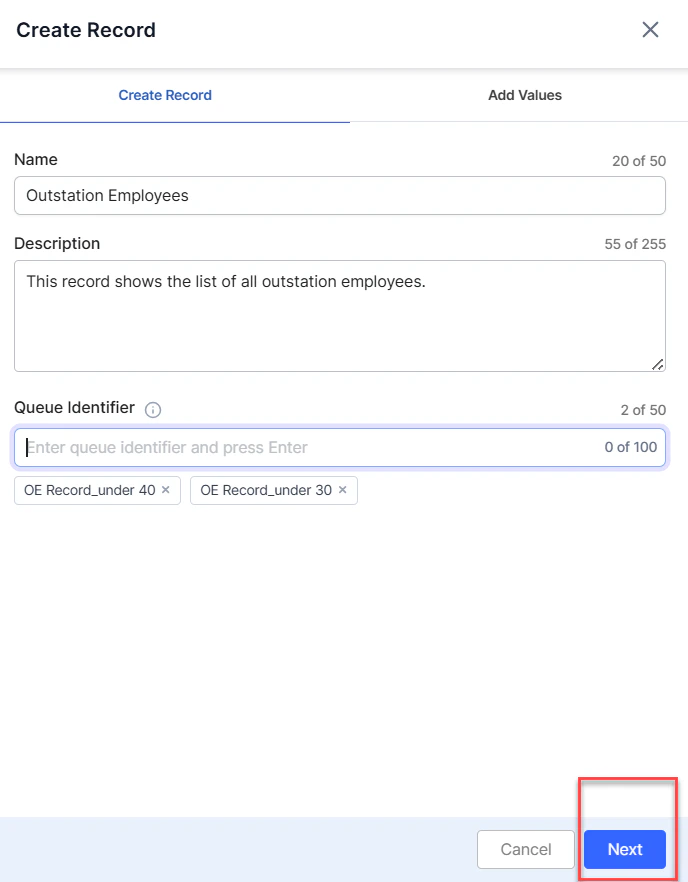
- Select Next.
- Select + New Value Pair to define key-value pairs.
-
Select a key from the Key list and enter its value in the Value field. Add more pairs by selecting + New Value Pair. To delete a key, select the delete button next to it.
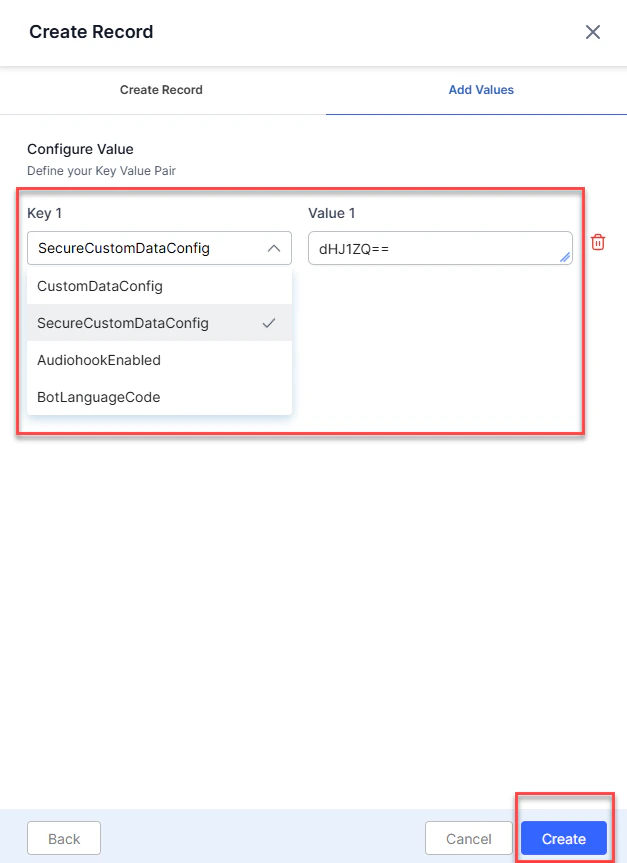
- Select Create.
Field Reference — Configure Value
Edit or Delete a Record
- Sign in to Agent AI.
- Go to Configuration > System Setup > Third Party Configuration.
-
Select the vertical ellipsis on the record you want to modify.

- Edit — make updates and select Update.
- Delete — a confirmation message appears.

- Select Delete to confirm deletion.