The Agent AI integration with Salesforce Service Cloud Voice (Amazon Connect Telephony) combines Salesforce CRM with Amazon Connect’s telephony system. Agents get real-time AI-driven insights, suggestions, and automation, resulting in improved response times, customer satisfaction, and operational efficiency.Documentation Index
Fetch the complete documentation index at: https://koreai.mintlify.app/llms.txt
Use this file to discover all available pages before exploring further.
Prerequisites
Before integrating Agent AI with Salesforce Service Cloud Voice, meet the following prerequisites:- In Salesforce
- Service Cloud Voice license must be available.
- Kore Agent AI Salesforce package installed.
- In Kore
- Agent AI admin permission is required.
Salesforce Service Cloud Voice Setup
- Sign in to Salesforce.
-
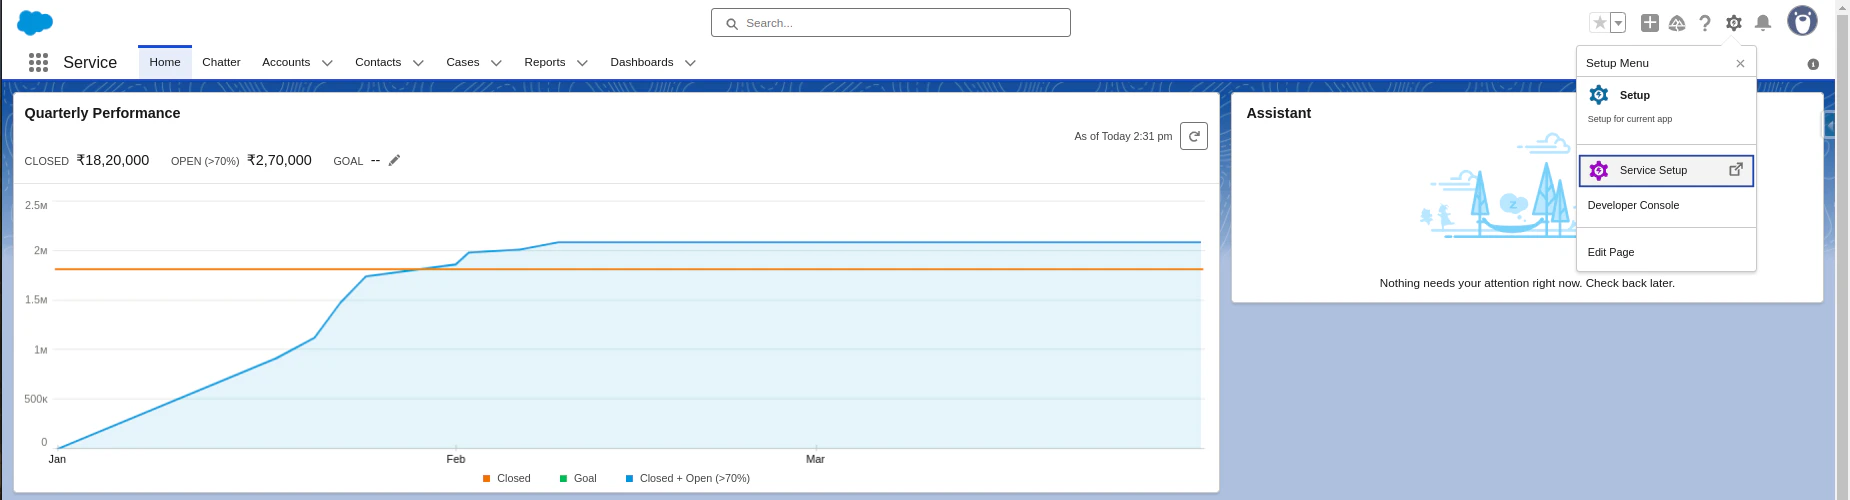
Click the Gear icon > Service Setup.
-
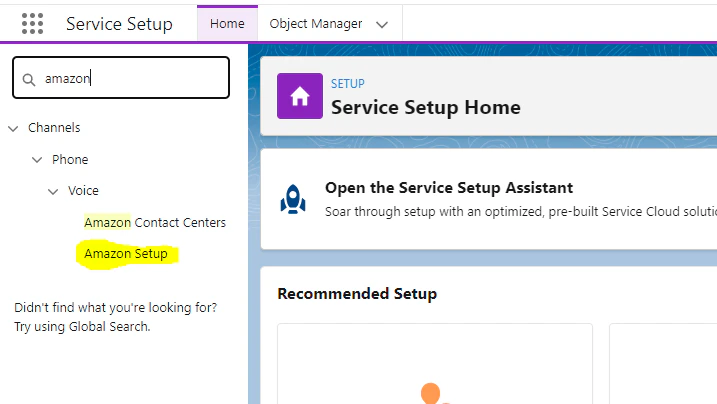
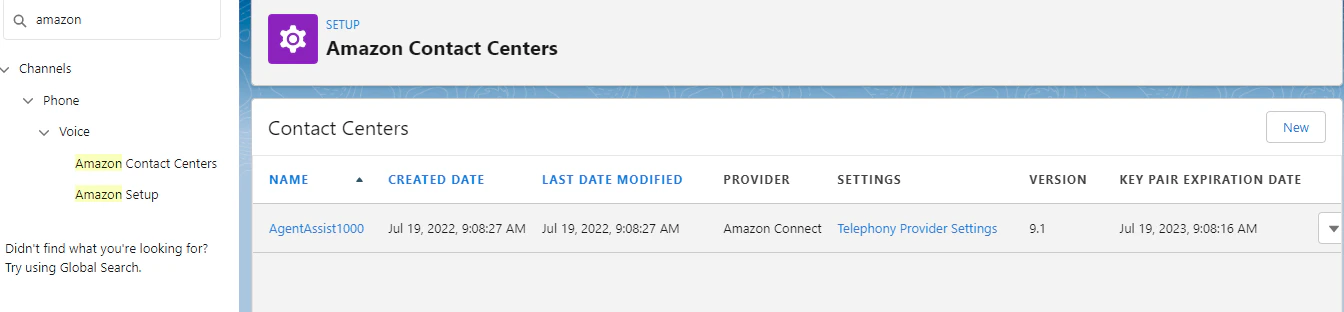
Type amazon in the quick search box, then select Amazon Setup from the suggestions list.
-
Select Enable Omni-Channel.

-
Turn on the Enable Service Cloud Voice toggle.

-
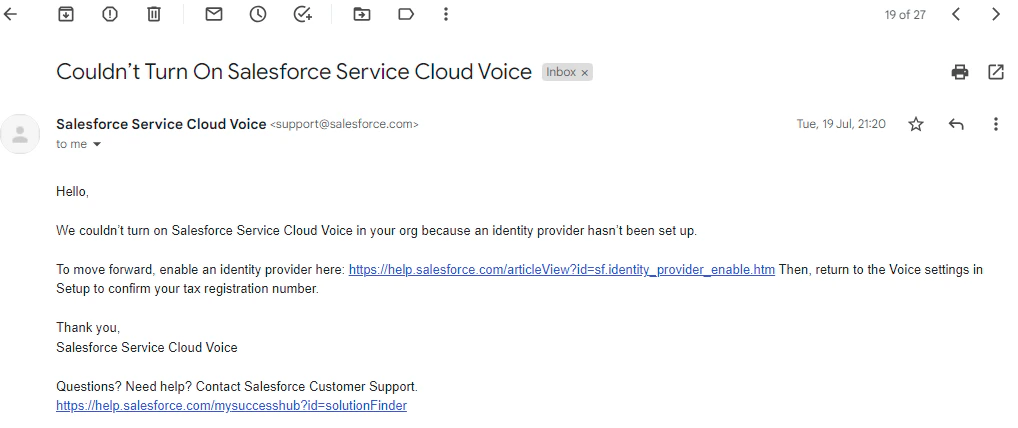
You receive the following email for further steps:
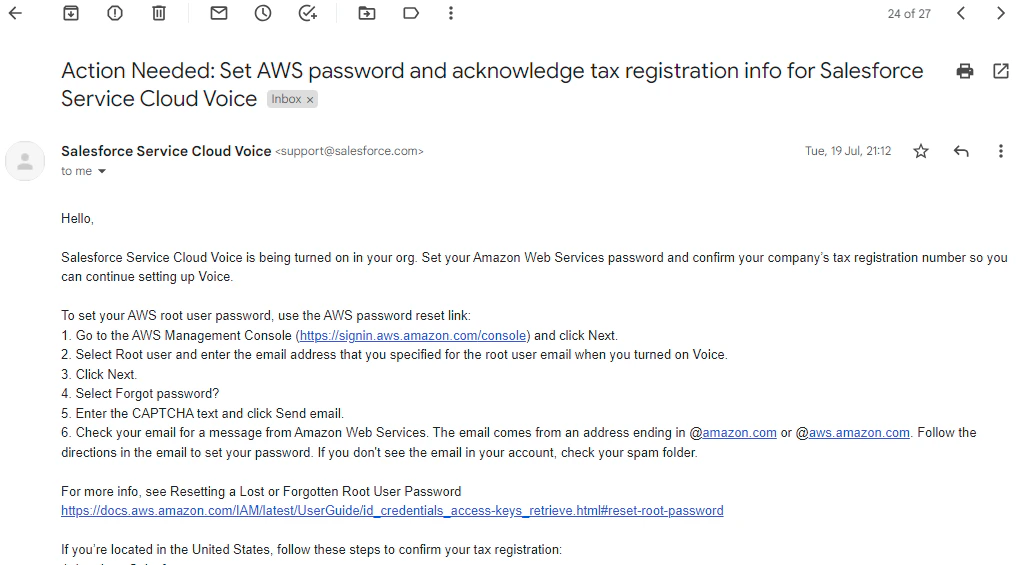
- Reset the password for the AWS account.
-
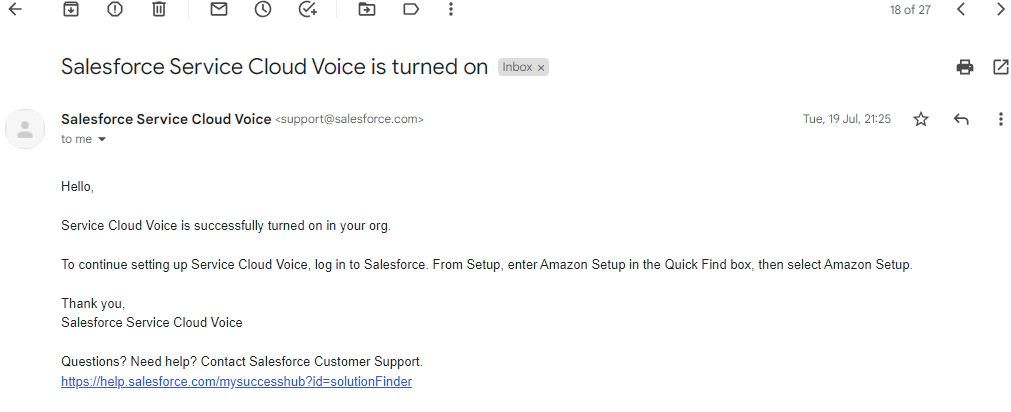
Turn on Service Cloud Voice again; you receive the following email:
-
Follow the steps in the email. You receive the following email when Service Cloud Voice is successfully enabled:
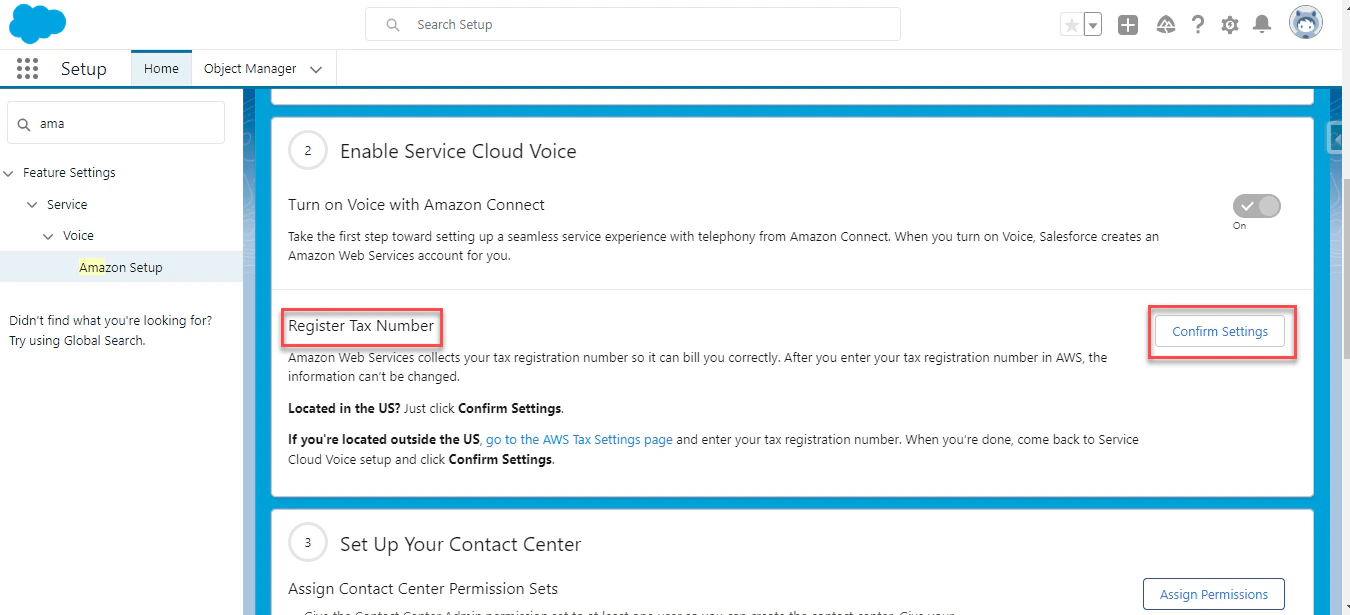
- Sign in to the AWS account, and provide the GST number in the Account > Tax Settings page.
-
Click Confirm Settings under the Register Tax Number section.
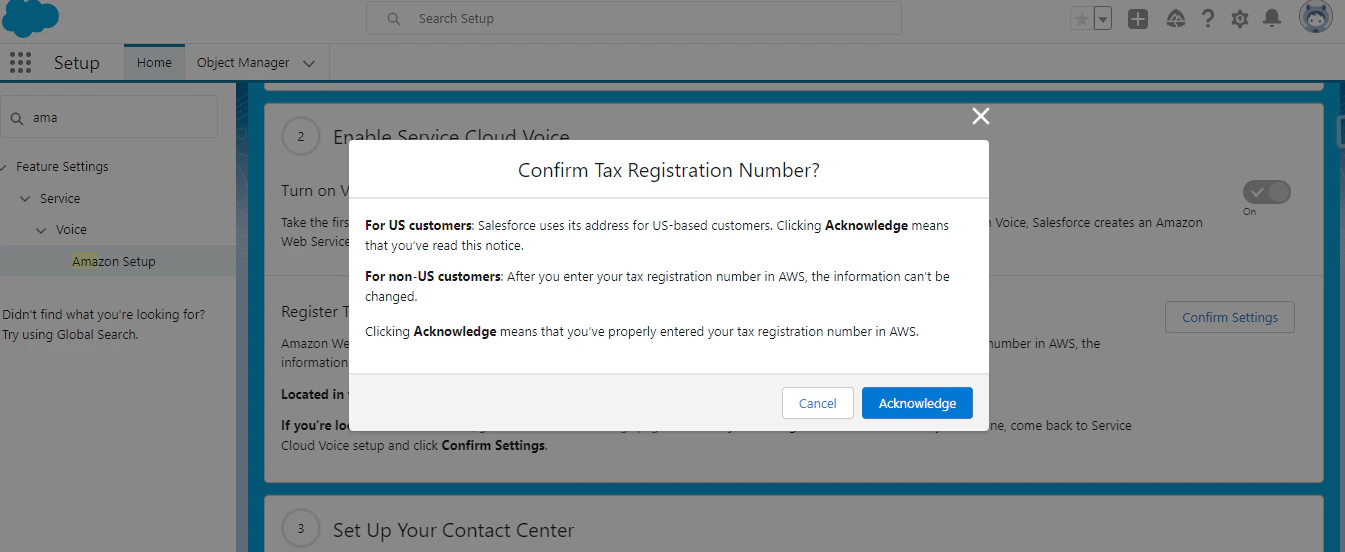
-
Click Acknowledge.
-
Click New to create an Amazon Contact Center from the Salesforce Service Setup. This creates the Amazon Connect instance in AWS.
-
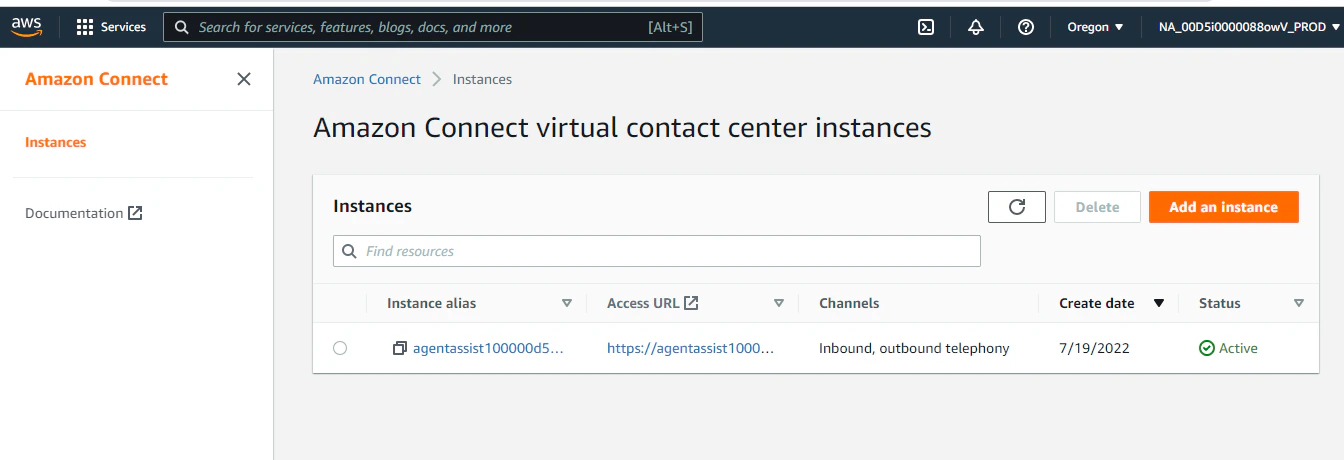
Open the AWS Connect instance:
-
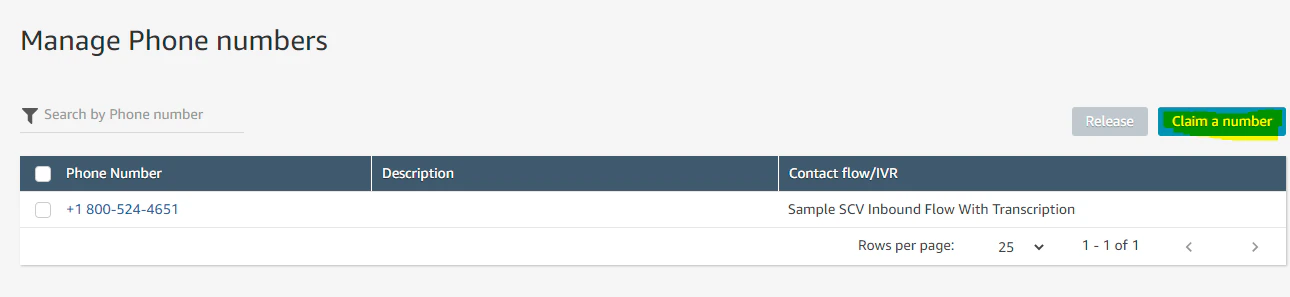
Sign in to the AWS Connect instance, and click Manage Phone numbers > Claim a number.
-
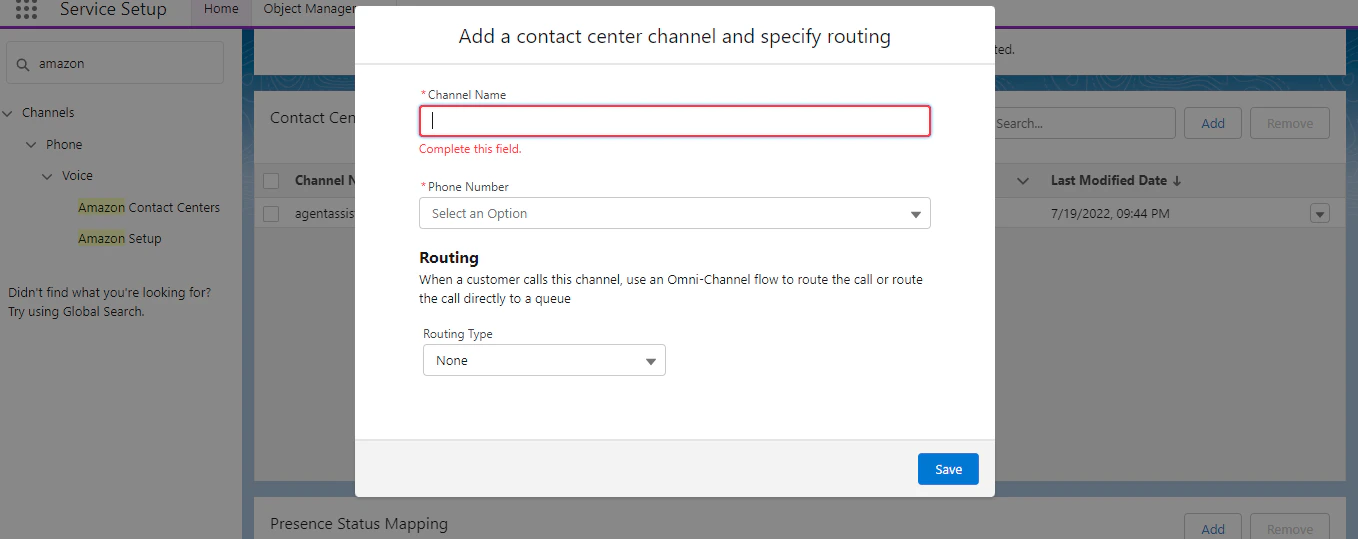
Go to Salesforce Amazon Contact Center, and map the contact center channels.
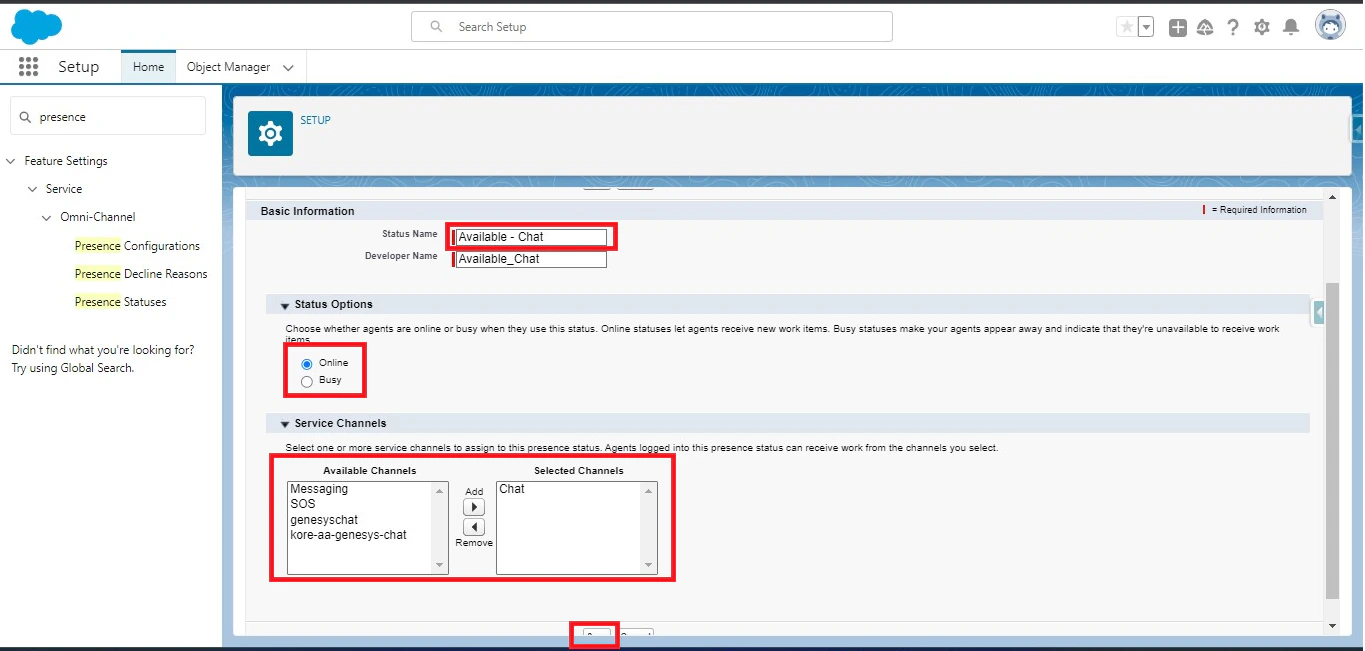
Create Agent Presence Status
- Click the Gear icon > Setup.
- Type Presence Statuses in the quick search box, then click Presence Statuses in suggestions.
-
Click the New button.

- Enter the Status Name, and select Status Options.
-
Select the Service Channels, and click Save.
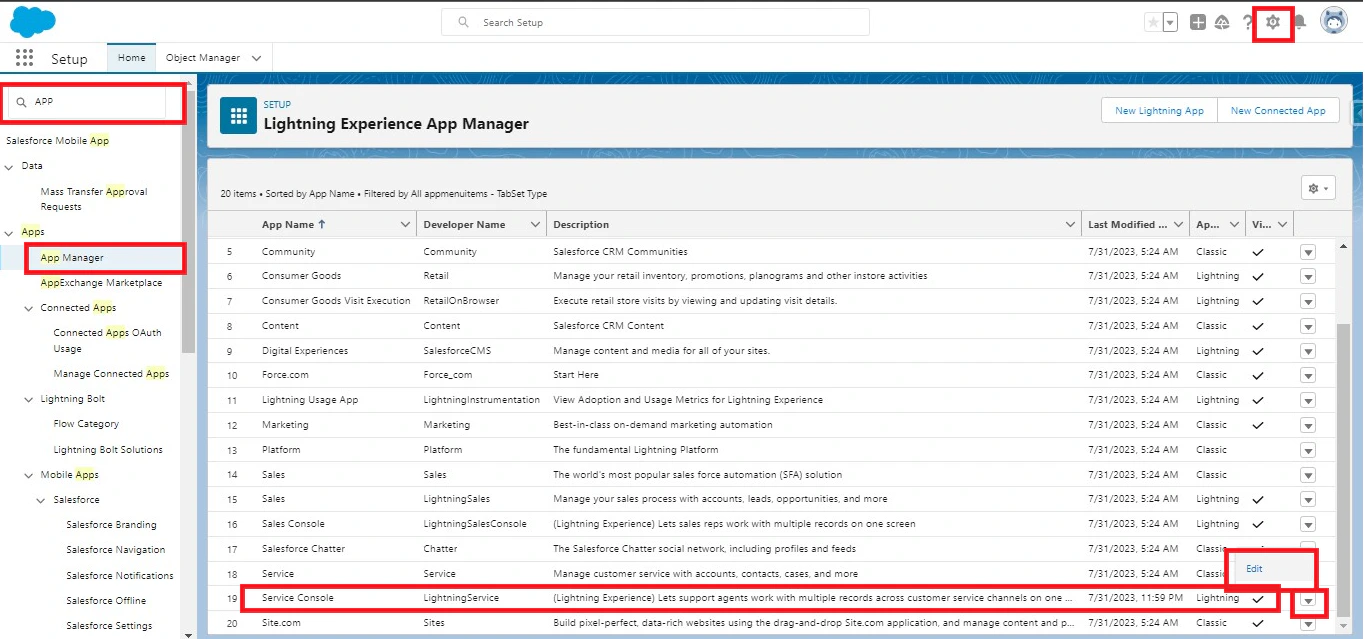
Add Omnichannel to the Utility Bar
- Click the Gear icon, and enter “App Manager” in the search box.
- Click APP MANAGER from the suggestions list.
-
Search for the Service Console, click the dropdown list against it, and click Edit.
- Click Utility Items (Desktop Only) > Add Utility Item.
-
Search for Omni-Channel, and select it.

- Rename the label if required, then click Save.
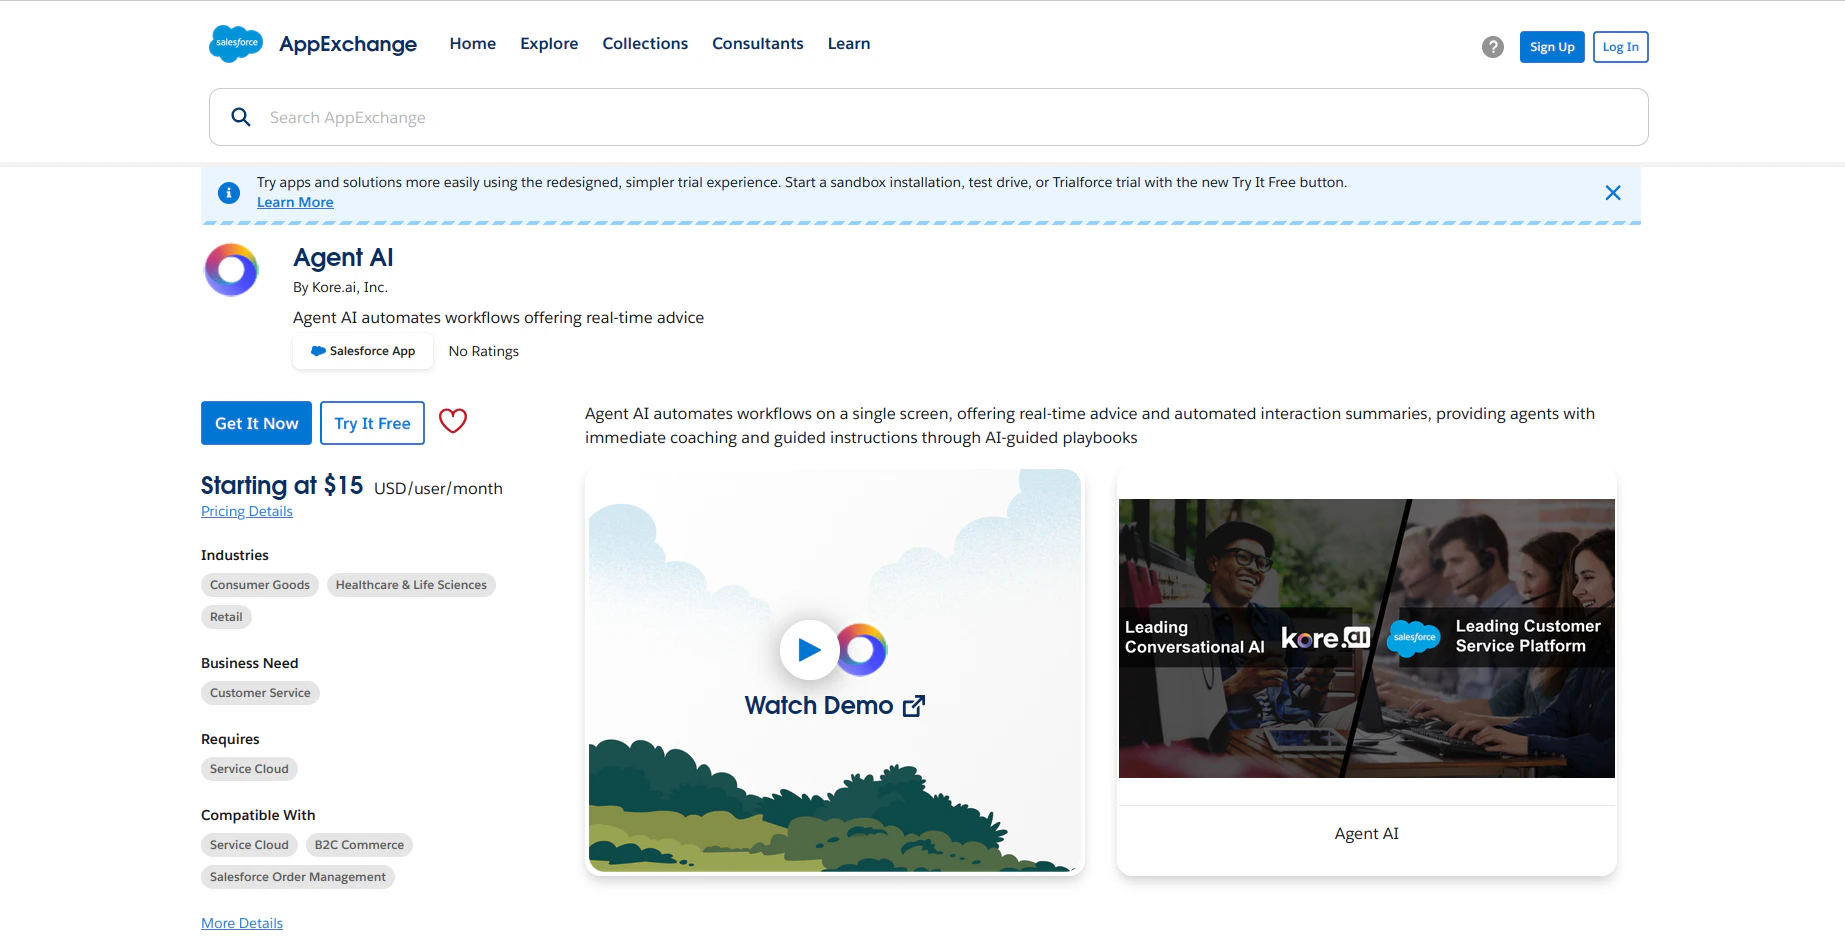
Install Agent AI Package
The Kore Agent AI package installation is a simple 3-step process:-
Visit Salesforce AppExchange.
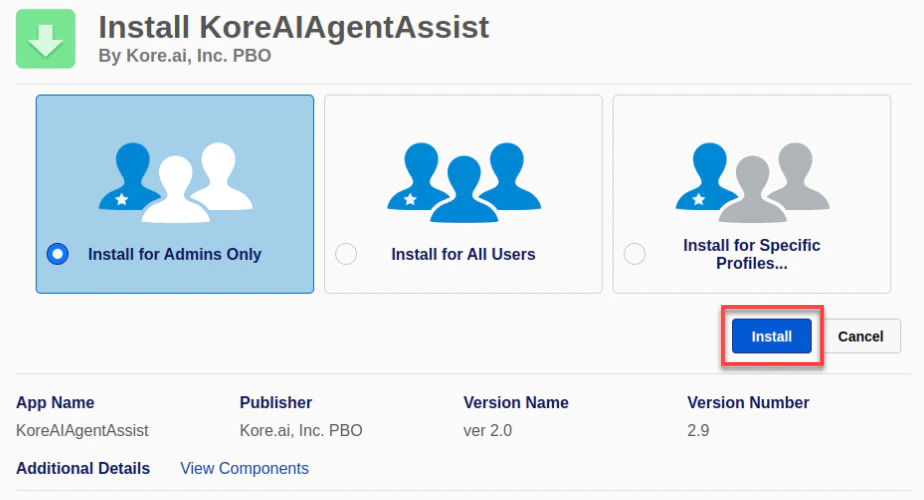
- Select one of the three available options: Install for admins only, Install for All Users, or Install for specific Profiles.
-
Click Install.
Configure Agent AI for Salesforce
This section covers the post-installation steps for Agent AI integration with Salesforce.Enable Kore Agent AI Package Features
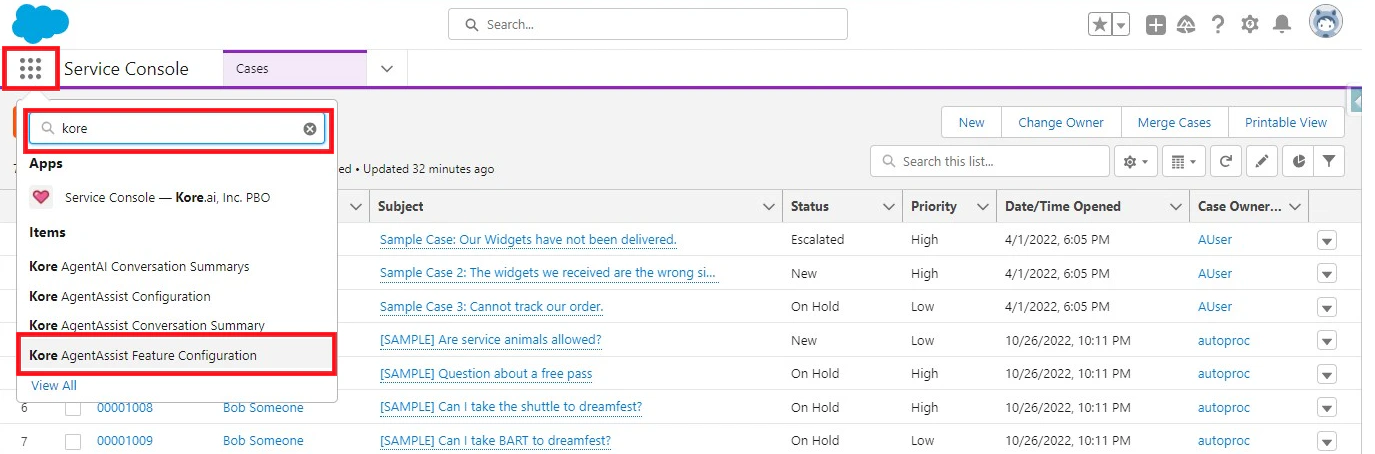
- Click the app launcher, and type Kore in the quick search box.
-
Click Kore AgentAssist Feature Configuration from the suggestions list.
-
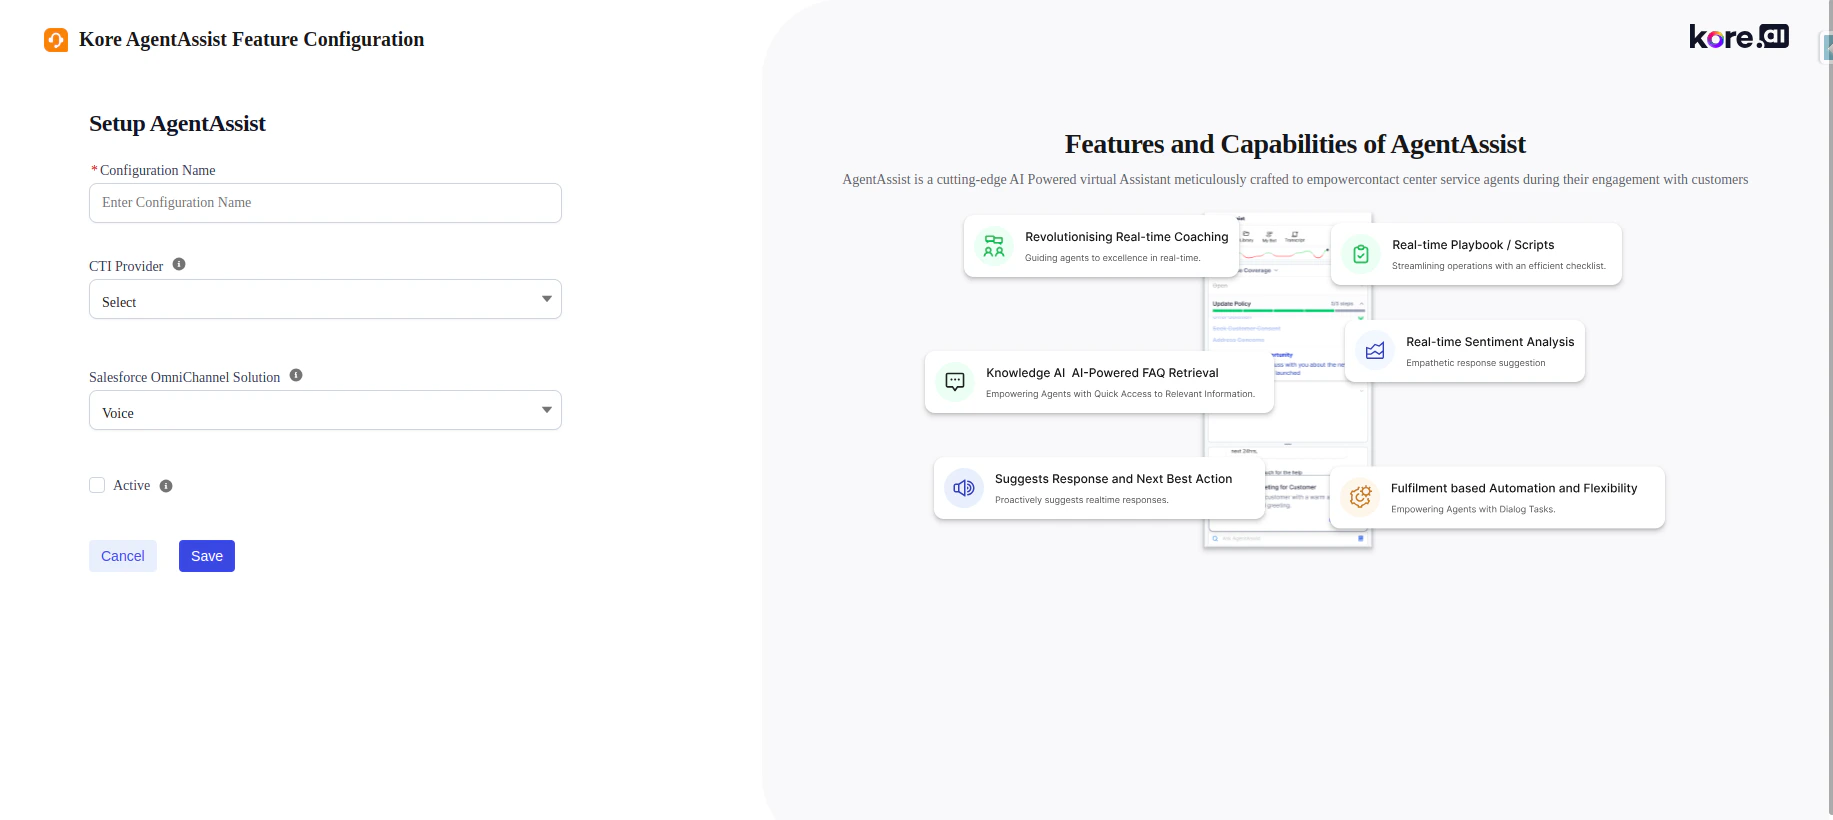
Click the New button in the top-right corner, and select the desired features in the package.
- Configuration Name: Provide a name for the configuration.
- CTI Provider: Skip this field.
- Salesforce OmniChannel Solution: Select “Chat and Voice” or “Voice” based on your license.
- Active: Only one feature configuration can be active at runtime.
-
Click Save.
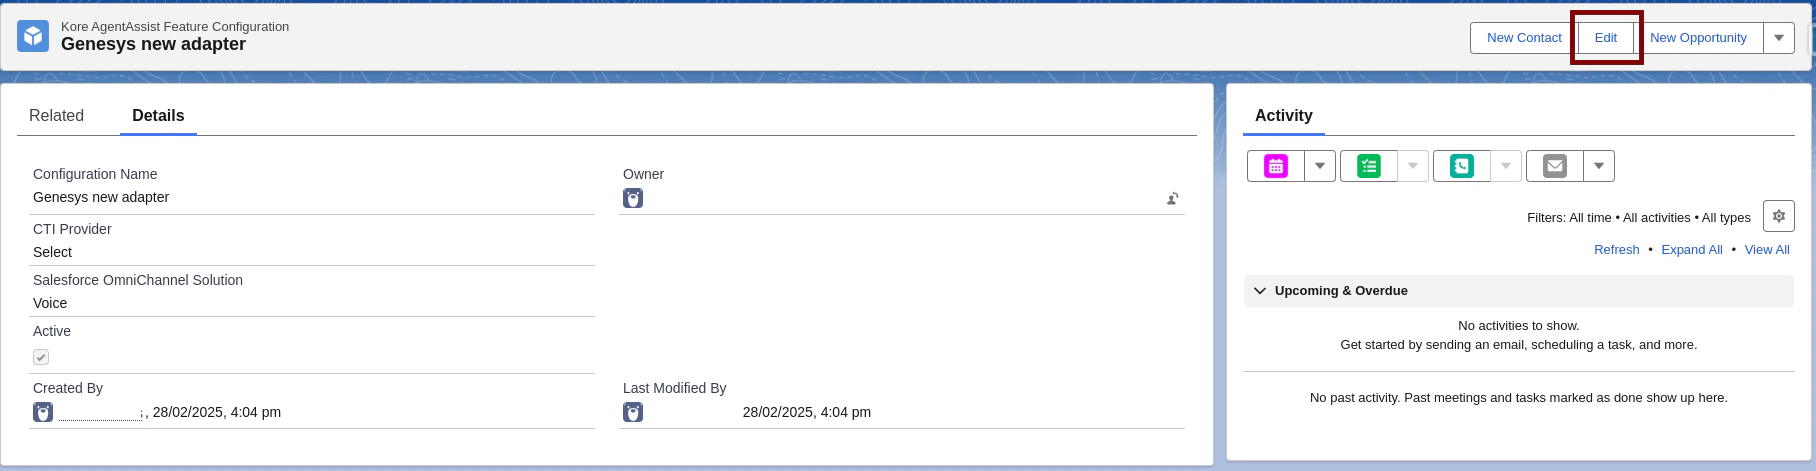
-
Click Edit to modify existing feature configurations.
Set up Widget Configuration
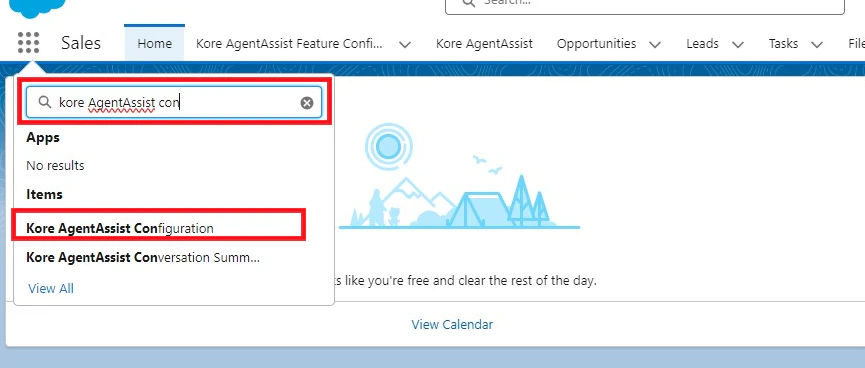
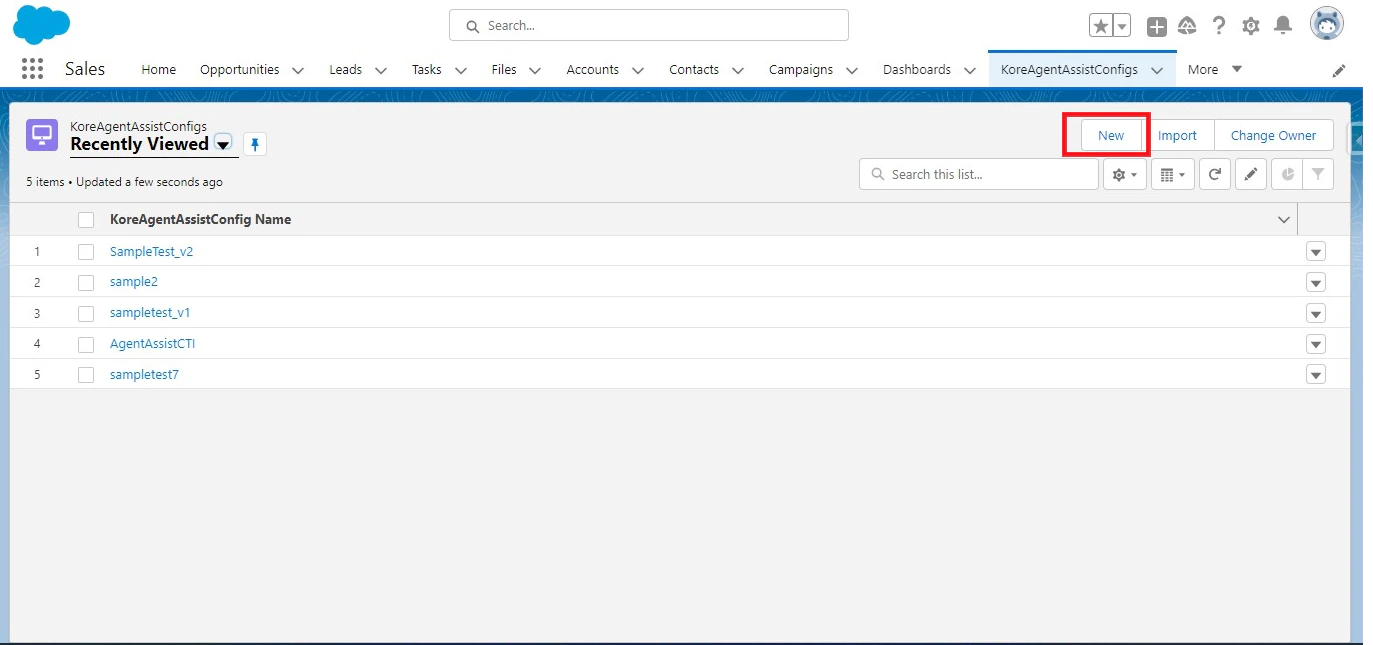
- Click the app launcher in the top-left corner.
-
Type Kore AgentAssist Configuration in the quick search bar, then click Kore AgentAssist Configuration from the suggestions list.
-
Click the New button to add a configuration.
-
Fill in all the details, and click Save.
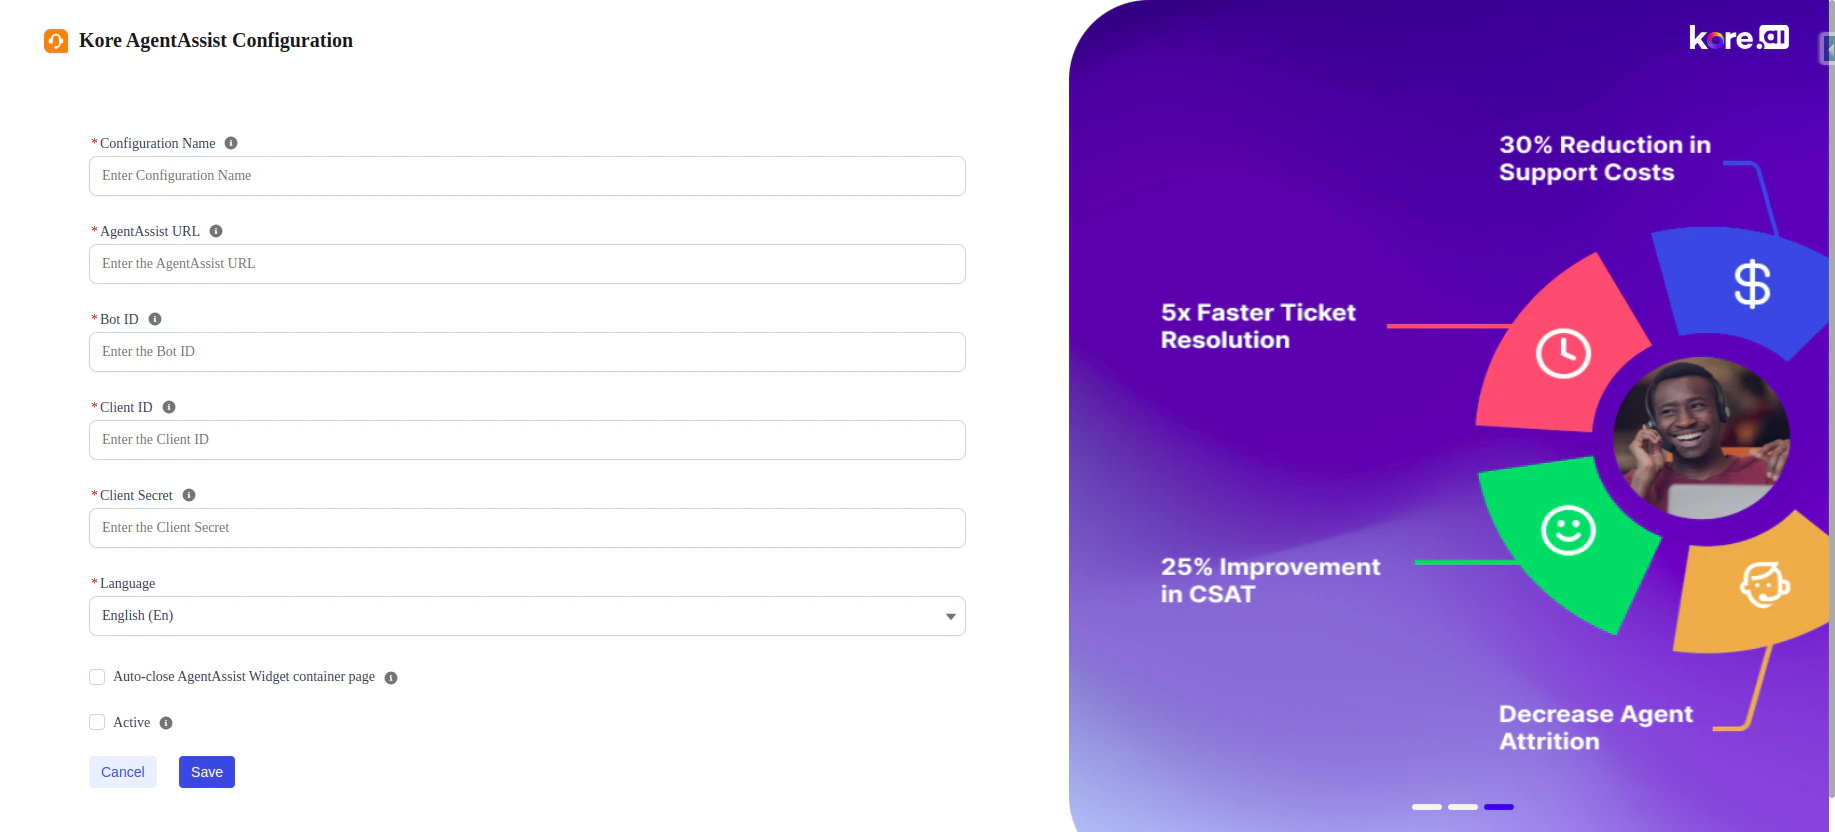
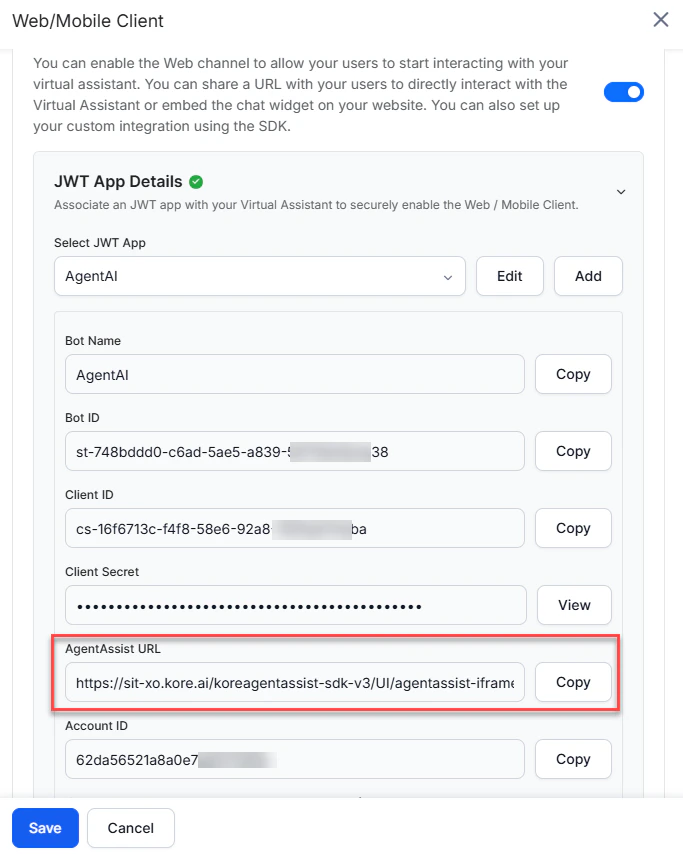
In the AgentAssist URL field, use the URL from Agent AI > Flows & Channels > Channels > Digital > Web/Mobile Client of your Agent AI instance.
Only one configuration can be active at a time; the active configuration is used at runtime.
- Choose the language to enable for the Agent AI widget. The default language is English.
Place the Widget in the Voice Calls Record Page
-
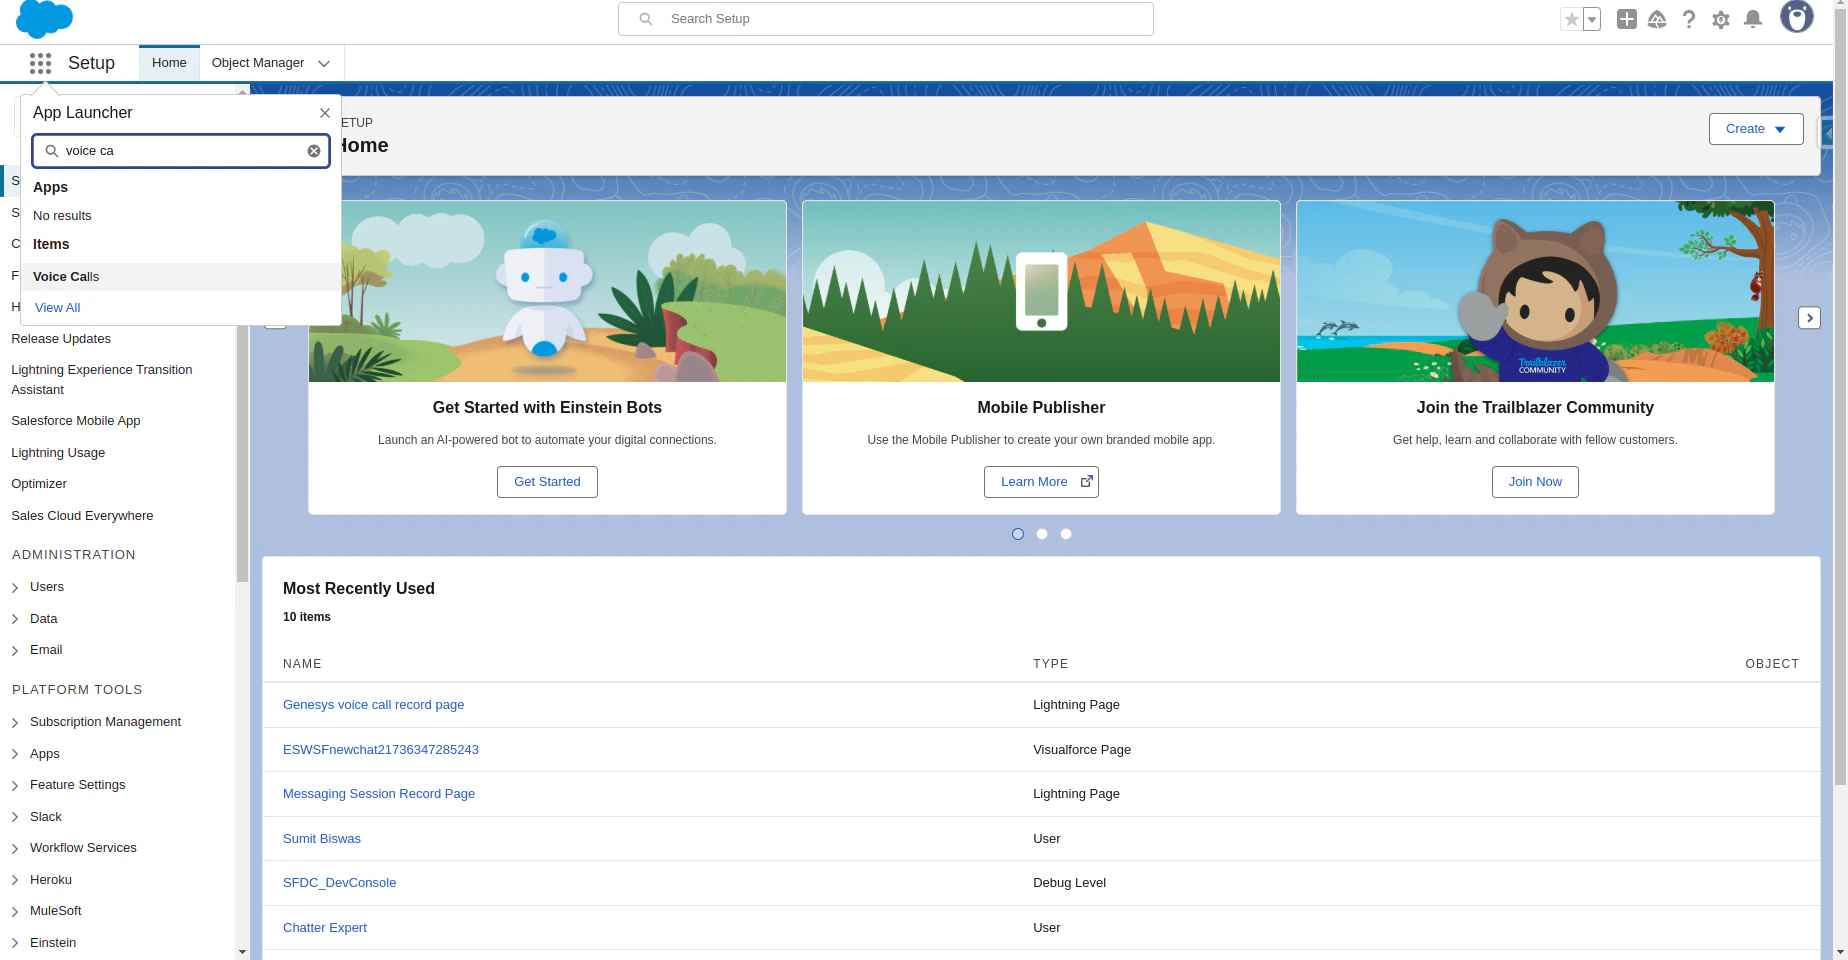
Click the app launcher, and search for Voice Calls in the quick search box.
-
Open any voice call record page, and click the Gear icon.

-
Click Edit Page.

- In the search box, search for koreAgentAssistVoice. Components appear under the Custom-Managed section.
-
Drag the component to the required location on the screen and adjust the height and width as needed.
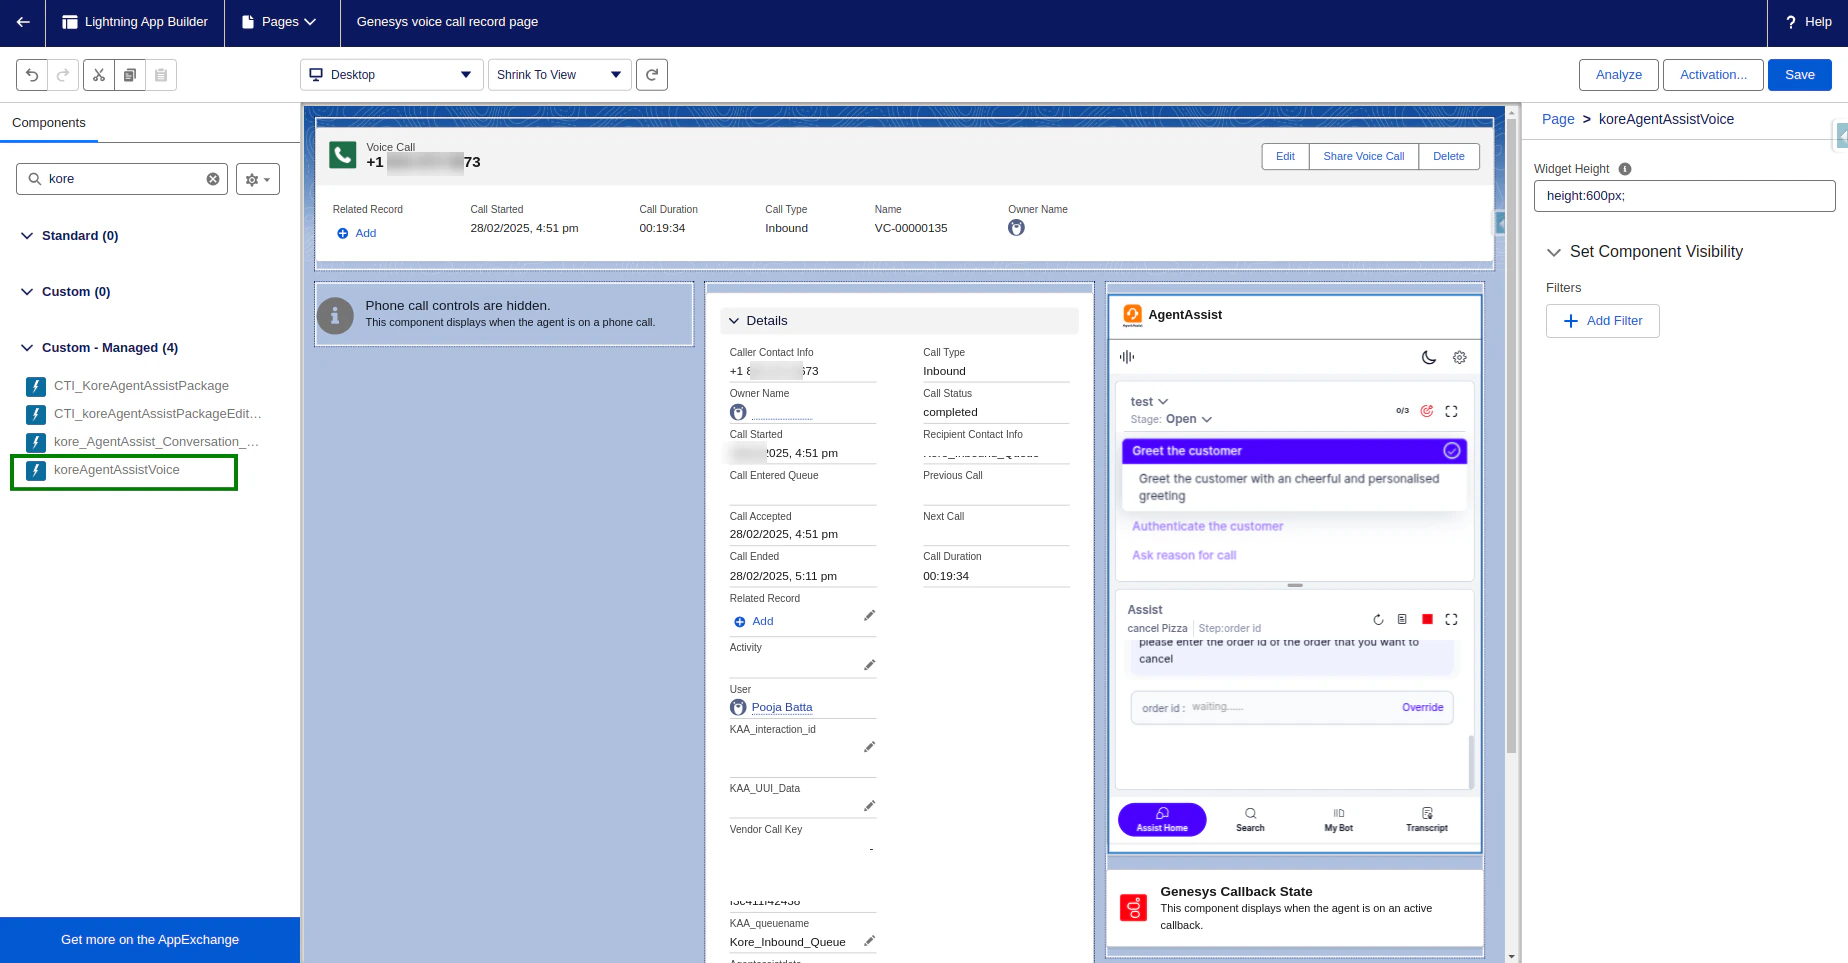
- Click Save.
Initiate the Voice
- Click the app launcher, and type Service Console or the name of the Lightning app you created in the quick search bar.
- Select Service Console in the suggestions list.
- At the bottom of the page, in the Utility Bar, click Omni-Channel and change the status to Available for Voice.
-
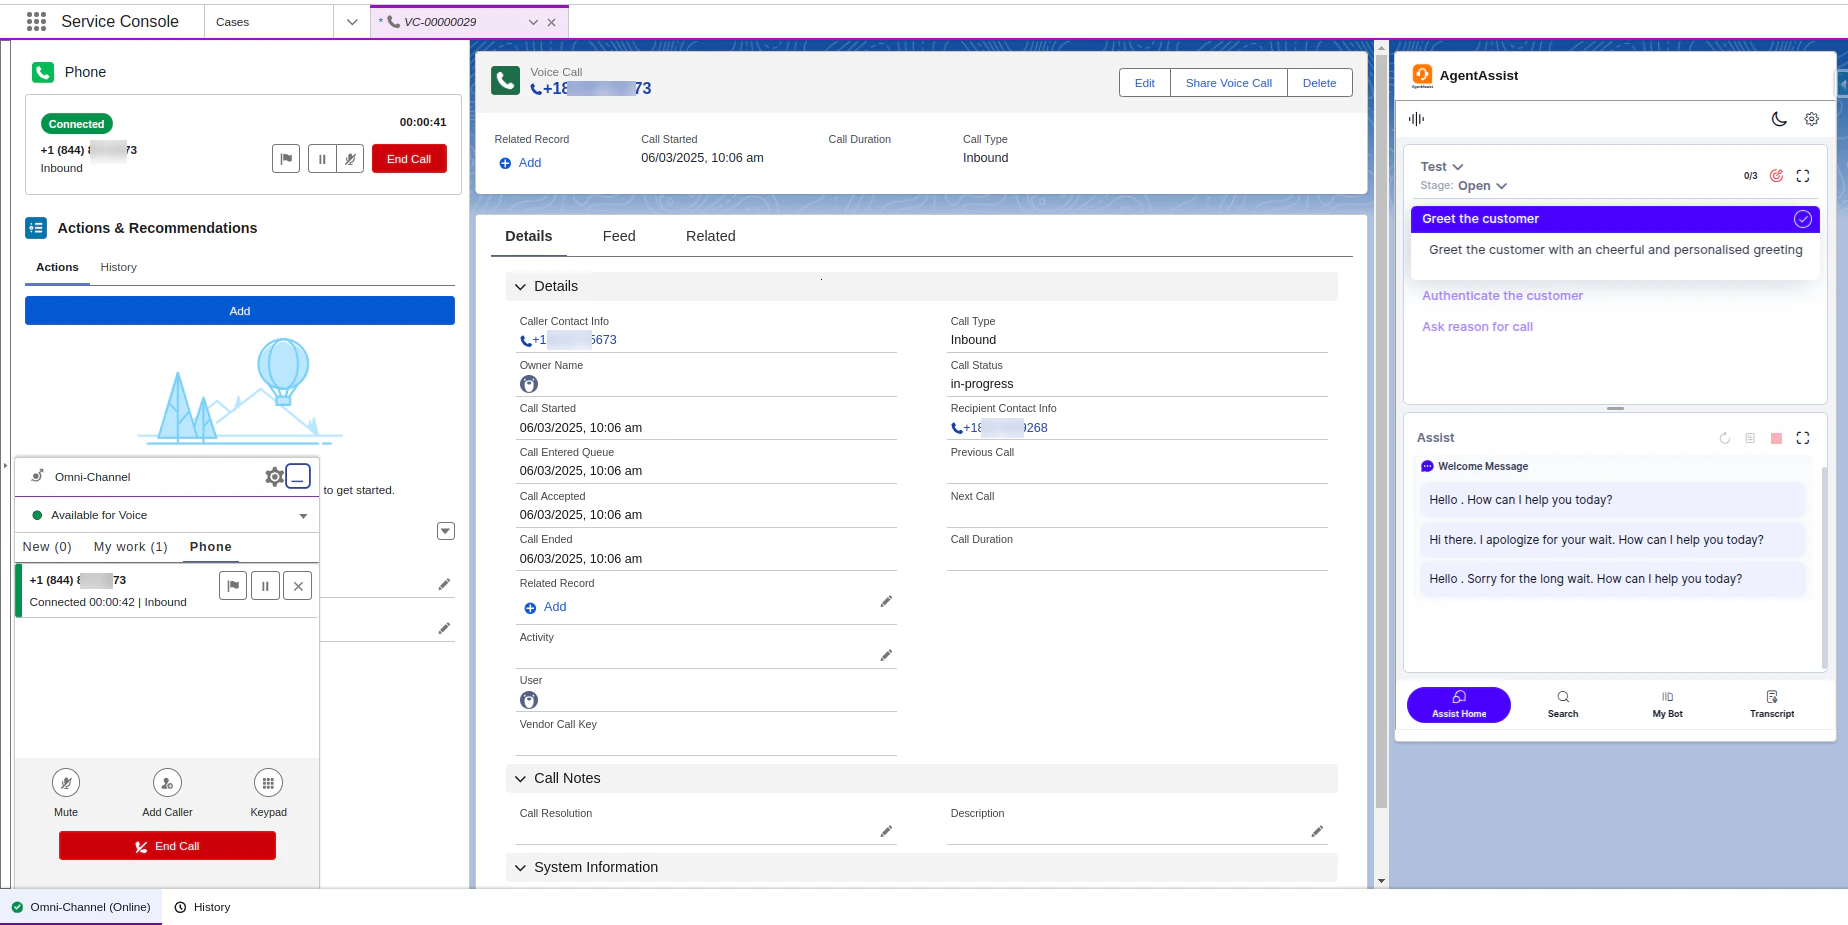
When a user calls an agent, a voice call record page pops up automatically. Accept the call by clicking the tick mark button, as shown in the following image:
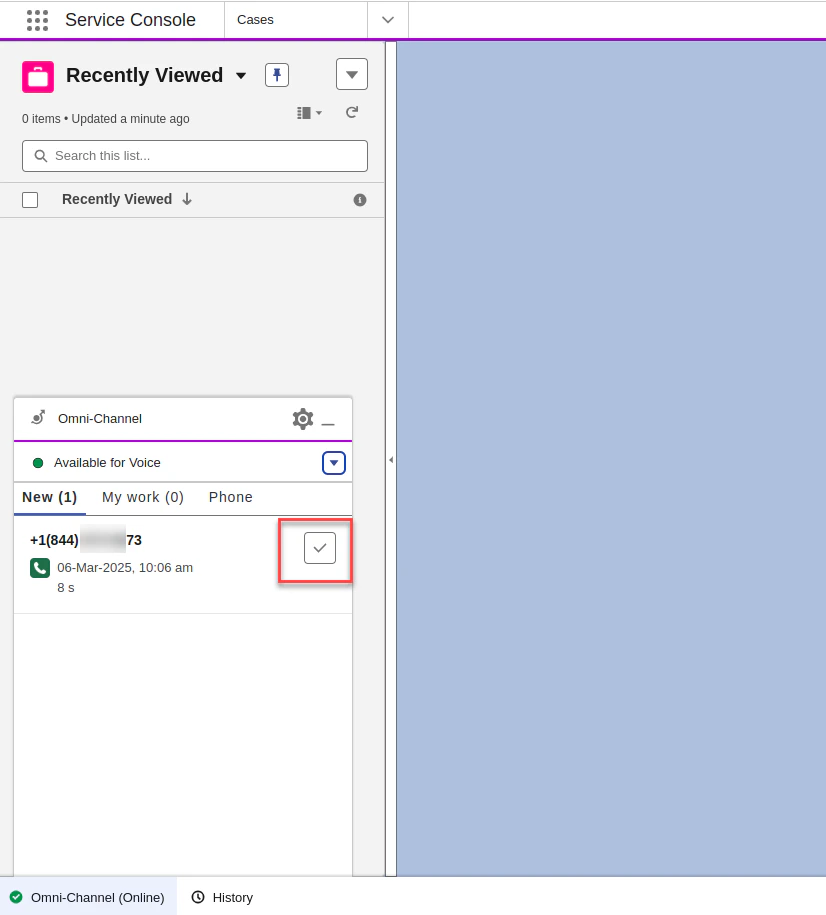
-
After the agent accepts the call, the voice call record page appears with the Kore Agent AI widget on the right side.