Configuring oAuth v2 Using Client Credentials
- Open the assistant for which you want to configure an Authorization profile.
-
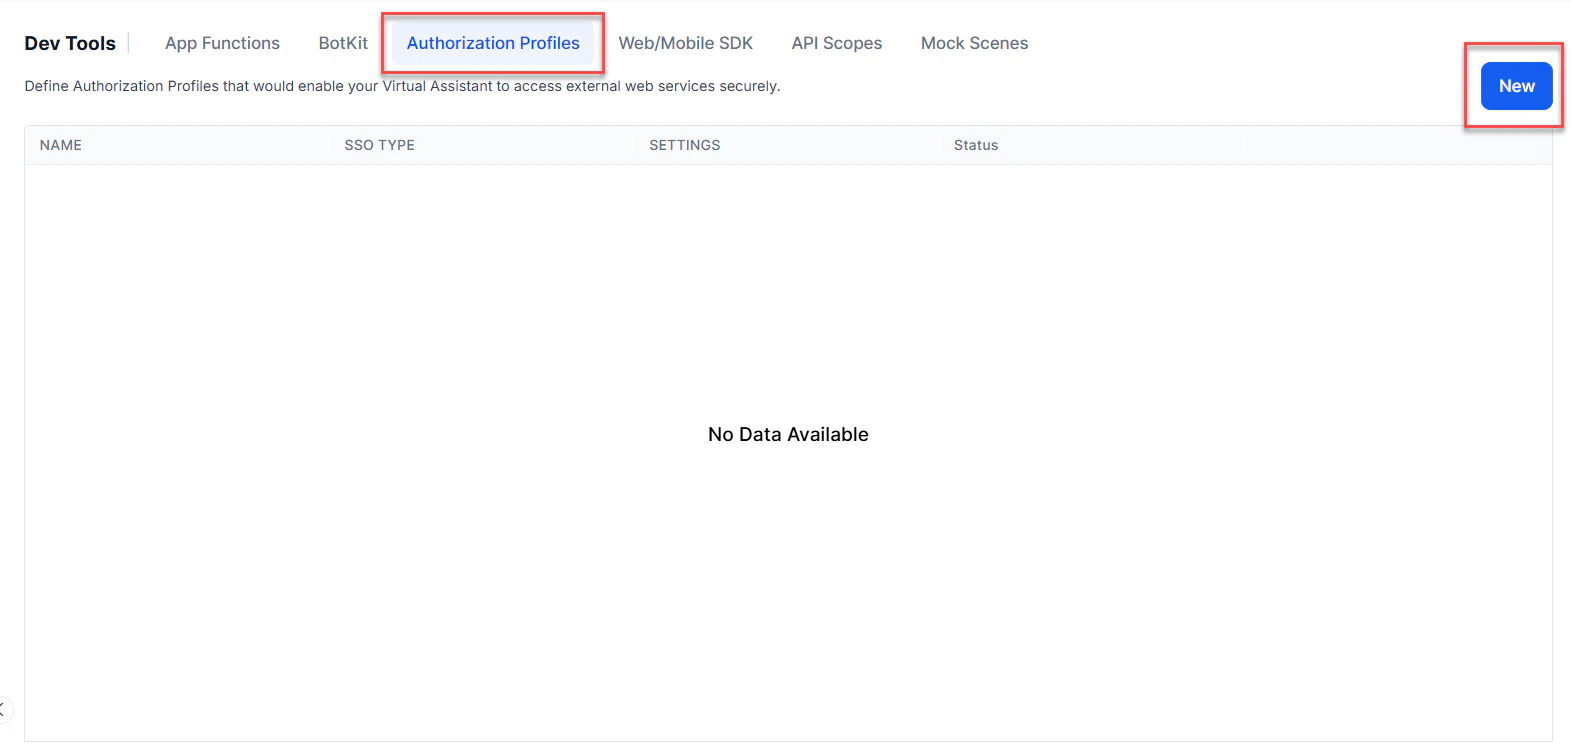
From the left menu, select App Settings, then select Dev Tools > Authorization Profiles.
-
Select New. The New Authorization Mechanism dialog opens.
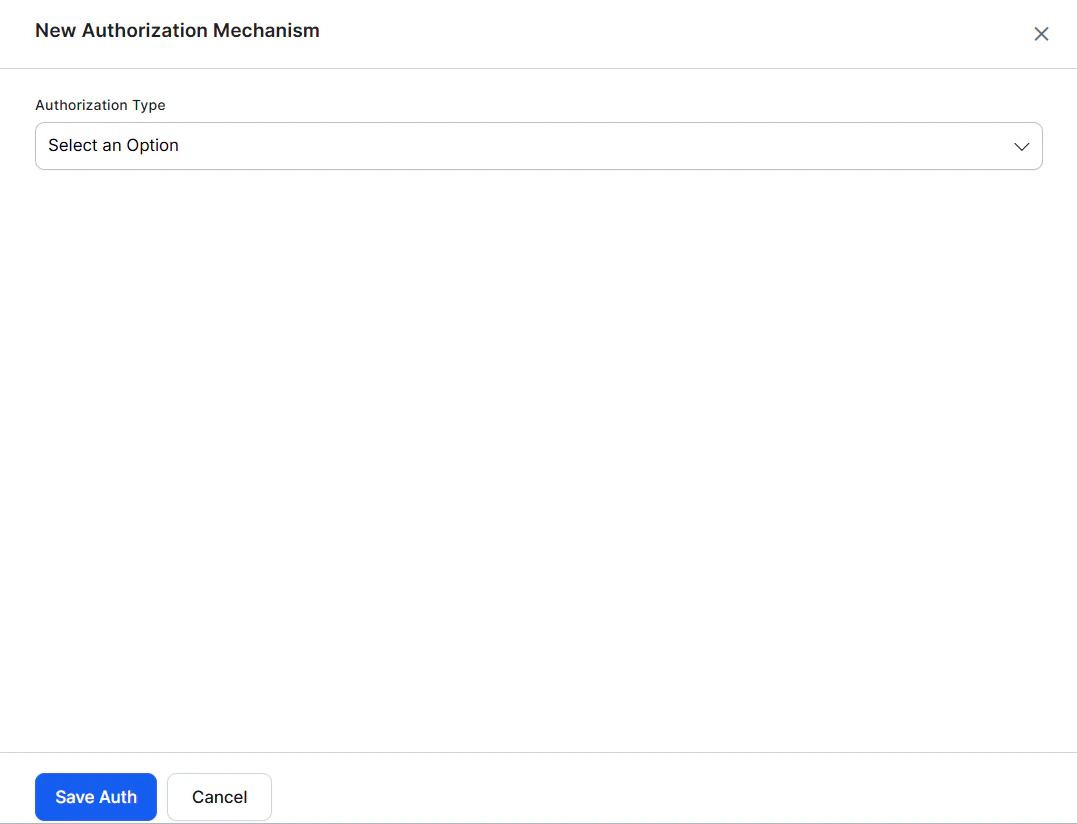
- In the Authorization Type drop-down list, select oauth v2 client credentials.
- In the Name field, enter the name for your authorization.
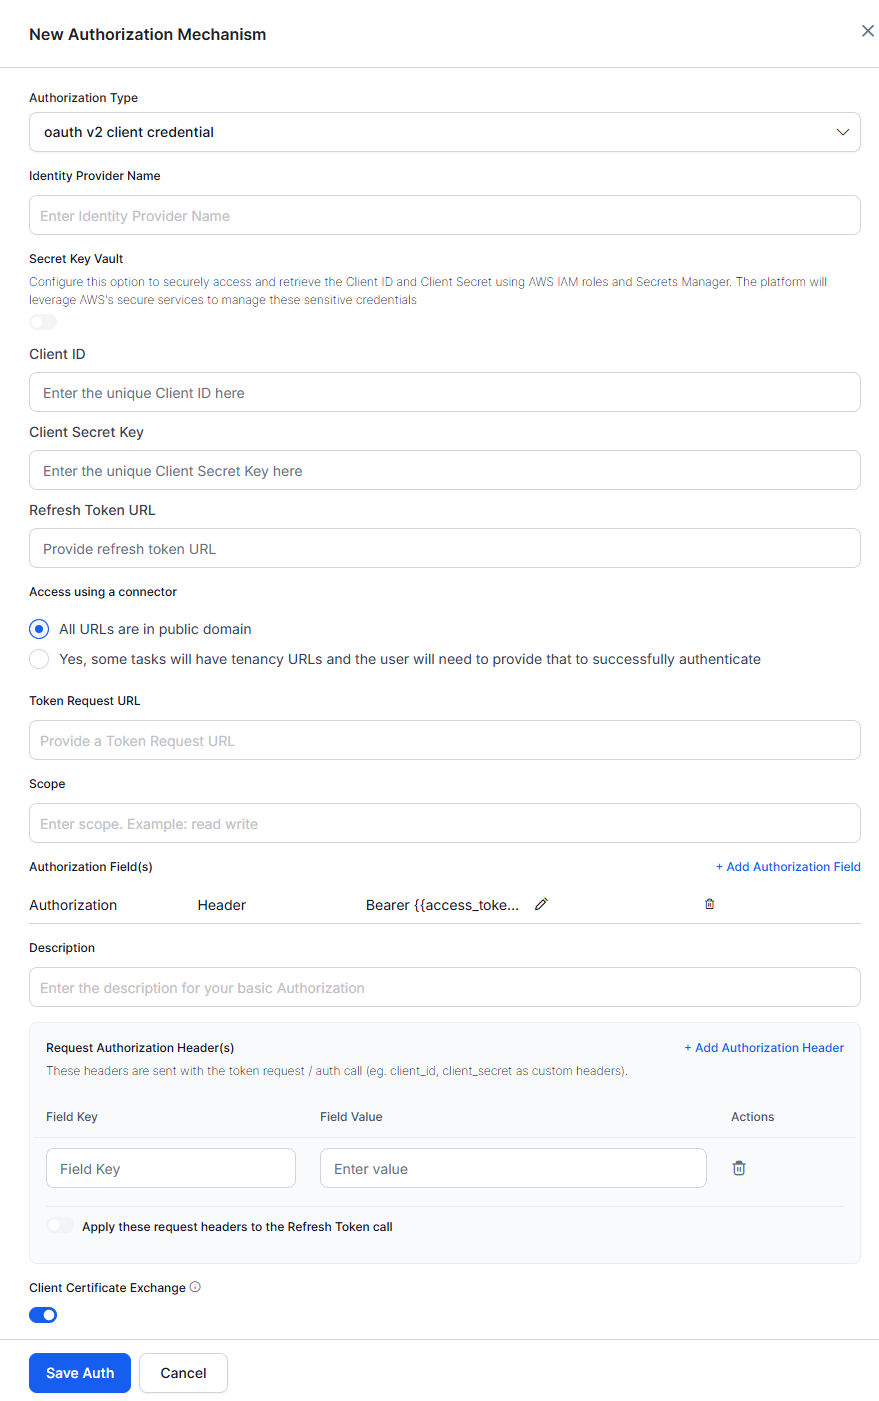
| FIELD NAME | DESCRIPTION |
|---|---|
| Authorization Type | Set to oAuth v2 Client Credentials. |
| Identity Provider Name | The name of the web application or web service, for example, Asana. This field is required. |
| Client ID | The ID of the Kore.ai client. The Platform accepts a maximum length of 255 characters. |
| Client Secret Key | The value provided as the Kore.ai application authentication based on the Client ID to the web application. The Platform accepts a maximum length of 255 characters. |
| Token Request URL | The URL used by the Kore.ai application to obtain an unauthorized request token. A request token is a value used by the Kore.ai application to obtain authorization from the end-user to obtain an access token. The Platform accepts a valid URL with a maximum length of 3000 characters. After end-user authorization, an access token can be requested by the Kore.ai application. This field is required. |
| Scope | If the web service requires additional values for authorization, add one or more Key/Value pairs. For example, some web services support using a scope key using read-only, write, or both as the value. |
| Refresh Token URL | Enter a Refresh Token URL, if required, for cases when the authentication token expires and must be refreshed. The Platform accepts a valid URL with a maximum length of 3000 characters. |
| Description | Enter a description for your authorization. |
| Client Certificate Exchange | Enable this toggle to enforce certificate-based client authentication during the TLS handshake using a digital certificate. |
Authorization Fields
By default, authorization fields are configured as part of the header of the task request message. If your task request requires additional authorization fields or the expected authorization isn’t part of the header (for example, a verification code), click + Add Authorization Field and define the fields as shown in the following illustration.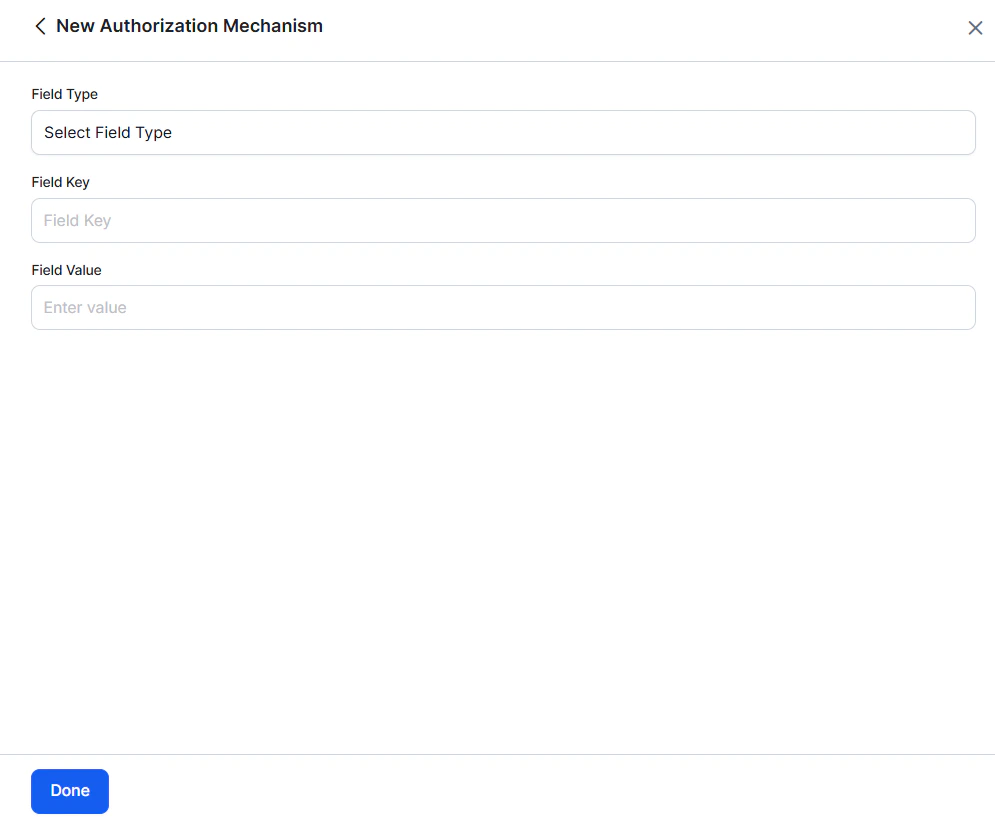
-
In the Field Type field, select one of the following depending on where in the task request message the authorization fields are required:
- Header - The AI Agent expects the authorization fields as part of the header of the request.
- Payload - The AI Agent expects the authorization fields as part of the content of the body of the request.
- Query String - The AI Agent expects the authorization fields as a query in the body of the request.
- Path Param - The AI Agent expects the authorization fields as part of the URL path for the request.
- In the Field Key field, enter the name of the field for the selected Field Type.
- In the Field Value field, enter the value for the Field Key specified.
- Select Done. The new authorization field is added in the Authorization Fields section.
Adding Request Authorization Header(s)
If your request requires additional authorization headers supported by the external system, click + Add Authorization Header to configure the required header fields.
- In the Field Key field, enter the header name.
- In the Field Value field, enter the corresponding header value.
- Select + Add Authorization Header to add multiple headers as needed. Use the delete option to remove any headers that aren’t required.
- Enable the Apply these request headers to the Refresh Token call toggle to include the configured headers in Refresh Token requests, if required by the external system.
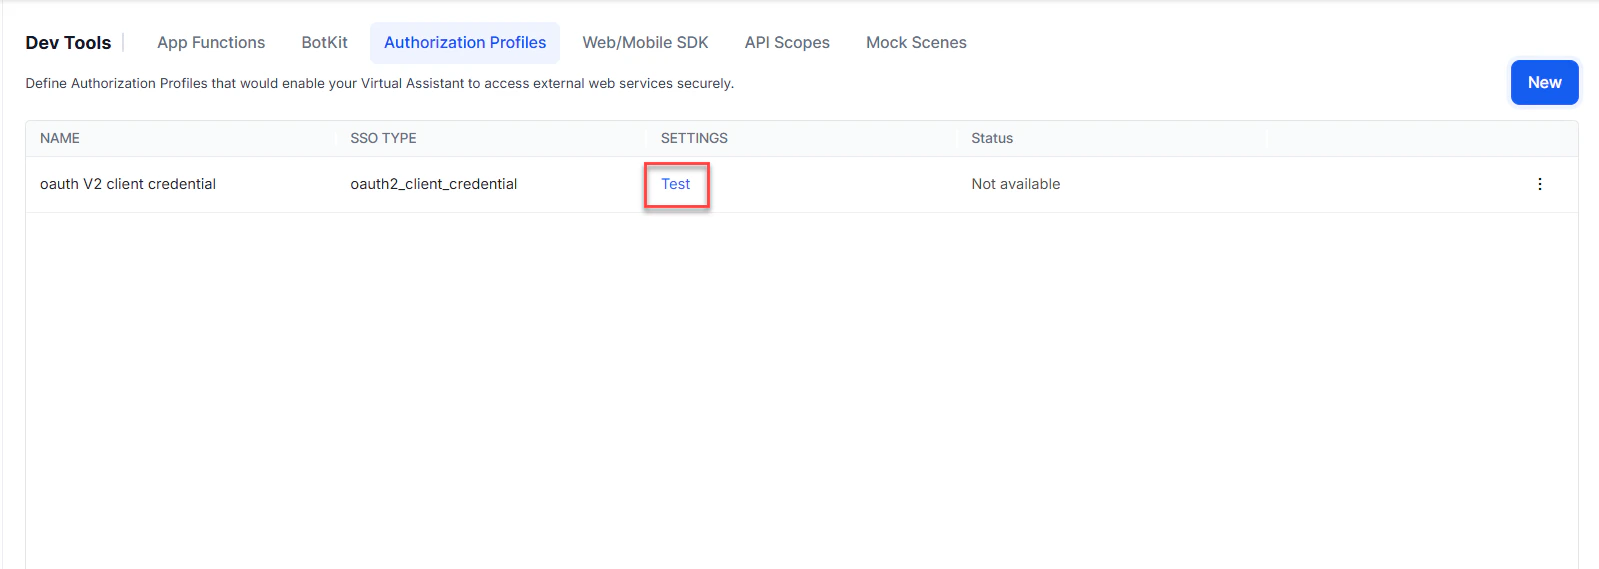
Testing the Authorization
After saving the authentication, test your authorization definition on the Authentication page by clicking Test before continuing to develop the remaining steps of your task. The test is executed using the authentication token URLs and the Client ID and Client Secret Key. If tenancy was defined, the Test Authorization dialog is displayed. Click Test to begin the authorization test.