How OAuth v2 Works
OAuth v2 authorization works as follows:- The Platform redirects the user to a login dialog at the web application.
- The user authenticates.
- The web application redirects the user back to the Platform with an access token.
- The Platform validates the access token.
- The access token allows the Platform to access a protected resource at the provider, on behalf of the user.
Configuring OAuth v2 Authorization
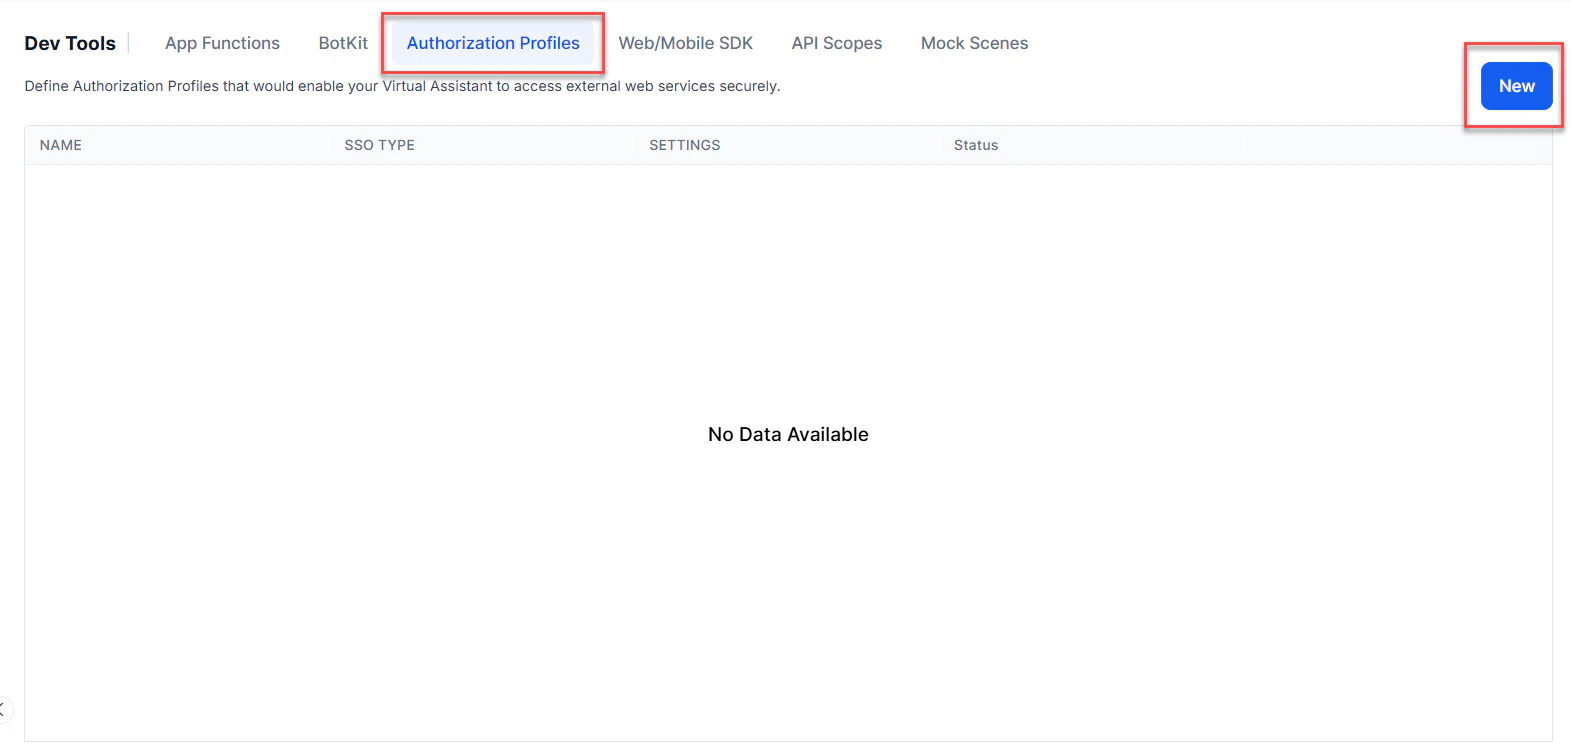
- Open the assistant for which you want to configure an Authorization profile.
- From the left menu, click App Settings, then select Dev Tools > Authorization Profiles.
-
Click New to open the New Authorization Mechanism dialog.
- In the Authorization Type drop-down list, select oauth v2.
- In the Name field, enter the name for your authorization.
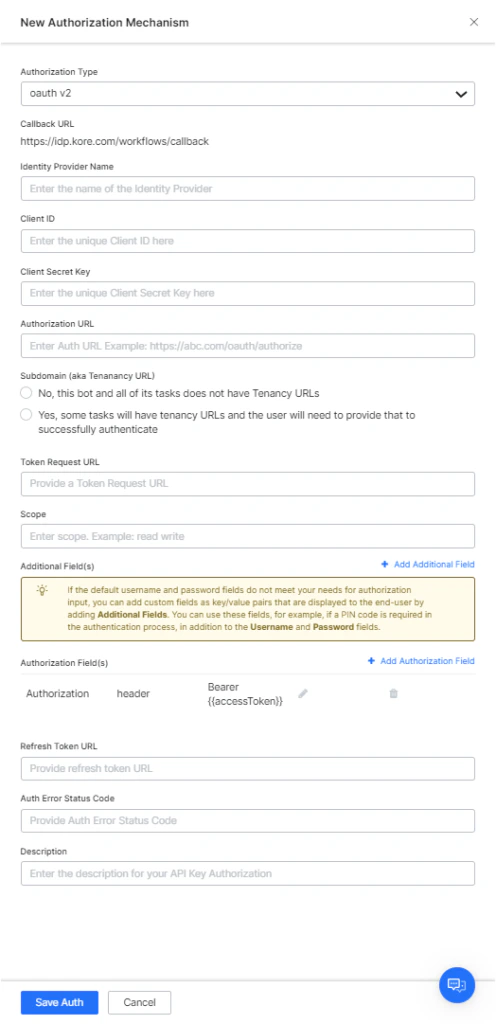
Defining Configuration Fields
To configure oAuth v2, define the fields described in the following table.
For more information, see Using Session and Context Variables.
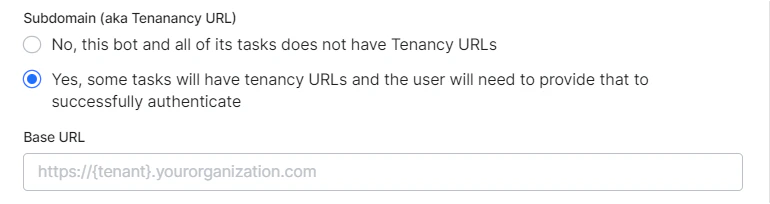
Defining Tenancy
If required, in the Subdomain section, select Yes if the base URL for a web application or user interface uses a tenant name in the URL. For example,platform is the tenant organization for a web service that uses subdomain-based tenants, such as www.platform.example.com.
In the following example configuration, the tenancy URL contains the {tenant} organization placeholder.
Adding Additional Fields
Click Add Additional Fields and enter one or more key/value pairs representing additional authorization input fields. If the default username and password fields don’t meet your authorization input needs, add custom fields as key/value pairs displayed to the end-user. For example, add a PIN code field in addition to the Username and Password fields.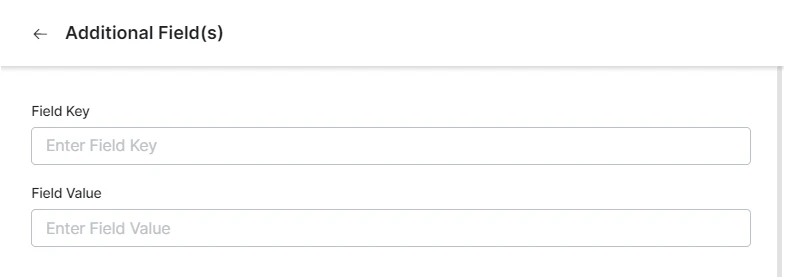
- Field Key: The name of the custom field to specify for authorization.
- Value: The value of the custom field to specify for the authorization.
Adding Authorization Fields
By default, no authorization fields are configured as part of the header of the request message. If your request requires authorization fields or the expected authorization isn’t part of the header (for example, social security number or PIN), click Add Authorization Fields and define the fields.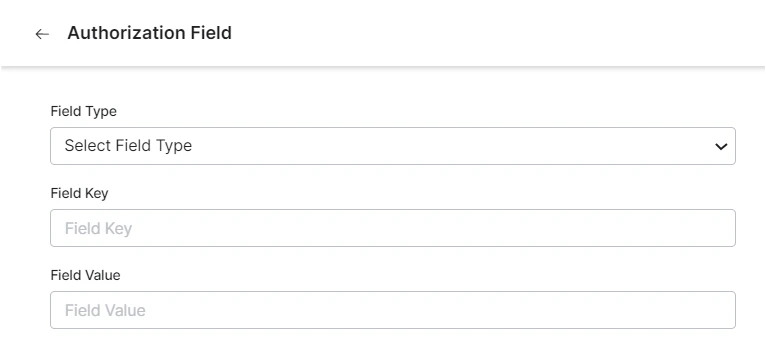
-
In the Field Type field, select one of the following depending on where in the request message the authorization fields are required:
- Header: The assistant expects the authorization fields as part of the header of the request.
- Payload: The assistant expects the authorization fields as part of the content of the body of the request.
- Query String: The assistant expects the authorization fields as a query in the body of the request.
- Path Param: The assistant expects the authorization fields as part of the URL path for the request.
- In the Field Key field, enter the name of the field for the selected Field Type.
- In the Field Value field, enter the value for the Field Key specified.
- Click Done. The new authorization field is added in the Authorization Fields section.
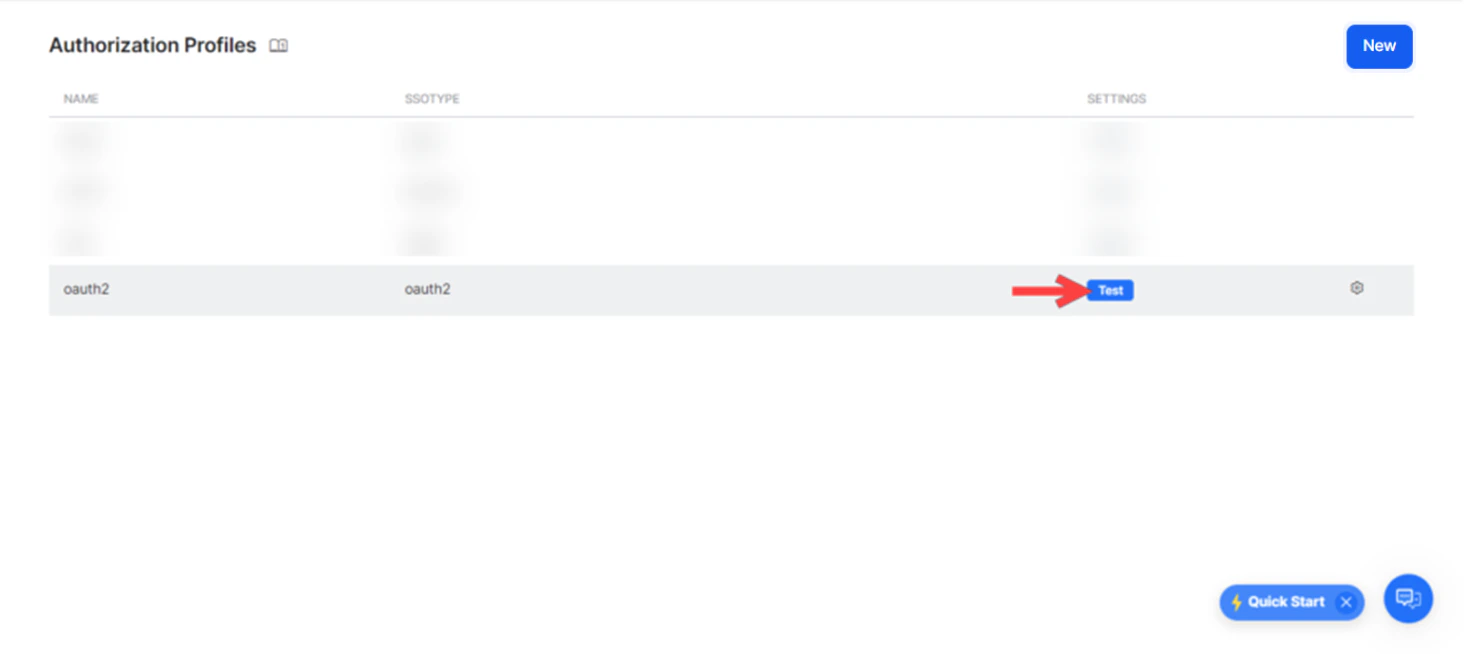
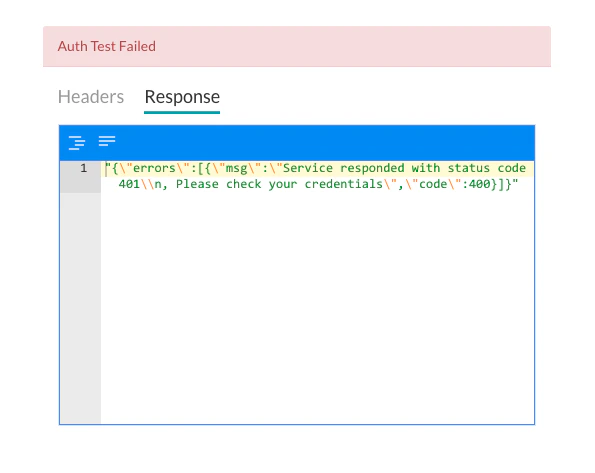
Testing the Authorization
After saving the authentication, test your authorization definition on the Authentication page by clicking Test before continuing to develop the remaining steps of your task. The test is executed using the authentication token URLs and the Client ID and Client Secret Key. If tenancy was defined, the Test Authorization dialog is displayed.