Agent AI Widget Features
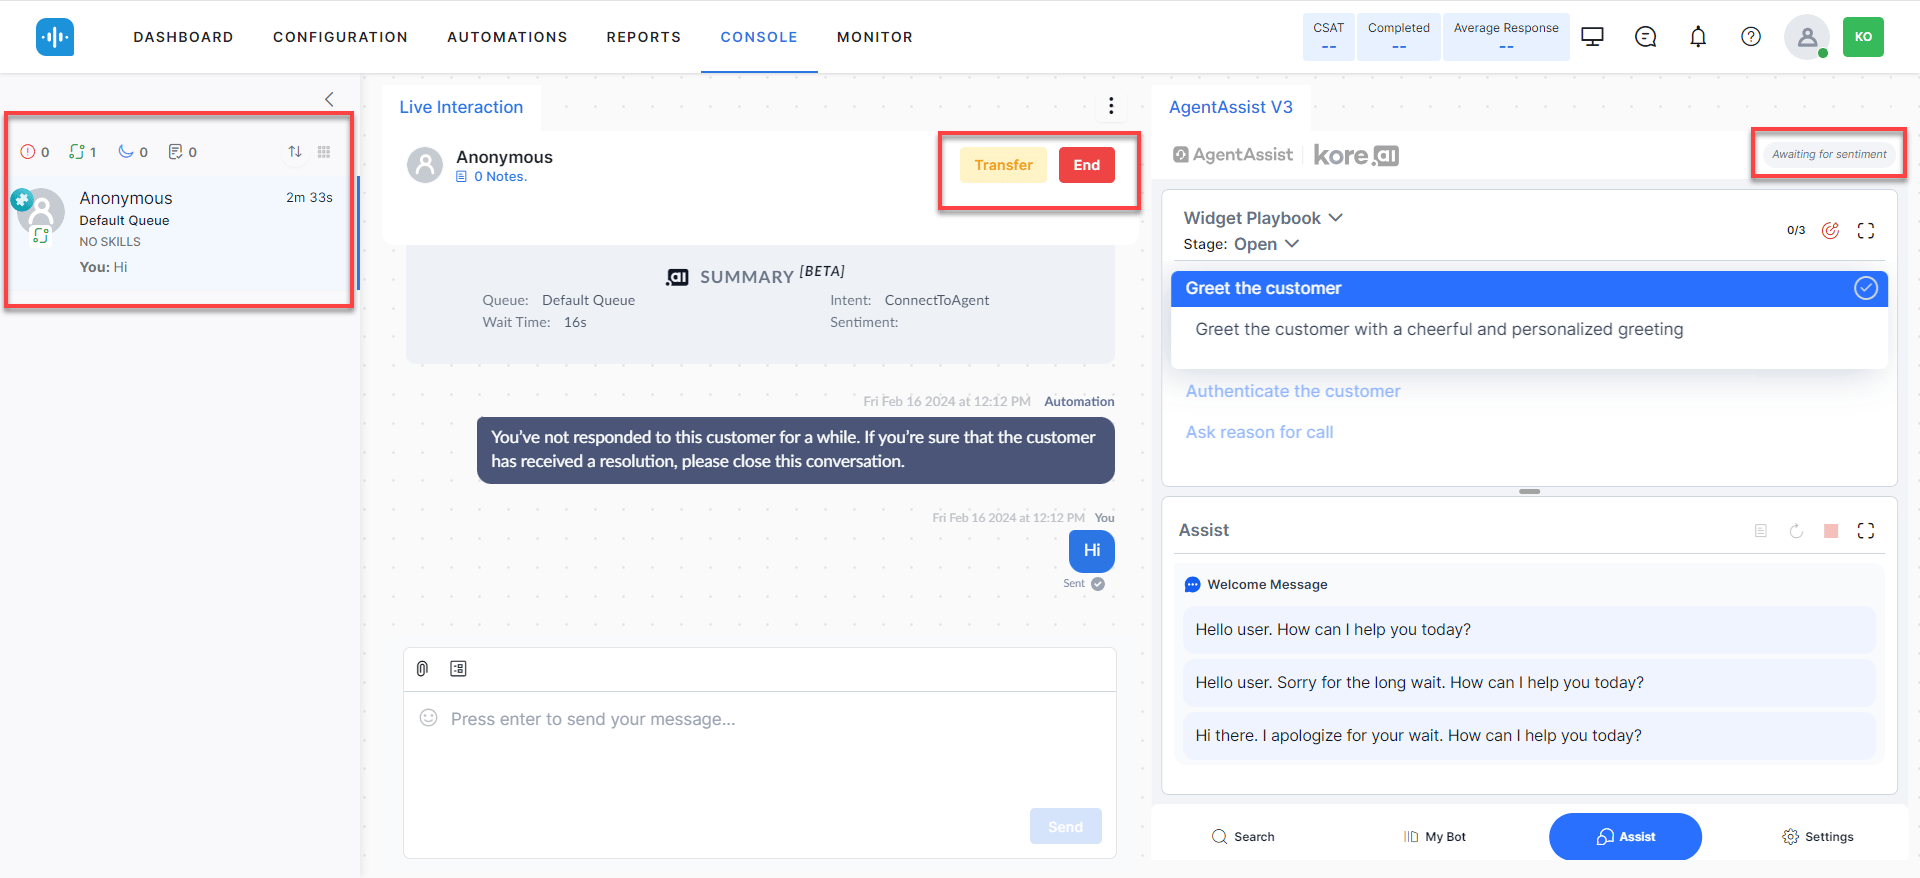
Widget Tabs
The widget has five tabs — Search, My AI Agent (Bot), Assist, Transcript (voice only), and More — plus Settings and Theme controls.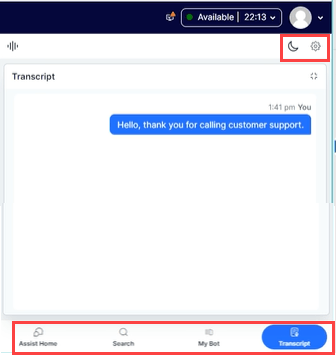
Search Tab
Shows all configured Dialog Tasks and supports searching for Dialog Tasks, FAQs, Generative AI answers, web pages, and files. Content updates automatically based on the conversation.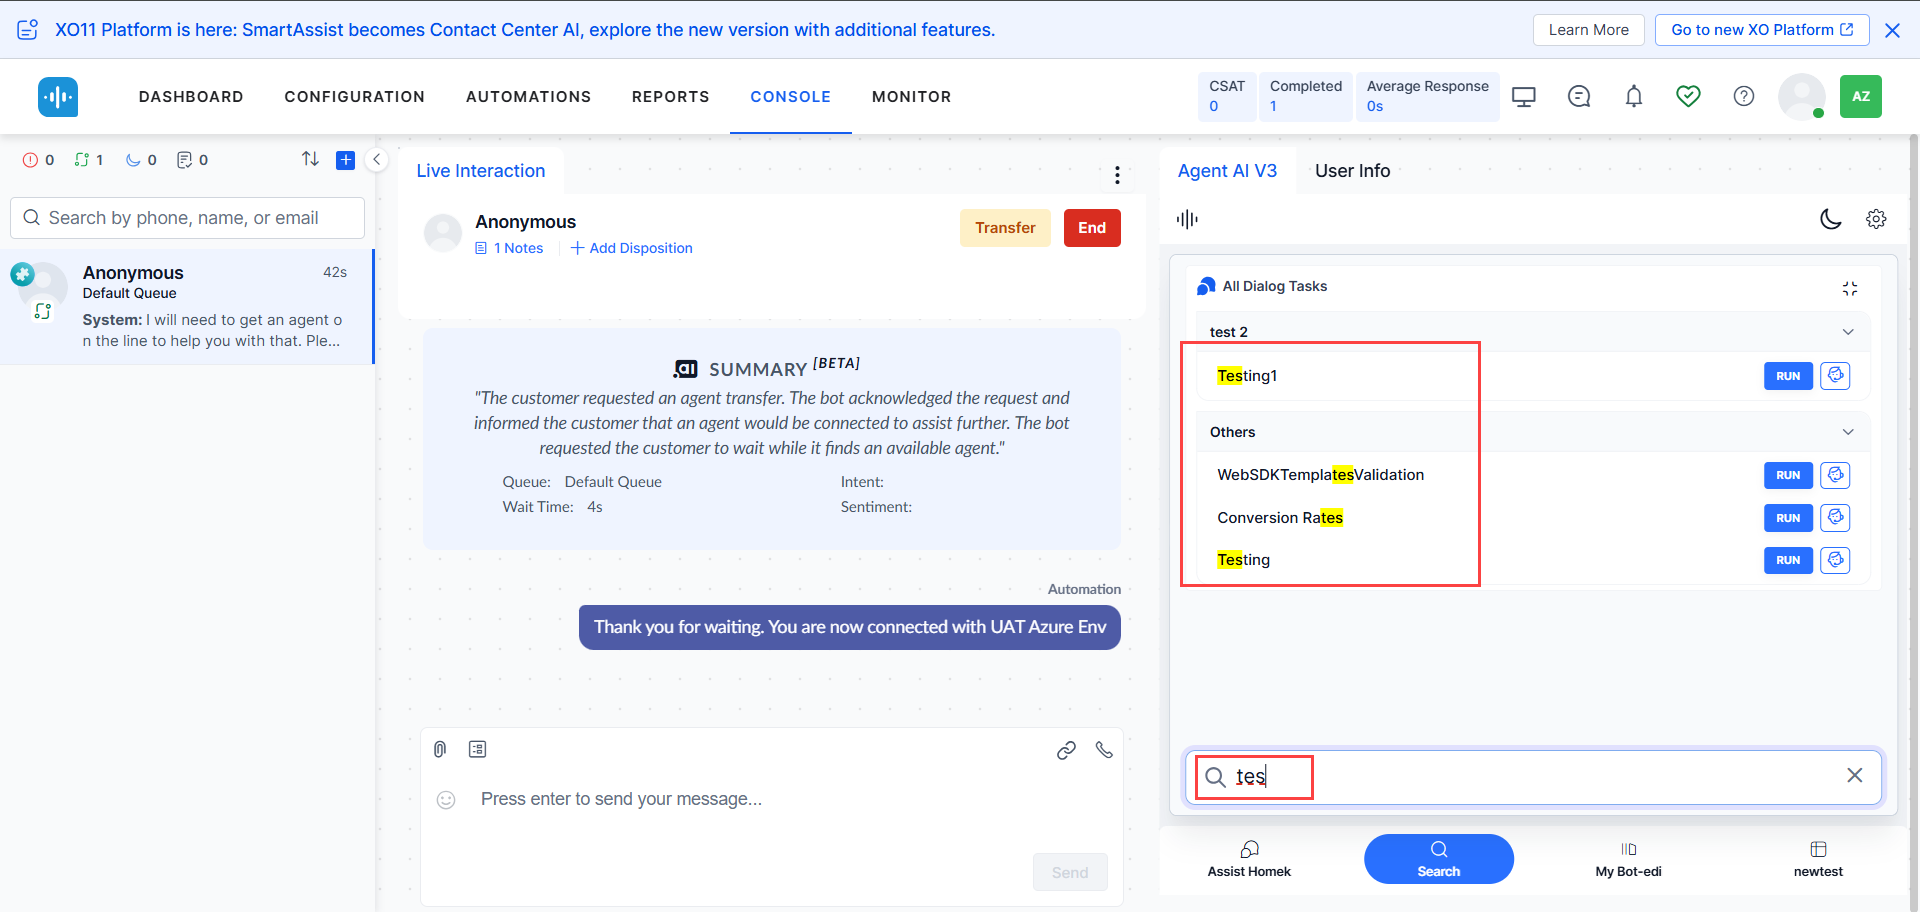
Error States
| Condition | Display |
|---|---|
| Timeout or dialog tasks not configured | 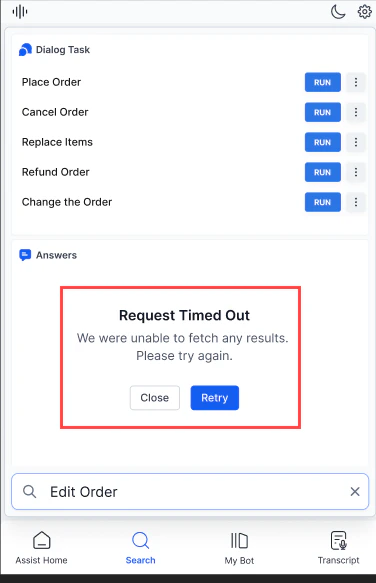 |
| Consecutive timeout |  |
| Server error |  |
| Dialog Tasks not found | 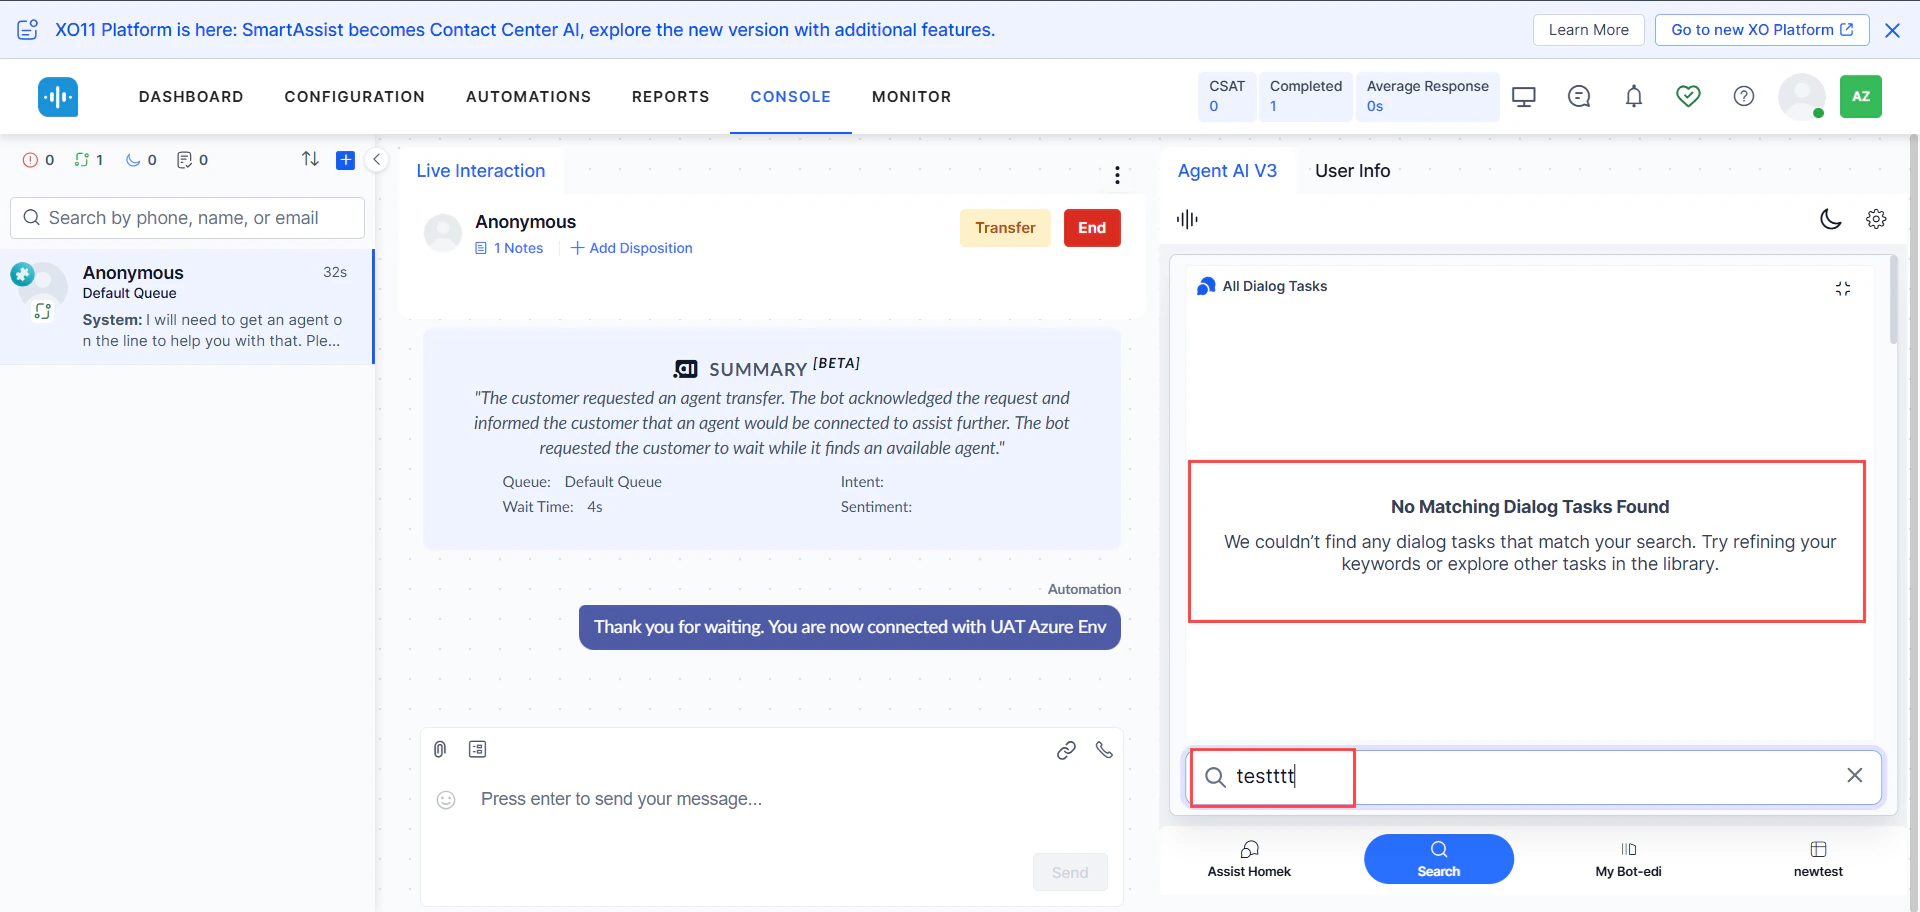 |
| No matching results | 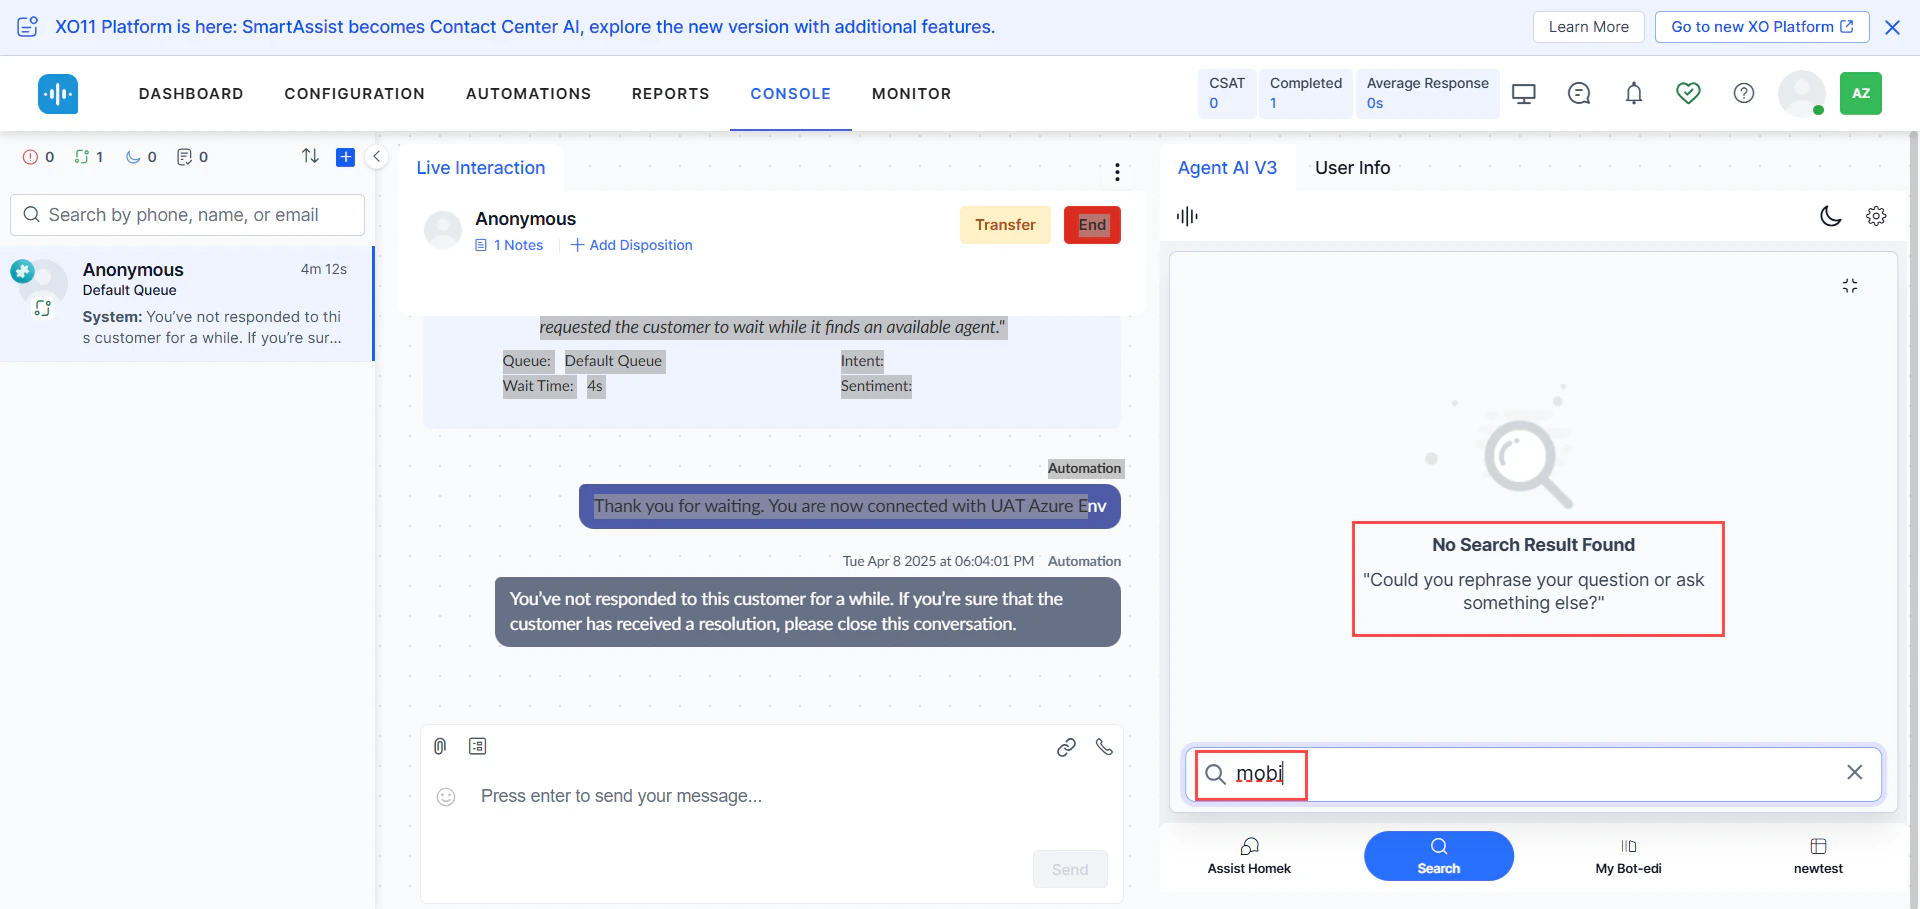 |
My AI Agent (Bot) Tab
Lets agents run automations independently using their own inputs. Use this when automation fails mid-conversation or when the agent needs to run parallel queries without affecting the customer interaction. The tab displays Next Best Action suggestions based on the current conversation status.Assist Tab
The primary agent workspace. Monitors the conversation automatically and surfaces Dialog Tasks, FAQs, Knowledge AI results, Playbooks, Agentic Copilot messages, and coaching prompts. Capabilities:- Suggests the best response based on conversation context.
- Displays Agentic Copilot messages with a configurable delay (up to 10 seconds) before auto-sending.
- Retrieves knowledge base content based on customer intent.
- Shows historical automation runs and conversation history.
- Supports file and image attachments up to 25 MB.
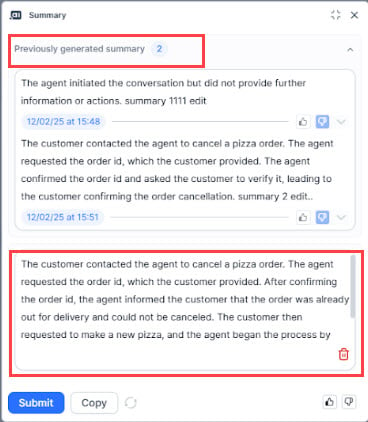
- Allows on-demand summary generation (up to 2 times per conversation).
Assist Tab Controls
Revisiting adhered playbook steps
You can revisit the content of an adhered playbook step without affecting the adherence metrics.- Hover over an adhered Playbook step to expand and display its text body.
- Select an adhered Dynamic Playbook to reopen it and view its content.
Agentic Copilot Messages
After Welcome Events execute, the widget displays:Agentic Copilot is actively listening to your conversation and ready to assist automatically.
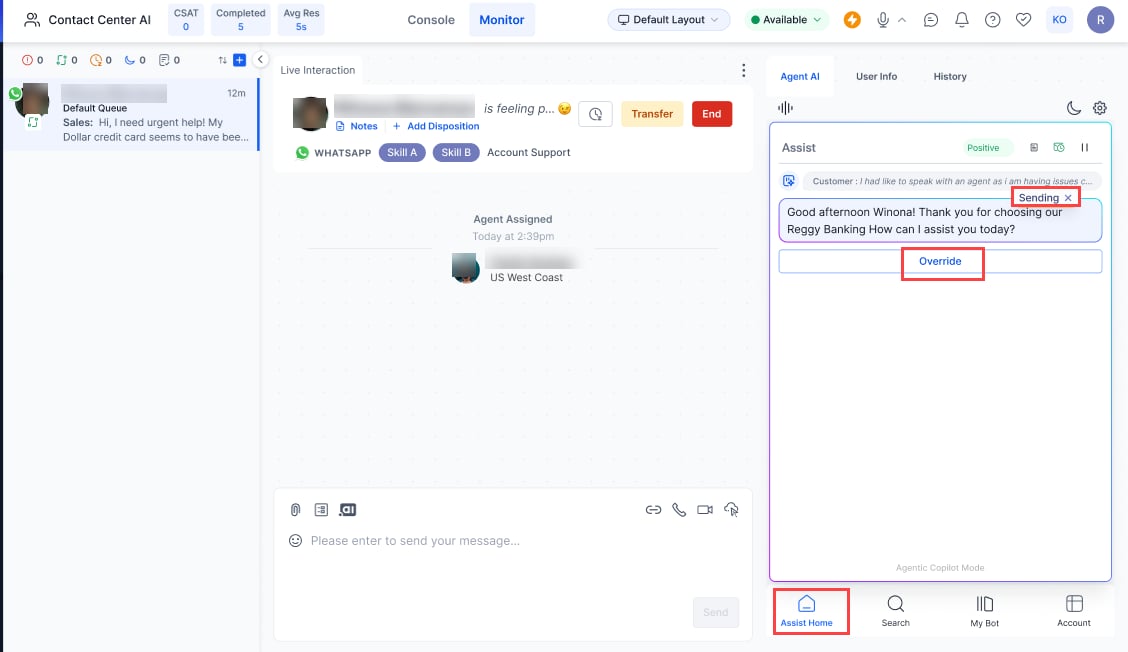
- Select x to cancel auto-send.
- Select Copy to move the message to the chat input field.
- Select Send to send immediately.
- Select Override to discard the Agentic response and type your own.
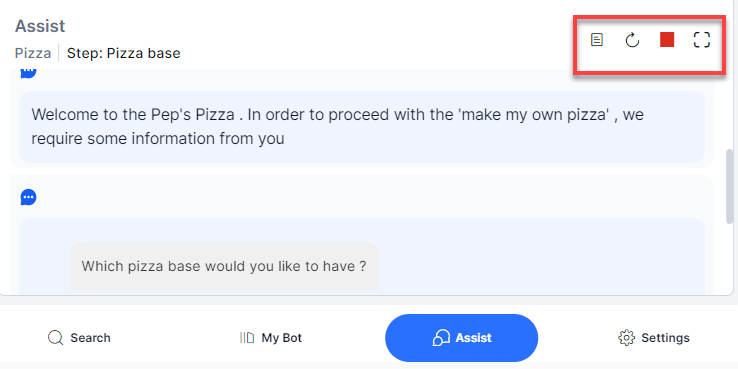
- Use the Stop/Resume icon (top-right) to pause or resume auto-send globally.
- Use the Pause/Resume icon (top-right) to pause or resume the Agentic app.
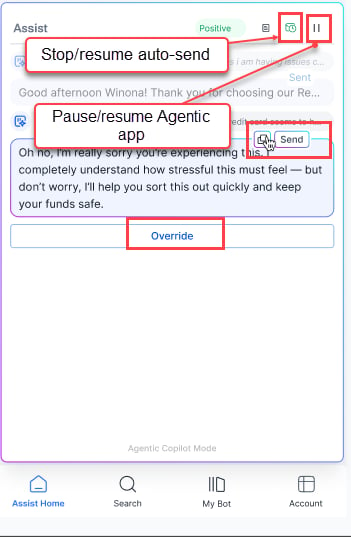
- Auto-send disables automatically if Agentic Copilot fails to respond.
- For messages outside the app’s scope, Agentic indicates it can’t respond.
- To regenerate a failed response, double-click the corresponding customer message.
Generate Summary
Agents can generate on-demand summaries at any point during a conversation, up to two times. Previous summaries with timestamps remain visible during agent transfers.Enable the Generate Summary toggle in Widget Theming > Layout Customization > Assist Action Menu Layout to activate this feature.
Attachment Support
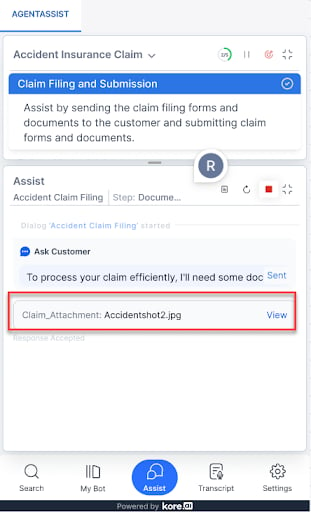
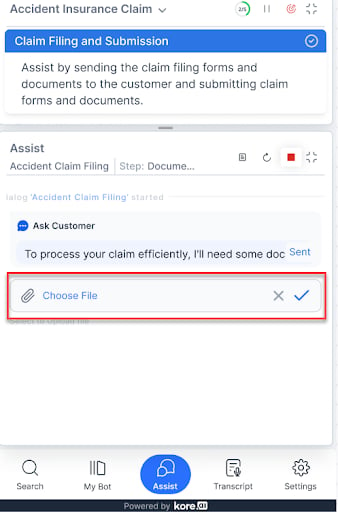
You can attach one file at a time, up to 25 MB. If the system detects the file automatically:- A “waiting…” indicator appears.
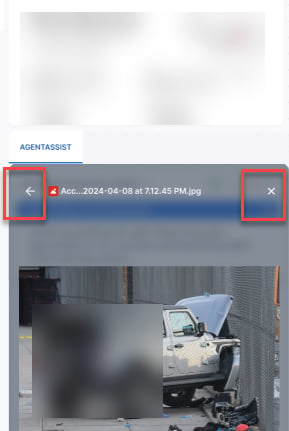
- On success, the file name appears in the input field with a View button.
| Error | Display |
|---|---|
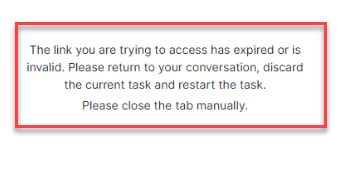
| File exceeds 25 MB | 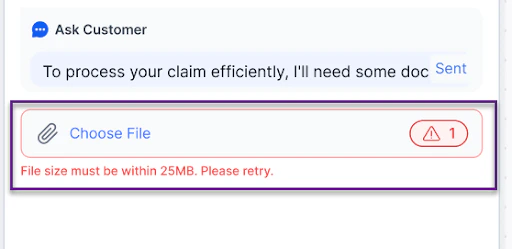 |
| Unsupported file type |  |
In-line Digital Forms
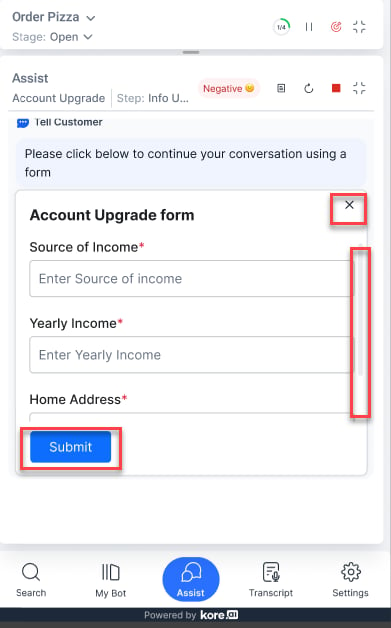
Collect customer information through forms embedded in the Assist tab. Configure forms with Dialog Tasks and set the Web/Mobile SDK Form Behavior to Open inline form.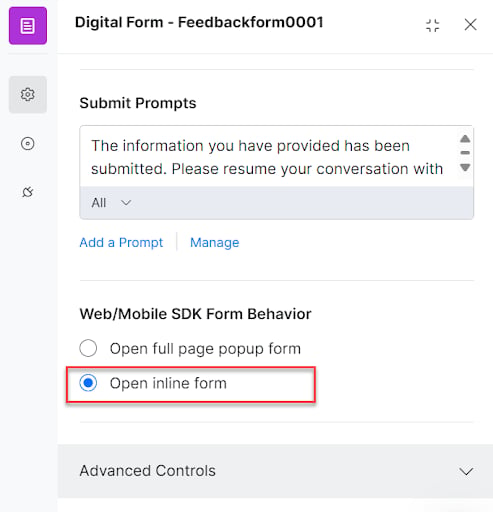
-
Close icon — Exits the form. A confirmation dialog prompts before discarding.
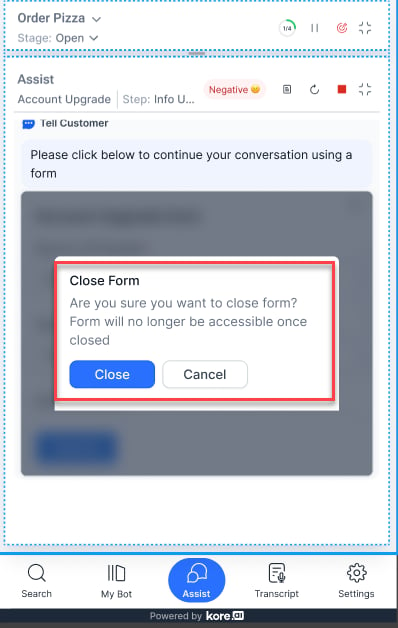
- Fixed frame height — 306 pixels with scroll support.
-
Submit button — Sticky at the bottom of the form.
Transcript Tab
Available for voice calls only. Displays a real-time text transcription of the agent-customer conversation throughout the session.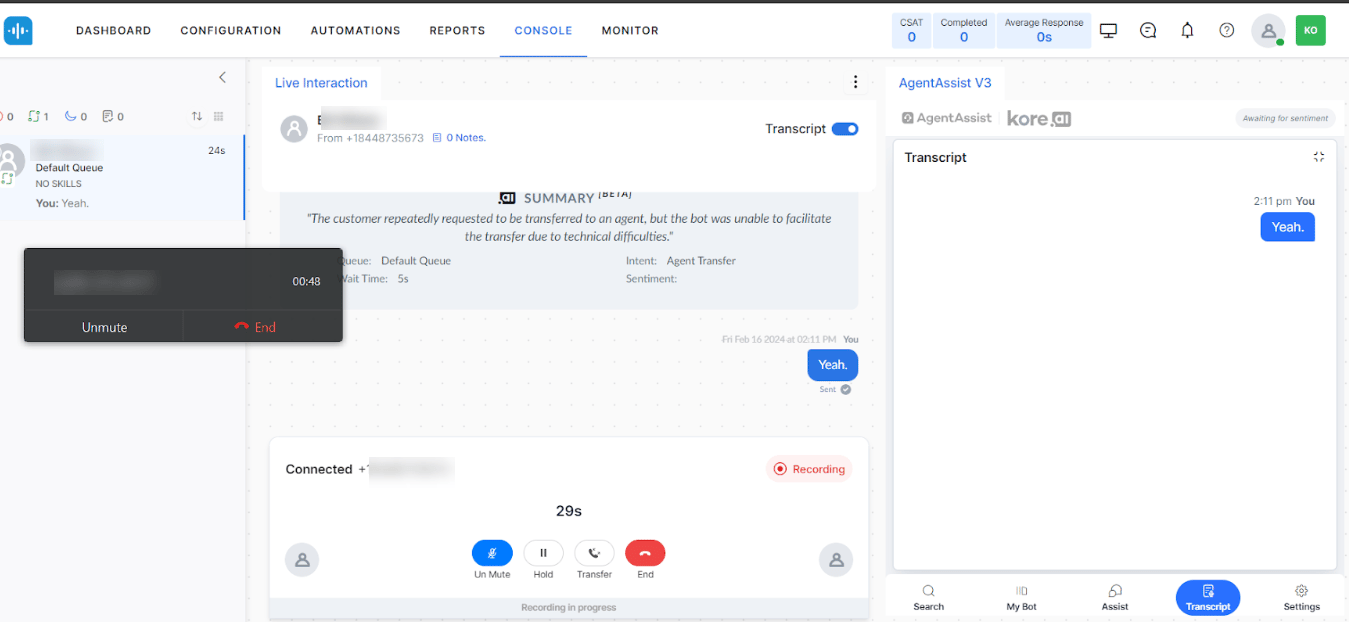
More Tab
Lets agents submit overall feedback on the widget. Agents can select up to five positive or negative options and optionally add comments.If the conversation is transferred, feedback from both agents is saved in the logs.
-
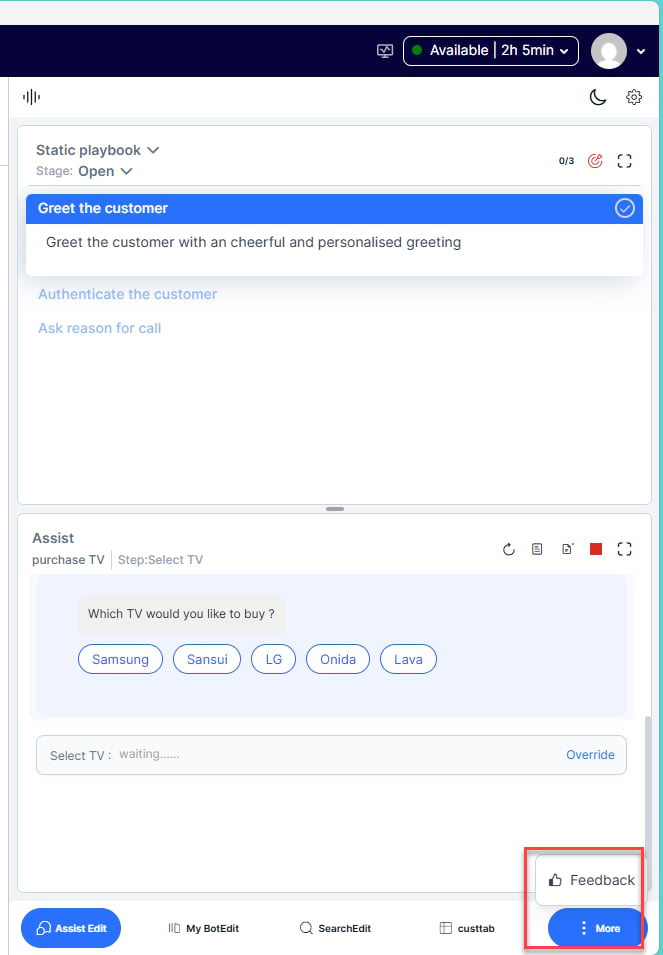
Select More (…) > Feedback.
-
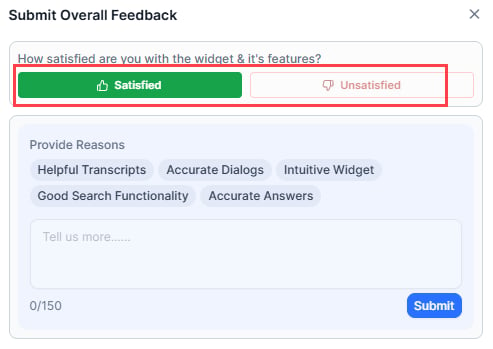
Select Satisfied (positive) or Unsatisfied (negative).
-
Select feedback options from the list and add comments if needed.
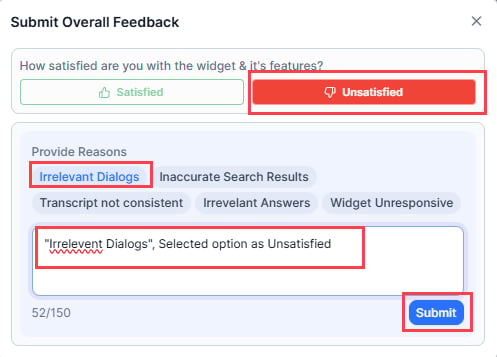
- Select Submit.
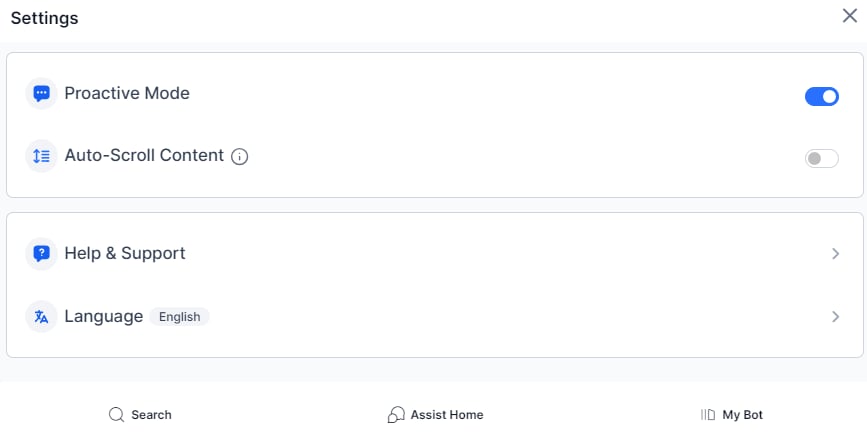
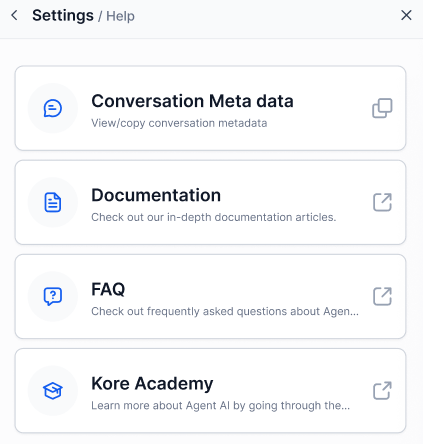
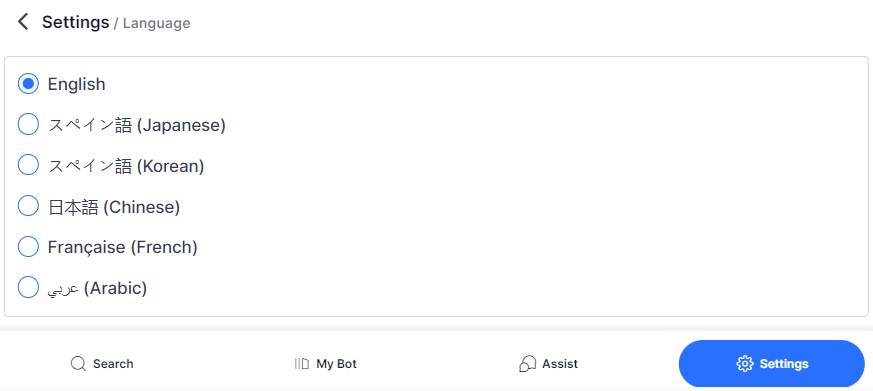
Settings
Theme Selection
Choose Dark or Light theme from the Settings tab.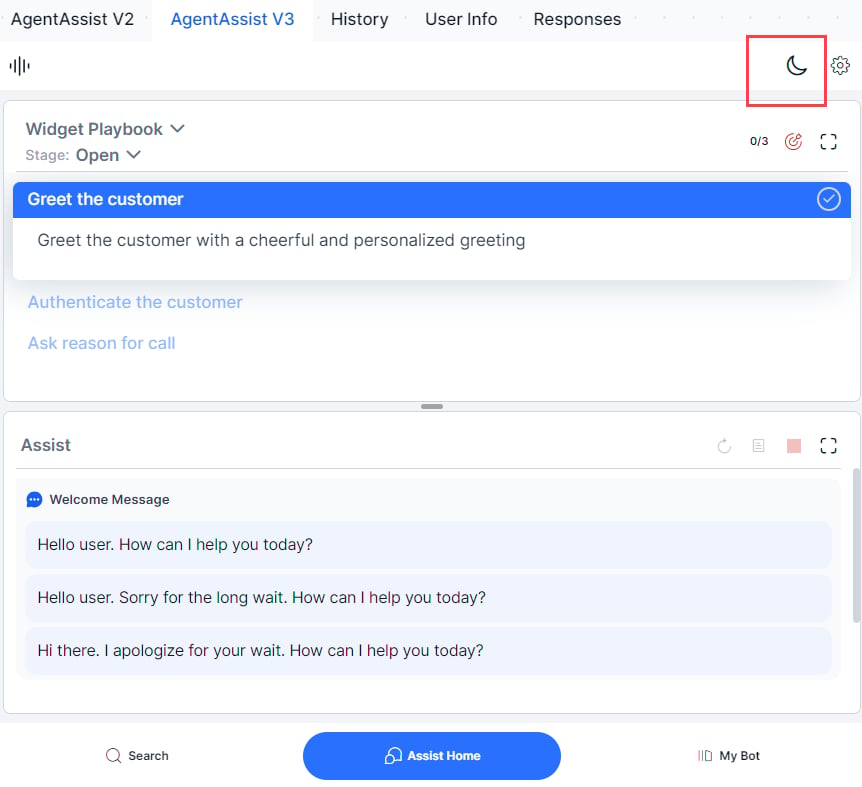
Agentic Copilot
Agentic Copilot automates end-to-end customer conversations through the Agent AI widget while keeping agents in control. Agent AI proactively sends contextual, empathetic responses without requiring manual input. Agents can supervise every interaction, cancel or override automated replies, edit responses, run dialog tasks manually, and perform LLM-powered searches.Key Benefits
Configure an Agentic Copilot App
Before enabling Agentic Copilot in the widget, connect it to your Agentic platform.- Sign in to AI for Service.
- Go to Agent AI > Configurations > Linked Services > Agentic Configuration.
-
Select + Add Agentic Copilot App.

-
Fill in the App Information fields:
-
Select Test Connection & Save.

Delete an Agentic Copilot App
Deleting an app automatically disables it from the Agent AI widget.- Select Delete on the app.
- Confirm by selecting Delete.
You can’t delete an app that’s in use. The Delete option is unavailable, and a badge indicates that the app is active.
Enable Agentic Copilot in the Widget
Configure channel-specific settings to activate Agentic Copilot for agents.- Sign in to AI for Service.
- Go to Agent AI > Configurations > Widget Settings.
- Expand Agent AI Channel Specific Settings.
- Select a channel from the Select channel list.
- Enable the Agent AI Channel Specific Settings toggle if it’s off.
-
Configure the Agentic Copilot settings:

Agentic Copilot at Runtime
Agentic Copilot runs conversations autonomously while agents supervise. Agents can cancel, override, or edit messages at any time. After Welcome Events execute, the Assist tab displays: “Agentic Copilot is actively listening to your conversation and ready to assist automatically.”

Agent Controls

Behavior Notes
- When you select Allow Auto Send Message, each message’s timer starts only after the system sends the previous message.
- If the view doesn’t scroll to the latest message, an arrow appears at the lower-right showing the count of stacked messages. Select it to jump to the latest.
- To regenerate a failed Agentic response, double-click the corresponding customer message.
- If Agentic Copilot fails to send a response, auto-send disables automatically.
- For messages outside the app’s scope, Agentic indicates it’s not trained to respond.
Search Tab — Agentic Results
When Agentic Copilot is active, the Search tab also displays Agentic Results — search results generated by Agentic Copilot based on the conversation.
Automation Controls
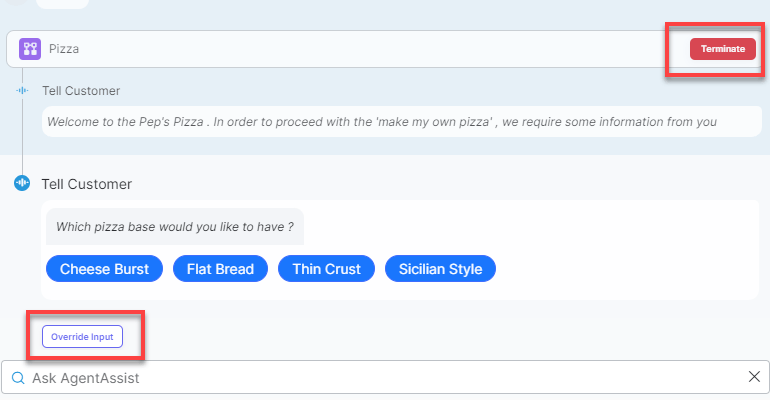
During a customer interaction, the Agent AI app suggests automations based on customer intent. Agents can run these automations, override inputs, terminate tasks, and run automations independently.Override App Inputs
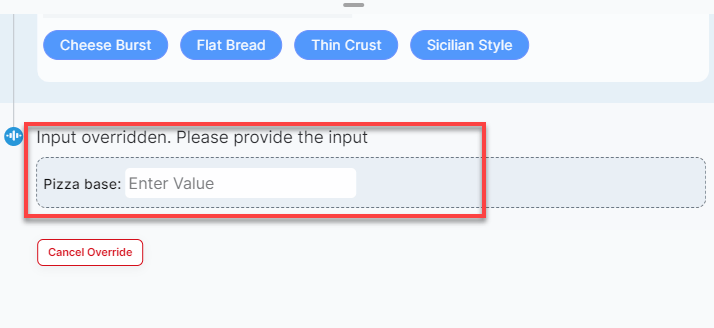
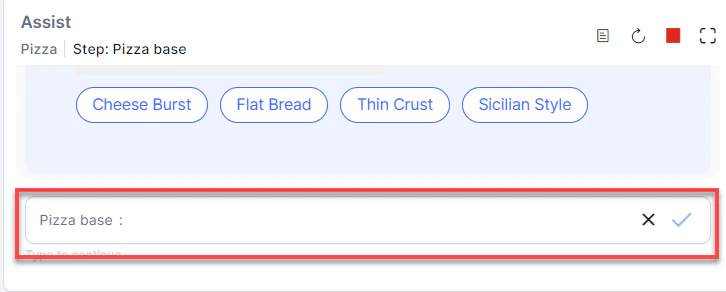
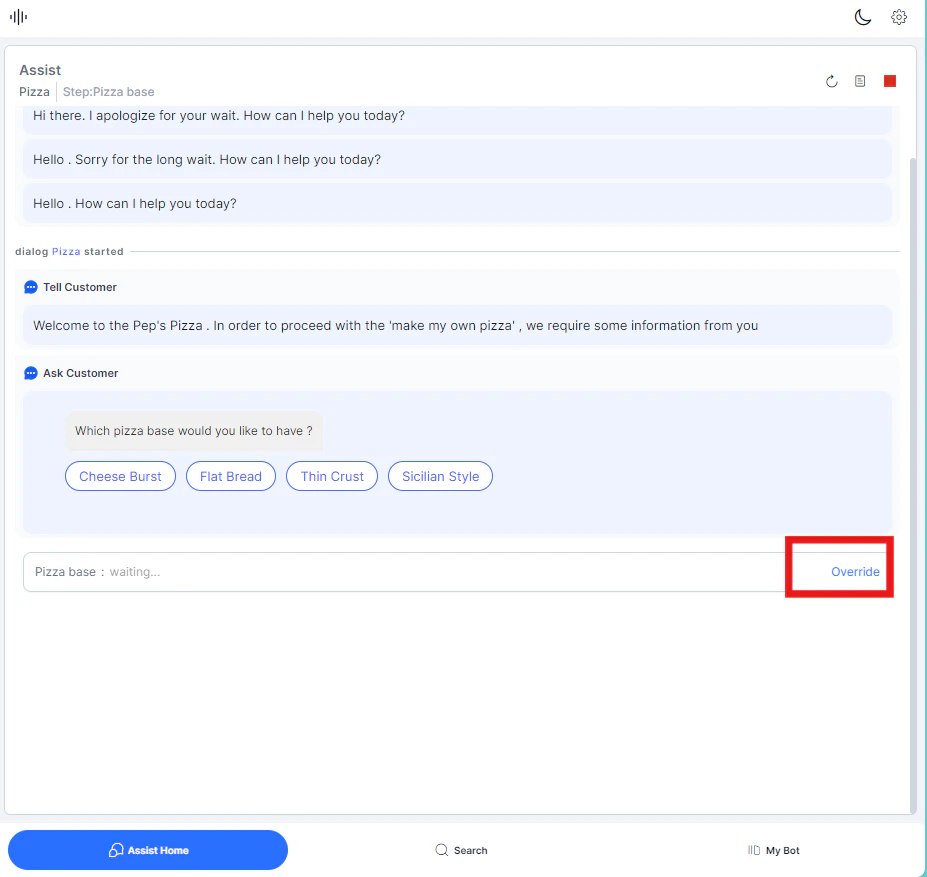
When automation fails to understand a customer’s input, a “try again” error appears. If errors repeat, you can intervene and correct the input manually.-
Select Override Input below the automation step.
-
The Type to continue box appears. Enter the correct value.

Terminate an Automation
Stop an automation at any point. Common reasons: accidental trigger, unexpected behavior, or change in customer intent.- On the Assist or My AI Agent (Bot) tab, select Terminate next to the automation step.
-
Select Yes, Terminate to confirm.

Sentiment Analysis
The widget continuously analyzes and displays the customer’s sentiment in real time based on their messages. This helps agents handling multiple conversations quickly assess customer emotion when switching between interactions. The sentiment indicator appears at the top-right of the widget.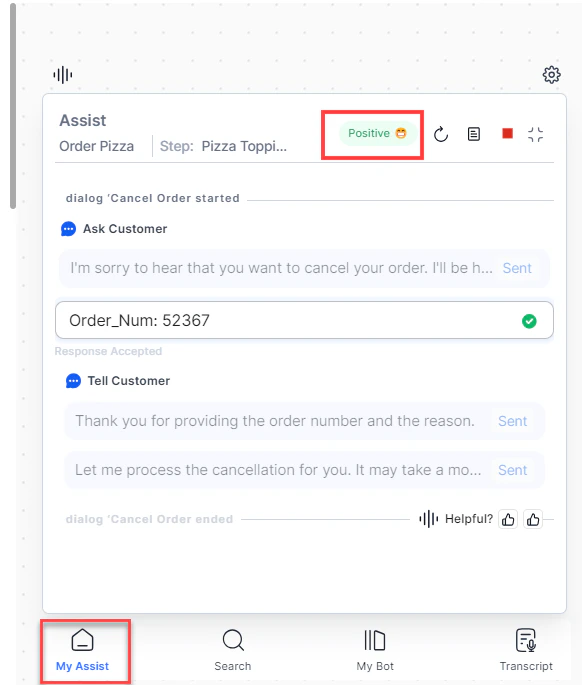
Search and Ask a Question
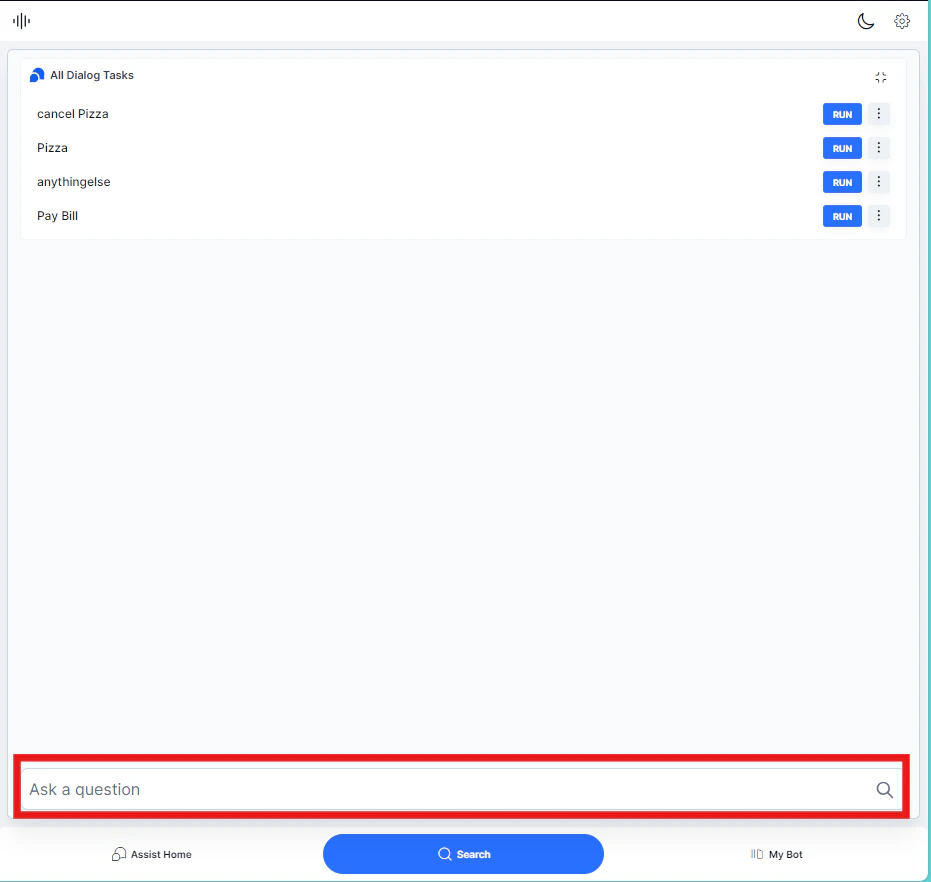
Use the search bar to look up FAQs and automations without leaving the conversation.- Type a question in the Ask a question search bar.
-
Press Enter. Agent AI shows matching results you can use to respond.
Run Automation with Agent Input
Run an automation using agent inputs to control the entire process independently — without prompting the customer for each value. Use this to retrieve information in parallel while the customer waits, or when you already have the required data.- In the Search tab, select the ellipsis next to a Dialog Task.
- Select Run with agent’s input. The automation starts in the My AI Agent (Bot) tab as a parallel session.
You can also use the Run button to start a configured Dialog Task directly.
Access Custom Data
Custom data is additional information—such as agent name, ID, or other metadata—passed from third-party applications into the Agent AI widget. Use it to personalize interactions, streamline workflows, and provide more context-specific responses. Custom data uses this format:{{context.session.UserContext.customData.<key>}}
The UserContext variable stores this value. You can access it wherever UserContext is available, including Welcome Events and Dialog Tasks.
Access Custom Data in Welcome Events
- Sign in to AI for Service.
- Select an app from the App list.
- Select Agent AI > Configurations > Welcome Events.
-
Expand the Configure Greeting Messages section.
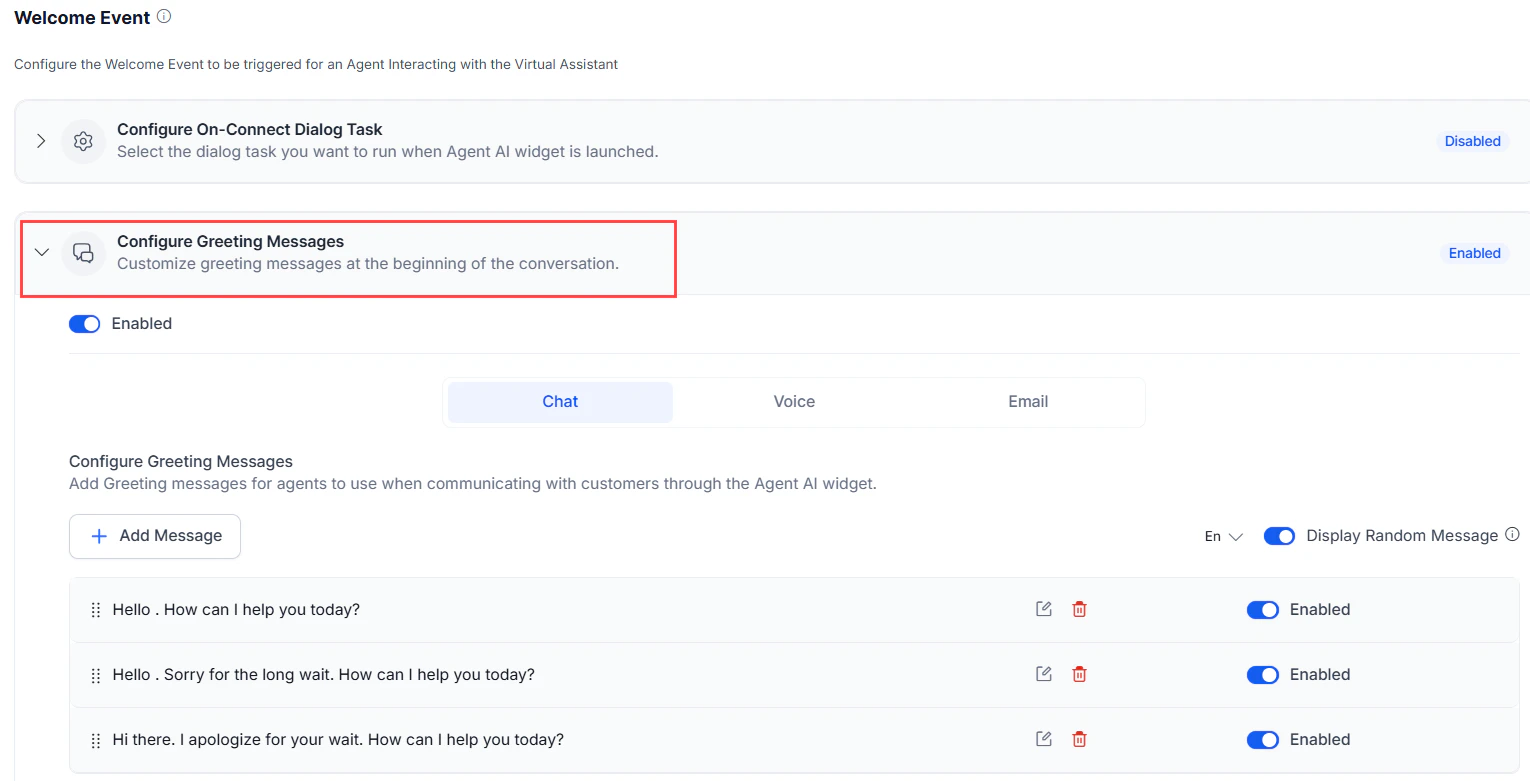
-
Select Edit on a greeting message where you want to use custom data.
If no greeting messages exist, create one first. Refer to Welcome Events for help.
-
In the Message field, reference your custom data using the
{{context.session.UserContext.customData.<key>}}format.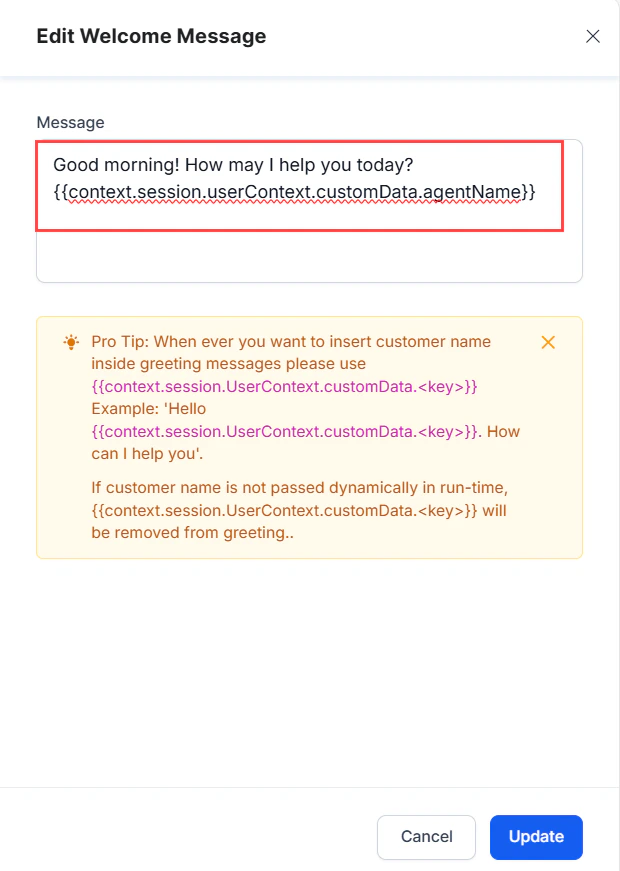
Access Custom Data in Dialog Tasks
- Sign in to AI for Service.
- Select an app from the App list.
- Select Automation AI > AI Agent.
-
Open an existing Dialog Task from the Dialogs page.
If no Dialog Tasks exist, create one first. Refer to Dialog Builder for help.
- Open a Message node.
-
On the Component Properties page, go to the User Prompts or Error Prompts field, and select Text or Custom JavaScript to enter your custom data reference.
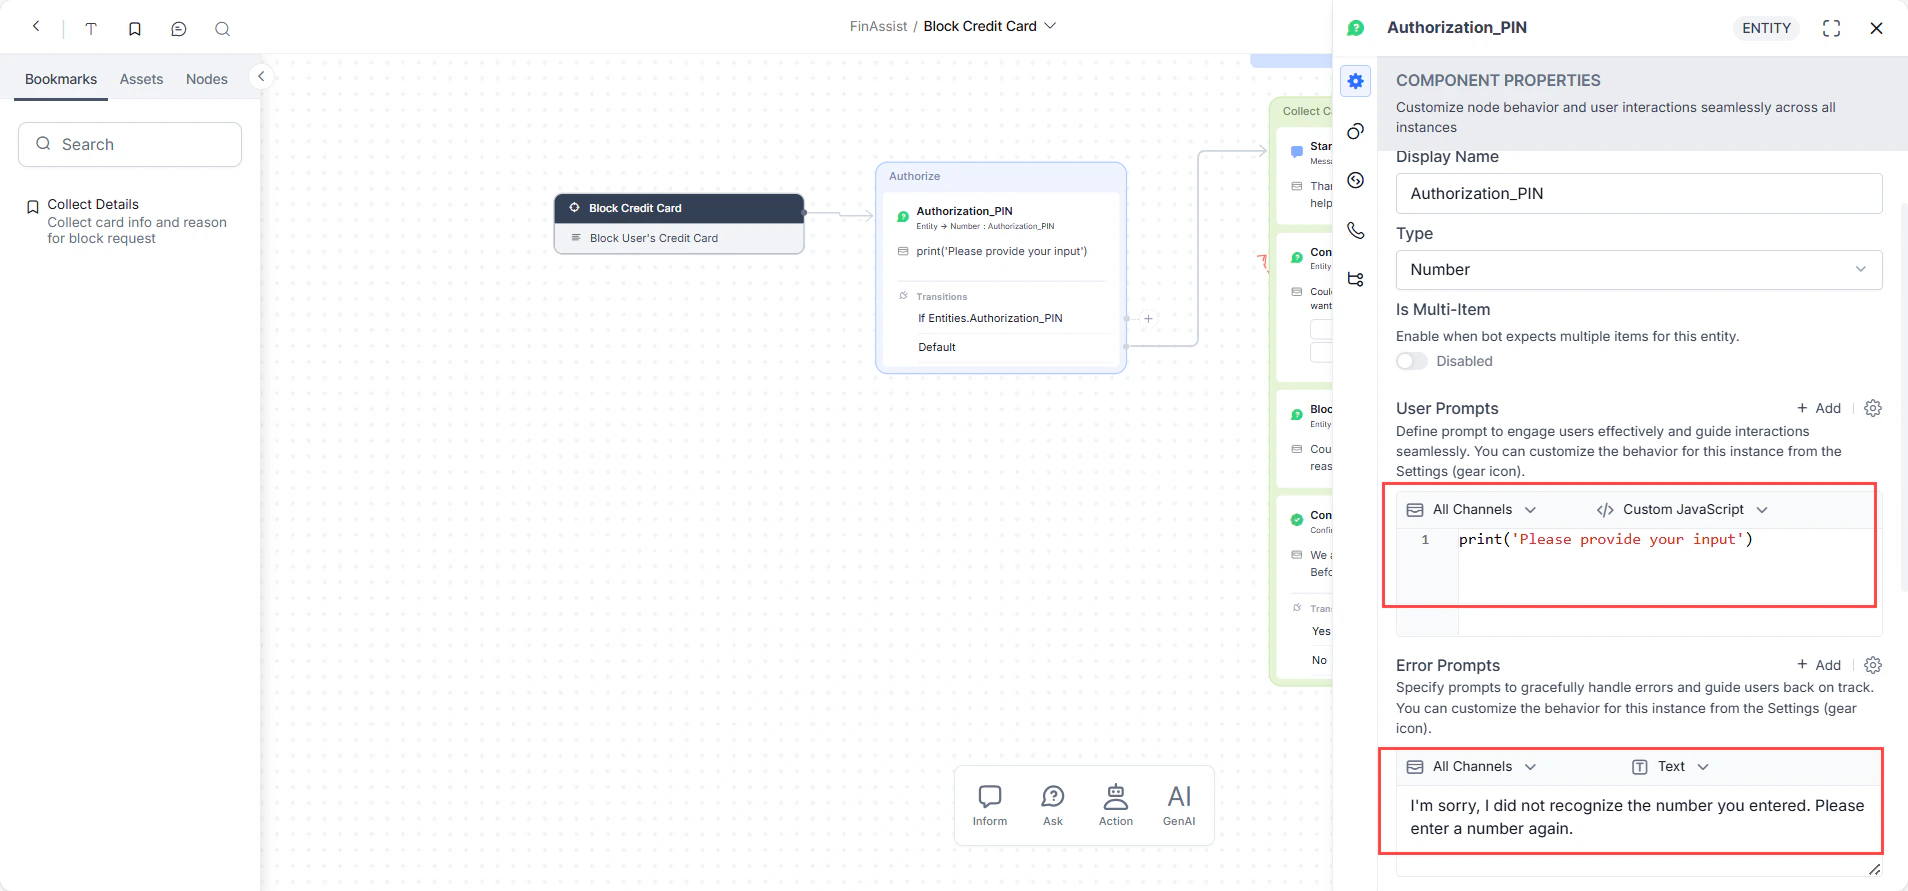
V2 vs V3 Differences
UI Changes
Agent AI V2
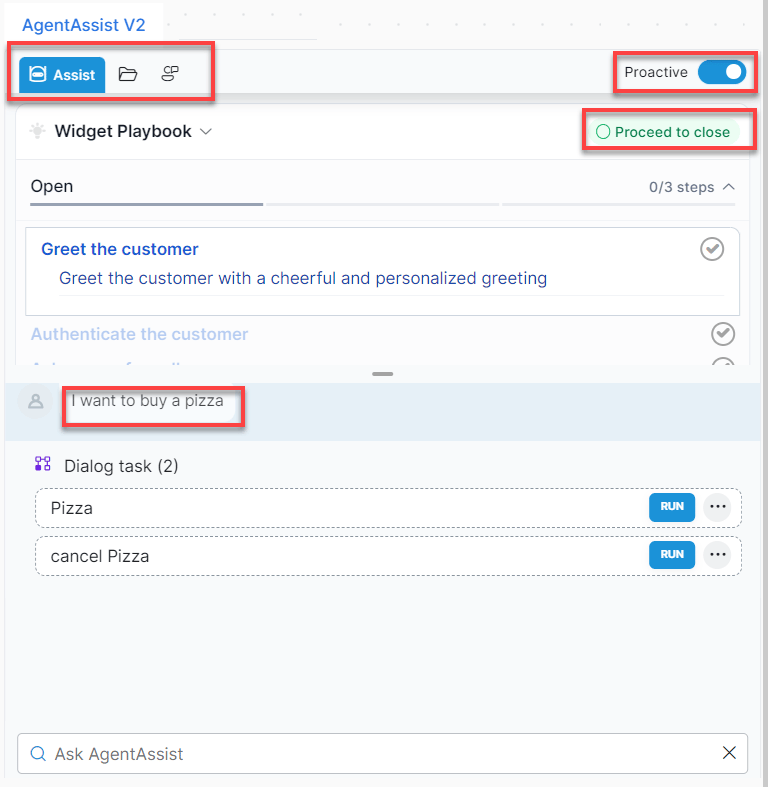
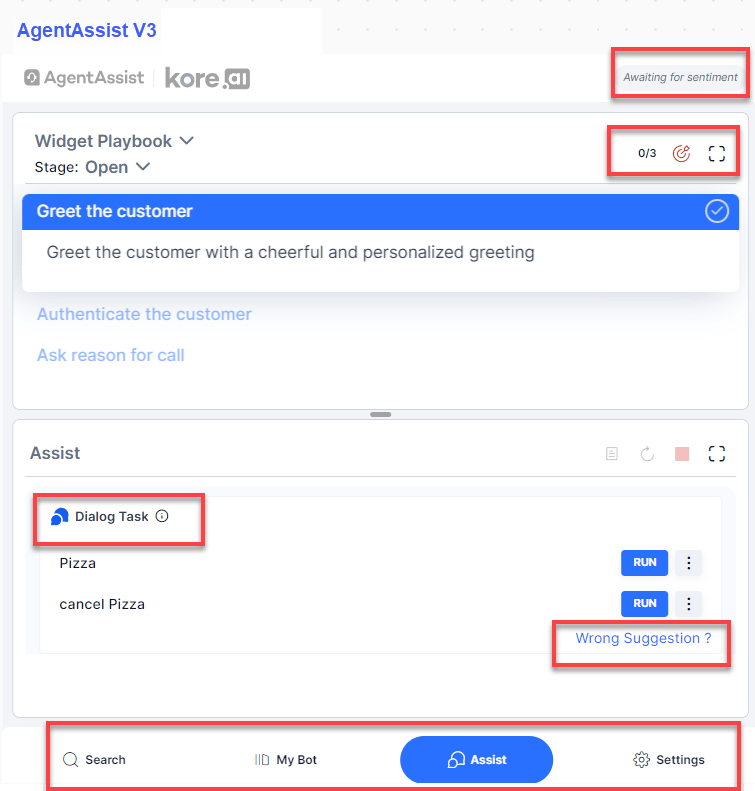
Feature-Level Changes
Agent AI V2 — Dialog Tasks