
Back to Available Channels This article describes the integration process of Amazon Connect Chat with the Platform.Documentation Index
Fetch the complete documentation index at: https://koreai.mintlify.app/llms.txt
Use this file to discover all available pages before exploring further.
Step 1: Create and Configure AWS Lambda for Amazon Connect Integration
Create an AWS Lambda function that works with Amazon Connect and messages to the Platform via Webhook.1.1 Create a New Lambda Function
- Log in to the AWS Management Console → navigate to Services → Lambda → Functions.
- Click “Create function.”
- Under Function creation options, choose:
- Author from scratch
- Function name:
AmazonConnect_SendContactId - Runtime:
Node.js 22.x - Architecture:
x86_64(default) - Permissions: Choose Create a new role with basic Lambda permissions
- Click Create function.
1.2: Add Lambda Function Code
- After Lambda is created, scroll down to the Code tab.
- In the file list, open index.mjs.
- Delete the sample code.
- Paste the following Lambda Code (for example, the
.mjscode that handles SNS → the Platform forwarding). - Click Deploy.
Make sure the file name is
index.mjs (not .js), and the handler in configuration matches index.handler.1.3: Add Environment Variables
- Go to the Configuration tab → select Environment variables.
- Click Edit → Add environment variable.
- Add the following 3 variables and click Save.
| Variable Name | Description | Example Value |
|---|---|---|
KORE_WEBHOOK_URL | Webhook URL from the Platform Amazon Connect Channel Configuration page | https://*****.ngrok-free.app/adapter/hooks/amazonconnect/st-xxxx |
KORE_WEBHOOK_VERIFICATION_TOKEN | Verification Token from the Platform Channel Configuration | 17ceed4151e38bae8d16cd547e0144203***********5e1eac7d888f6dc092a |
SNS_TOPIC_ARN | ARN of the SNS topic created in AWS | arn:aws:sns:us-east-1:******:KoreChatStream |
1.4: Connect Lambda to Amazon Connect
- Go to Amazon Connect Console and click your Instance alias.
- In the left panel, choose Flows.
- Scroll down to AWS Lambda functions section.
- Click Add Lambda function.
- Choose your function name (Ex
AmazonConnect_SendContactId) and click Add Lambda function. - Now your Amazon Connect flows can invoke this Lambda.
1.5: Add IAM Permissions
Open the Lambda Role- Go to IAM → Roles.
- In the search box, enter the role name linked to your Lambda function.
Example:
AmazonConnect_SendContactId-role-********.
- Open the role and click Permissions tab.
-
Under Permission policies, locate and click
AWSLambdaBasicExecutionRole-xxxxxx. -
Click JSON tab and then Edit.
-
Add the following policy statement inside the
"Statement"array:
-
Add the following policy statement inside the
- Click Review policy and Save changes.
For better security, you can later replace
"Resource": "*" with specific Connect instance ARNs.Step 2: Create Amazon SNS Topic for Streaming
Create and configure an Amazon SNS topic for streaming chat messages from Amazon Connect to the Platform via HTTPS.2.1: Create SNS Topic
- Log in to the AWS Management Console.
- Navigate to Amazon SNS → Topics.
- Click Create topic.
- Select Standard as the topic type (Standard topics are preferred for real-time streaming and higher throughput.)
- Provide:
- Name: Ex -
AmazonConnect_Streaming_Topic(or similar) - Display name: optional.
- Name: Ex -
- Leave other fields as default for now.
2.2: Set Access Policy
- Scroll to the Access policy section.
-
Expand the Advanced tab. Remove or ensure the following JSON snippet doesn’t exists.
- This ensures Amazon Connect or Lambda within your account can publish messages securely to this SNS topic.
- Click Create topic.
2.3: Copy Topic ARN
- After creation, you’ll be redirected to the Topic details page.
- Under Details, copy the Topic ARN - it looks like this:
arn:aws:sns:us-east-1:***********:AmazonConnect_Streaming_Topic - Store this ARN safely - you’ll use it as an environment variable in your AWS Lambda function:
- Variable name:
SNS_TOPIC_ARN - Value: (the ARN you copied)
- Variable name:
2.4: Create HTTPS Subscription
Create a subscription so SNS can forward messages to the Platform via HTTPS.- On the Topic details page, click Create subscription.
- Configure the fields as follows:
| Field | Value |
|---|---|
| Protocol | HTTPS |
| Endpoint | Paste the Webhook URL copied from your the Platform Amazon Connect Channel Configuration page (for example, https://abc123.ngrok-free.app/adapter/hooks/amazonconnect/st-e6895fc9-8012-5003-be9b-ab6df08f8eb6) |
- Scroll to Subscription filter policy and enable the toggle for “Enable filter policy.”
-
Click “Message attributes” → then Enable → and paste the below JSON filter:
-
Purpose: This ensures only chat messages of type
MESSAGEfrom theCUSTOMERparticipant role are forwarded, reducing noise and unnecessary webhook calls. - Click Create subscription.
2.5: Verify Subscription Status
- Return to Amazon SNS → Subscriptions.
- Locate your new subscription.
- Check the Status column:
- It shows “Confirmed” (SNS automatically sends a confirmation request to the Platform webhook endpoint; the Platform responds to confirm it.)
- If status remains “Pending confirmation,” ensure:
- The Webhook endpoint is reachable (not blocked by firewall).
- The Platform channel configuration matches the SNS subscription domain.
Step 3: Amazon Connect - Create Contact Flow
Prerequisites- You must have admin/flow-edit access to the Amazon Connect instance.
- Lambda function already created and added to the Connect instance (see earlier docs).
- SNS/topic, IAM, and any webhooks used by Lambda must be working.
- Make sure your browser popup blockers allow the Connect console to open the instance URL.
3.1: Open Flow Builder
- Login to AWS Console → Amazon Connect → Instances.
- Click the Instance Access URL for your instance (this opens the Connect admin UI).
- In the left navigation, open Routing → Flows.
- Click Create flow (top-right) and give it a name (example:
KoreChatFlowPOC1) and a description.
3.2: Design the flow on the canvas
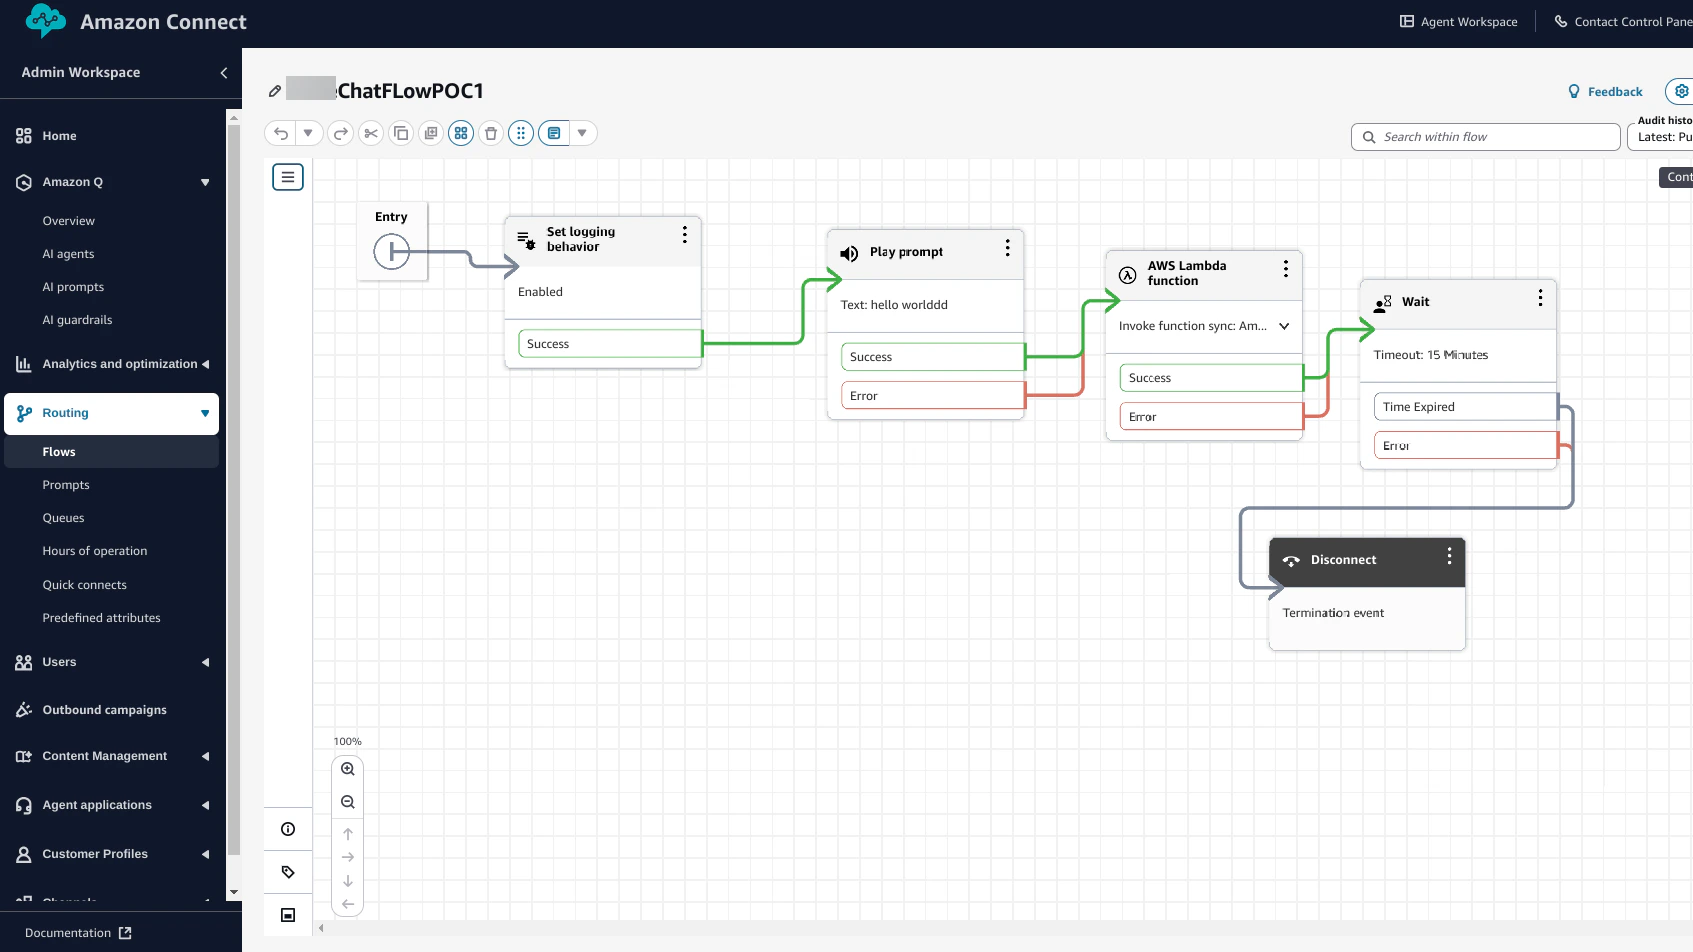
The screenshot shows a simple flow sequence:Entry → Set logging behavior → Play prompt → Invoke Lambda → Wait → Disconnect. Recreate the same layout:
- Entry (Start).
- The designer adds the start block automatically.
- Set logging behavior (optional).
- From the Utilities/Customer blocks, drag Set logging behavior to the canvas.
- Connect Start → Set logging behavior.
- Configure (if needed) to enable contact-level logging for debugging.
- Play prompt.
- Drag Play prompt onto the canvas and connect
Set logging behavior → Play prompt. - Configure message text (for example,
hello world) or use an existing prompt resource.
- Drag Play prompt onto the canvas and connect
- Invoke AWS Lambda function.
- Drag AWS Lambda block onto the canvas and connect the
Play prompt → Lambdasuccess path. - Click the Lambda block to configure:
- Function ARN / name: select your pre-registered Lambda (for example,
AmazonConnect_SendContactId). - Invocation type:
Synchronous(use Sync if you want immediate response), otherwise Async (for fire-and-forget). - If the Lambda returns attributes you need in flow, map the response to Connect contact attributes.
- Function ARN / name: select your pre-registered Lambda (for example,
- Drag AWS Lambda block onto the canvas and connect the
- Wait block (optional).
- From Flow palette drag Wait and connect Lambda
Success → Wait. - Configure a timeout (screenshot shows 15 minutes). Use this to keep the contact open until async work completes (if needed).
- From Flow palette drag Wait and connect Lambda
- Disconnect.
- Place a Disconnect block and connect
Wait → Disconnector connect Lambda error/time expired paths toDisconnect.
- Place a Disconnect block and connect
- Error Paths.
- Connect Lambda
Errorand PlayPromptErroroutputs to a fallback prompt or Disconnect. This ensures graceful handling.
- Connect Lambda
3.3: Save and publish the flow
- Click Save located in the top-right.
- Click Publish to makes the flow active and selectable in routing profiles / contact handlers.
Step 4: Retrieve the AWS Region, Access Key ID, and Secret
4.1 Retrieve AWS Region
- Log in to your AWS Console.
- Navigate to the Amazon Connect service.
- The AWS Region is displayed in the upper-right corner of the console (for example,
us-east-1).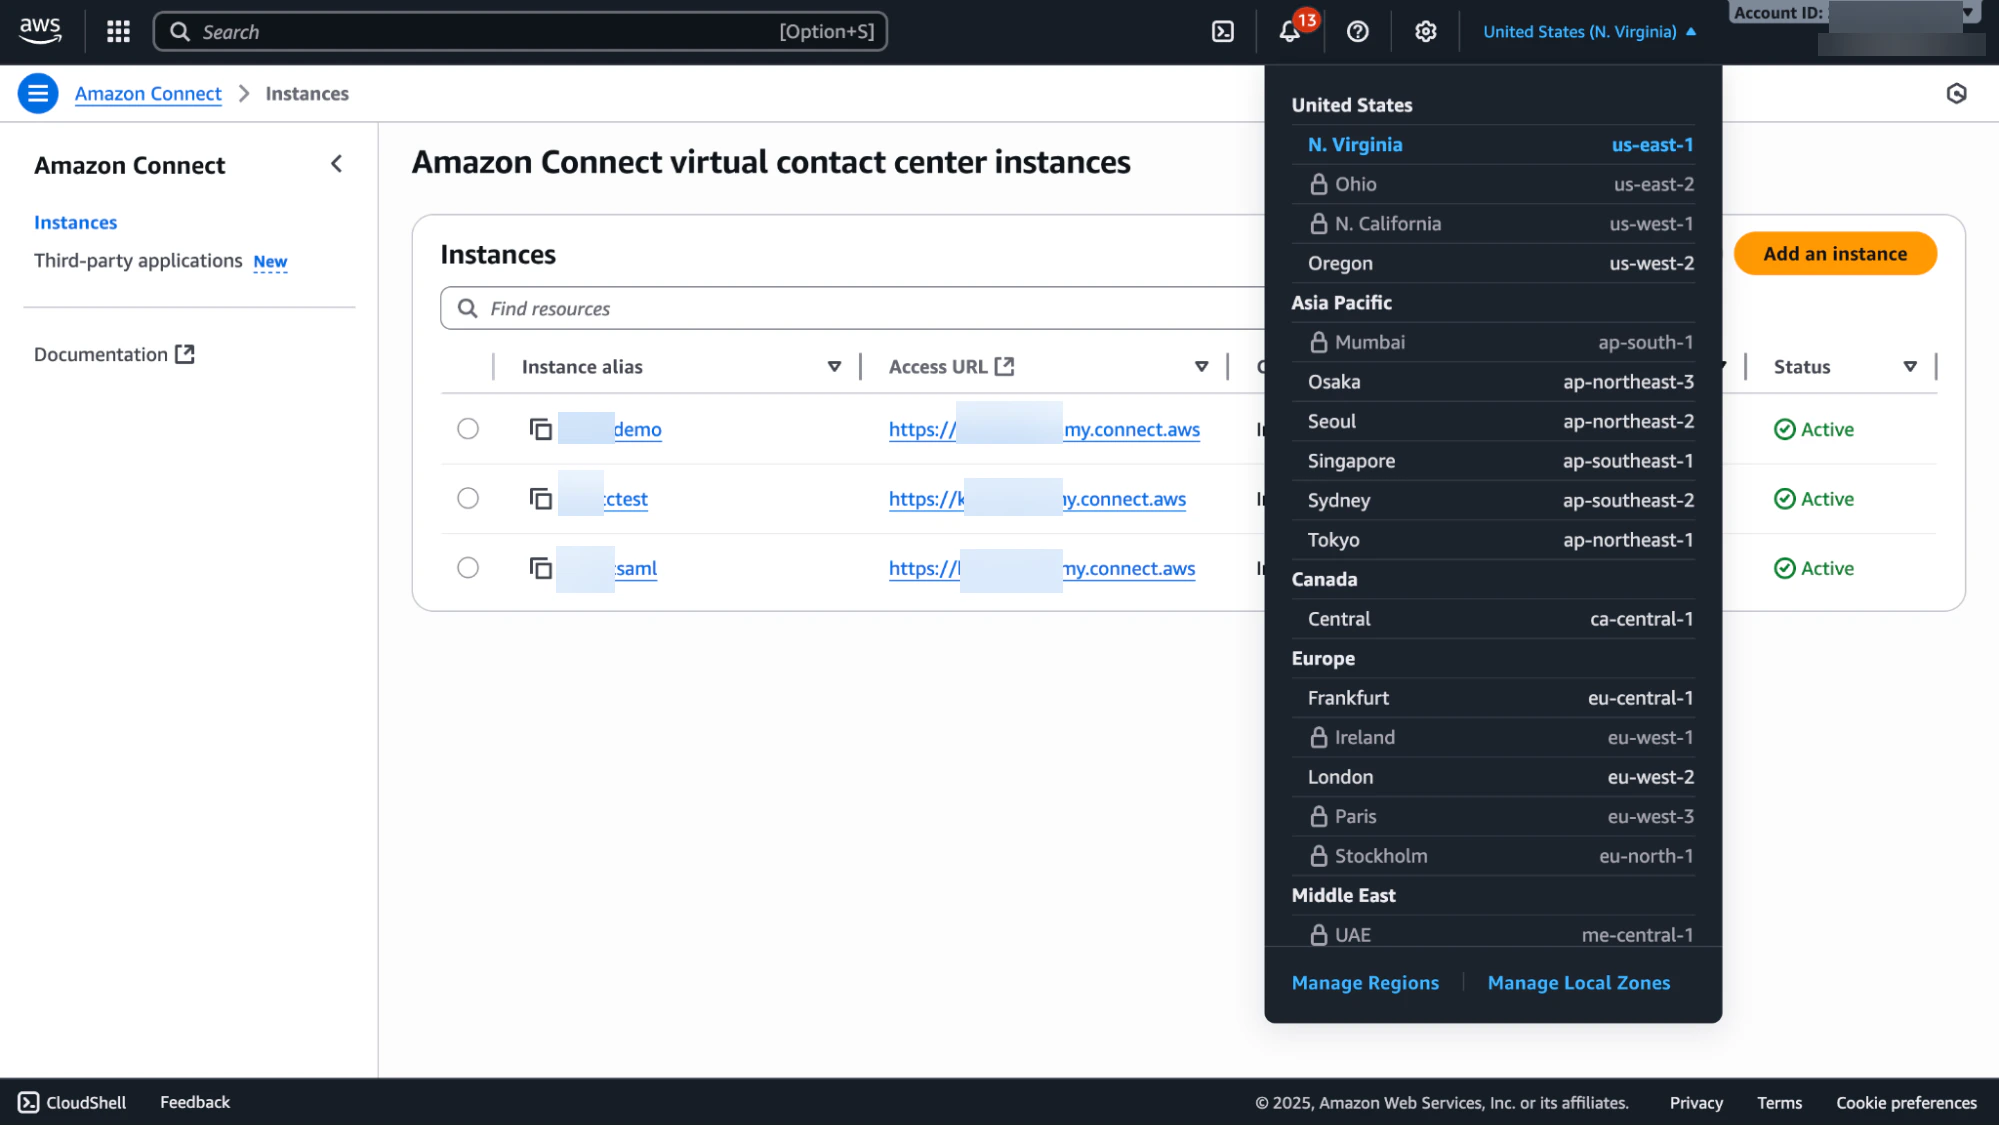
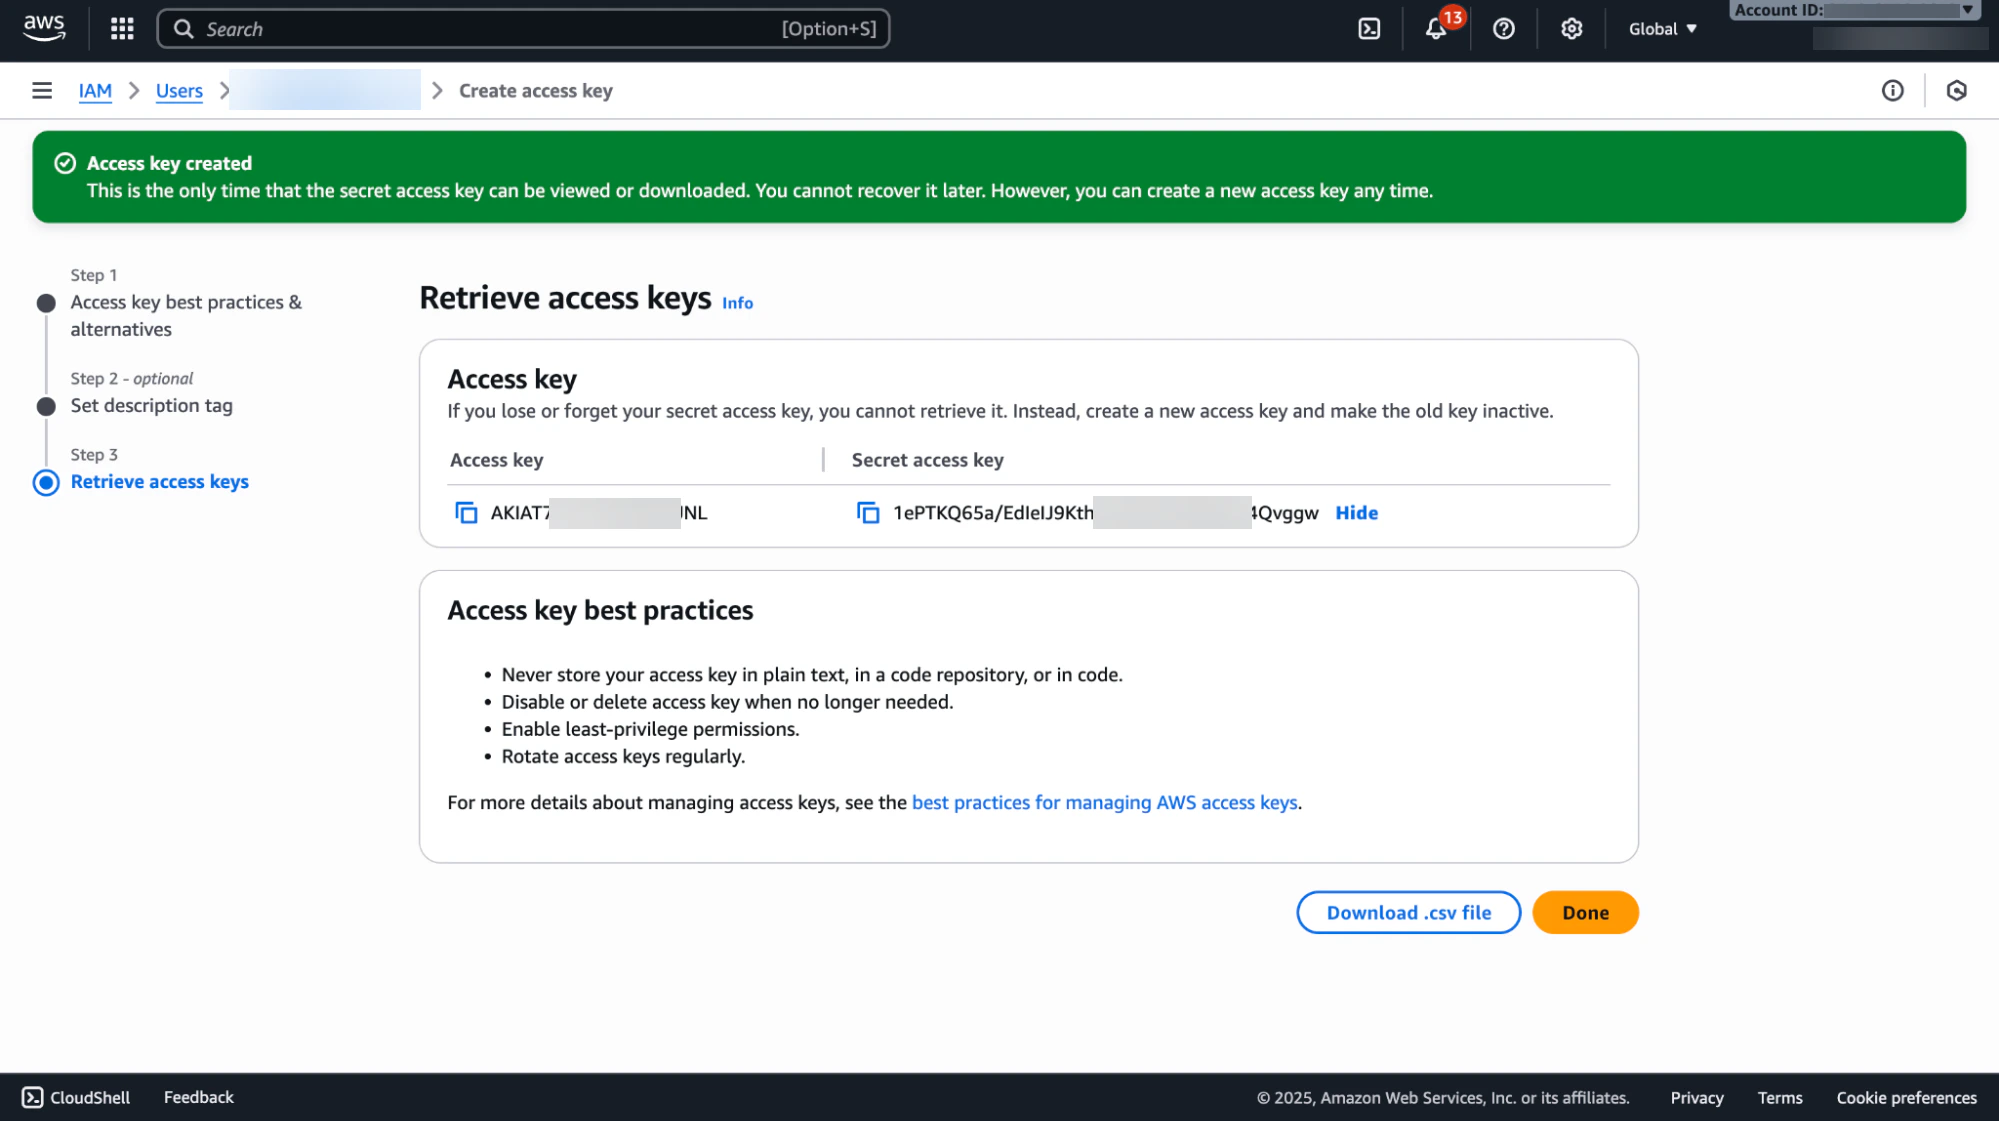
4.2 Steps to Retrieve AWS Access Key ID and Secret
- Sign in to the AWS Management Console.
- Click your account name in the top-right corner and select Security Credentials from the drop-down menu.
- In the IAM dashboard, click Users in the navigation pane.
- Select the user for whom you want to find the access key ID.
- Click the Security Credentials tab for that user.
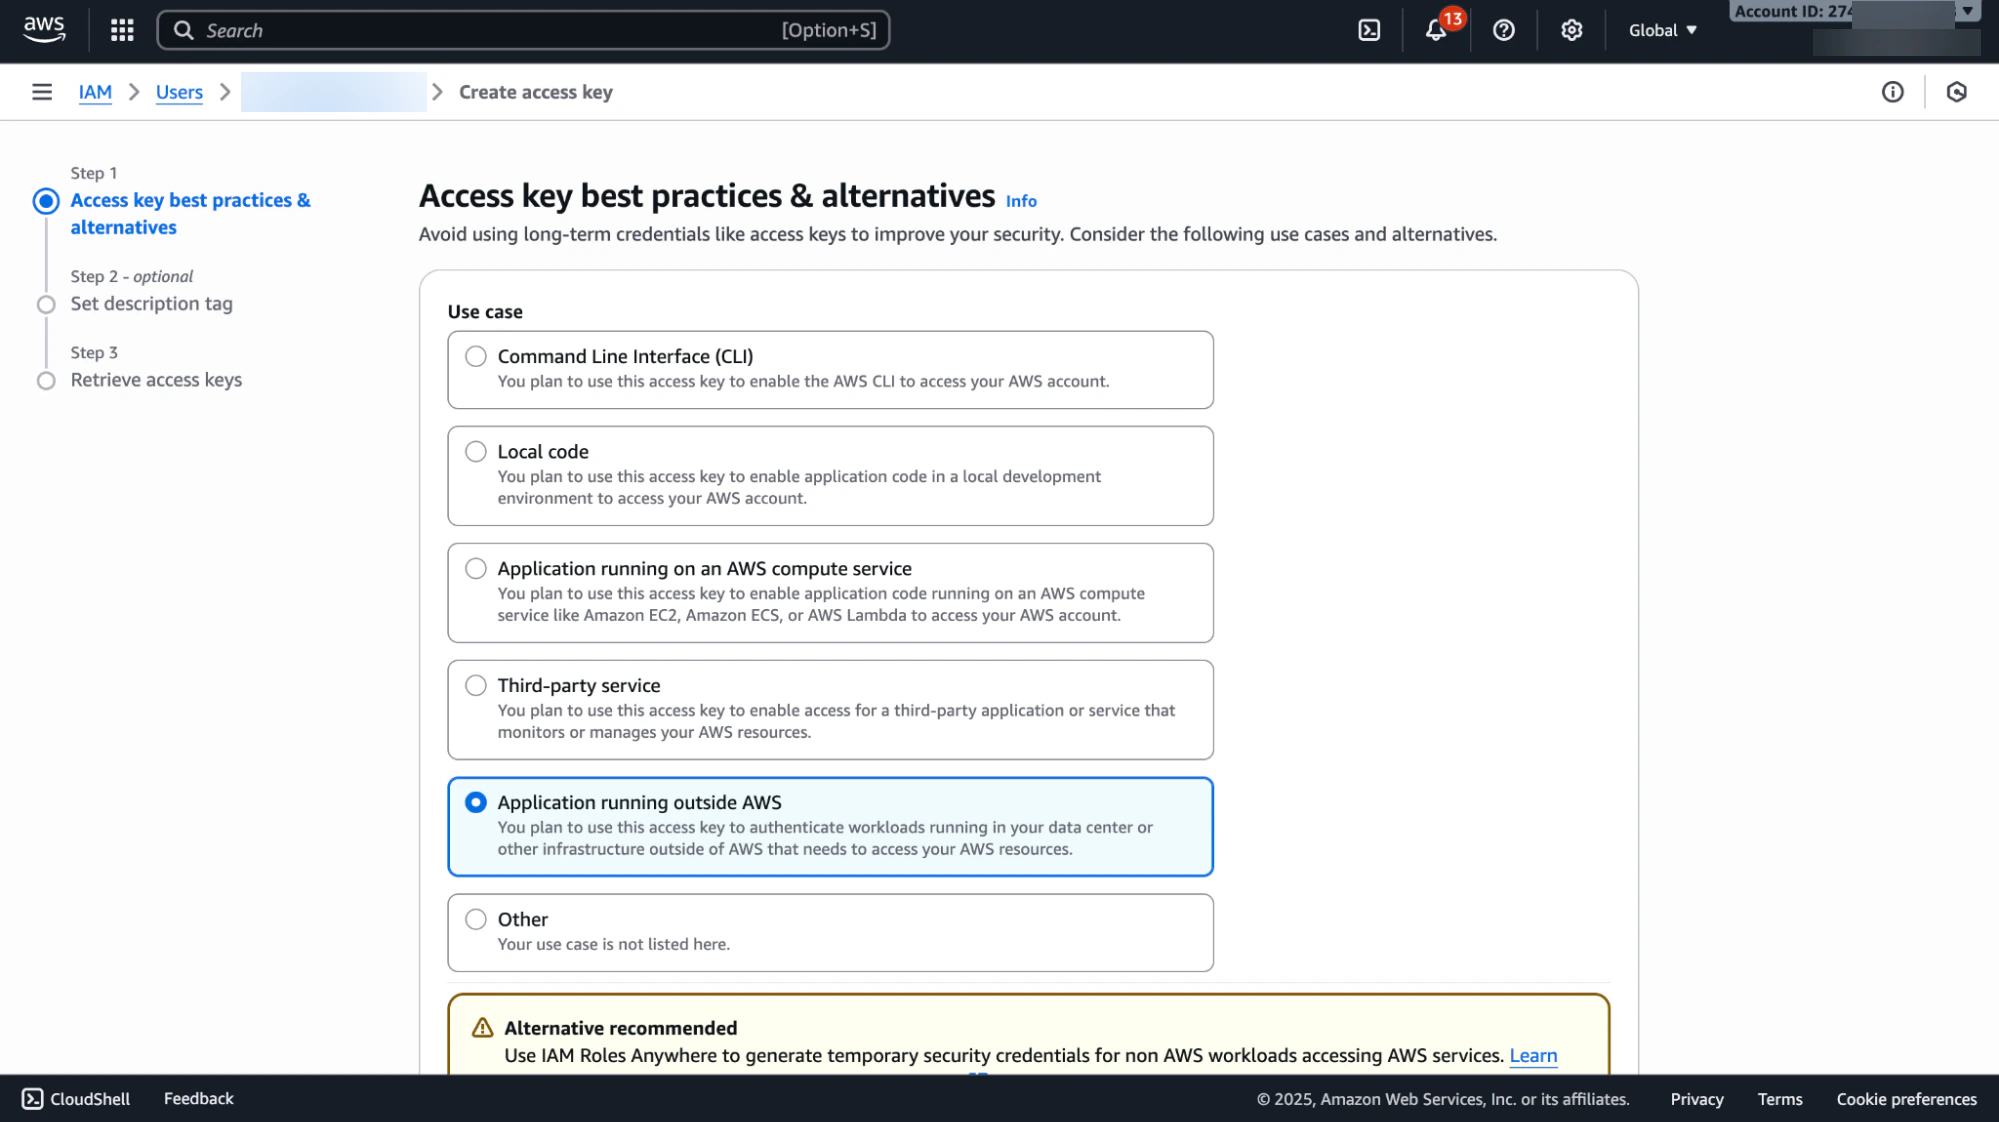
- Either create a new access key or use existing credentials if available.
Step 5: Configure the Amazon Connect Chat Channel within the Platform
- Login to the Platform.
- Go to Channels & Flows > Channels > Digital > All and select Amazon Connect Chat. The channel setup window opens.
-
Click Next or select the Configurations tab.

-
Provide the following details you configured within Amazon Connect Chat:
- AWS Region: Enter the AWS region where your Amazon Connect instance is hosted.
- AWS Access Key ID: IAM user’s Access Key obtained from the Security credentials section in AWS IAM.
- AWS Secret Access Key: Secret Access Key generated along with the above Access Key ID.
- Custom Participant Display Name: Display name set as per your organization’s preference.
- Select Yes to enable the channel.
- Click Save. The configuration saved message is displayed.